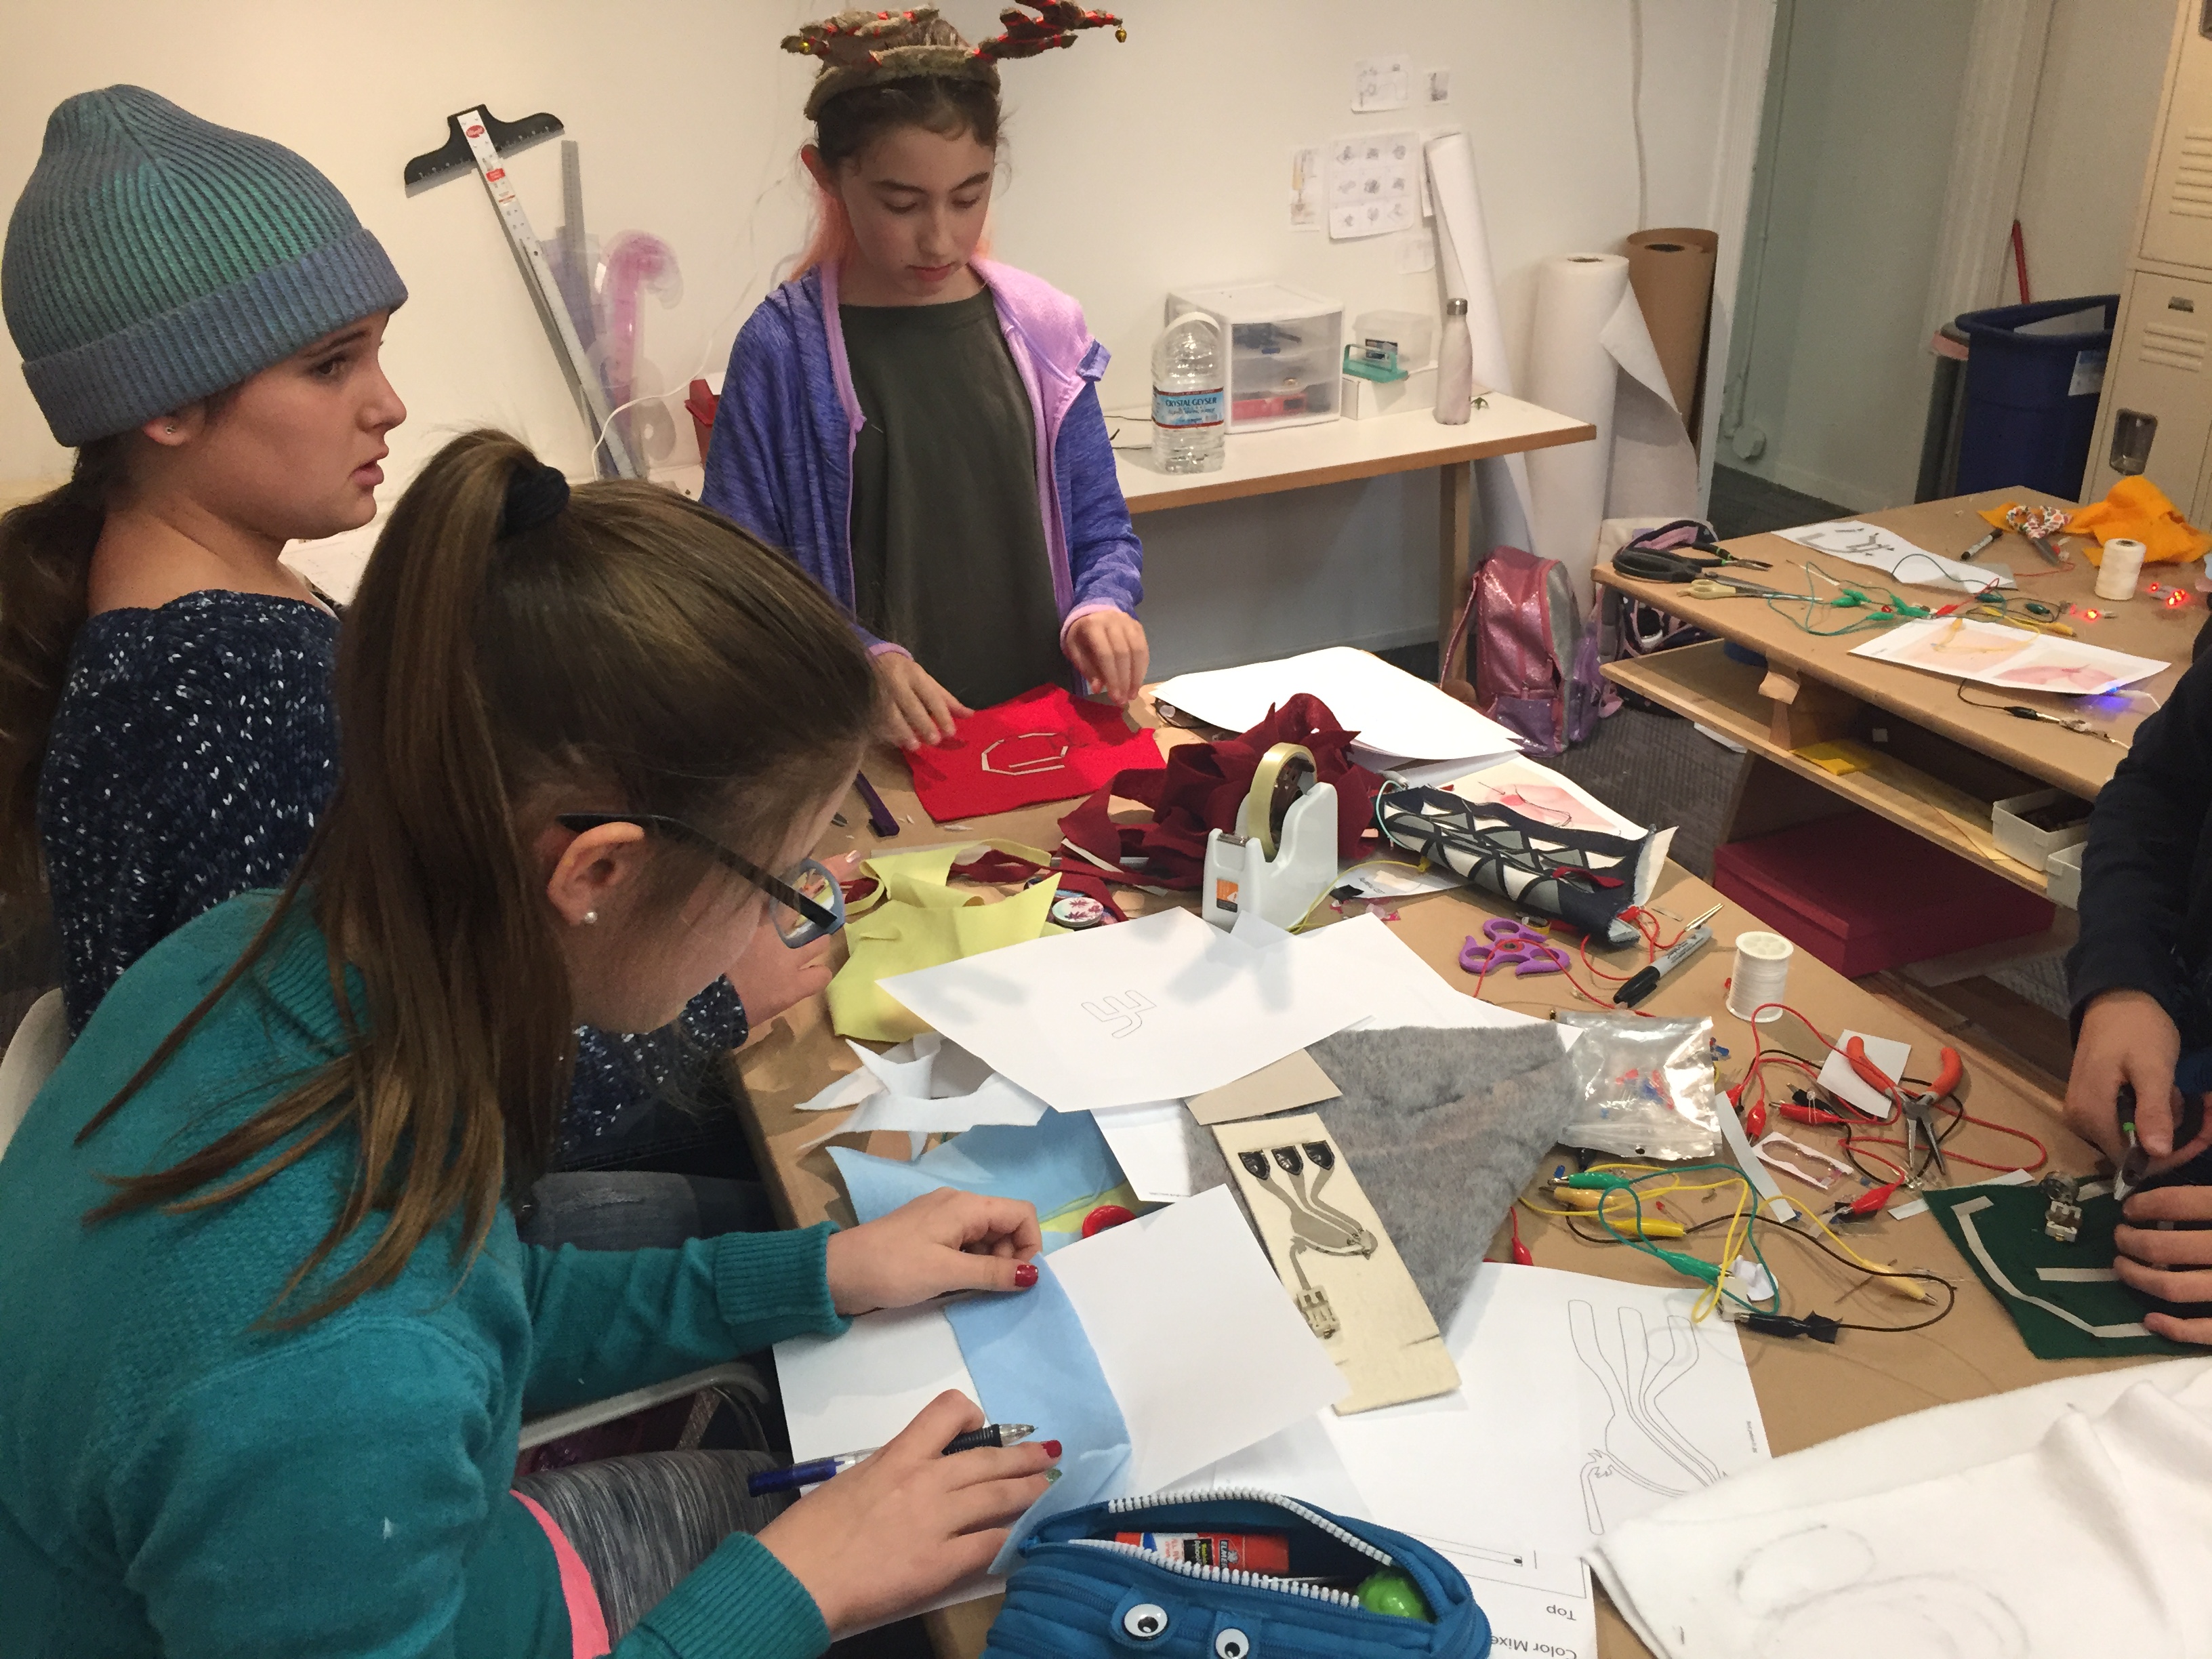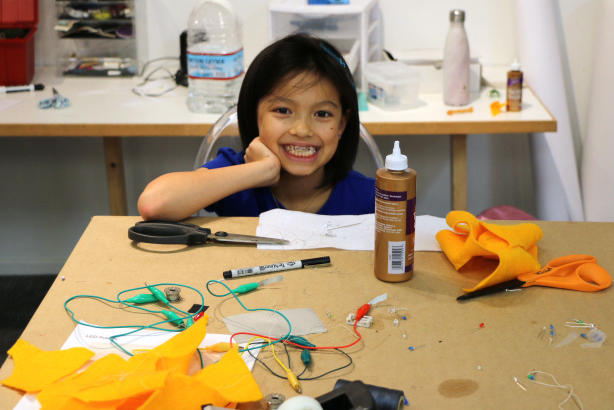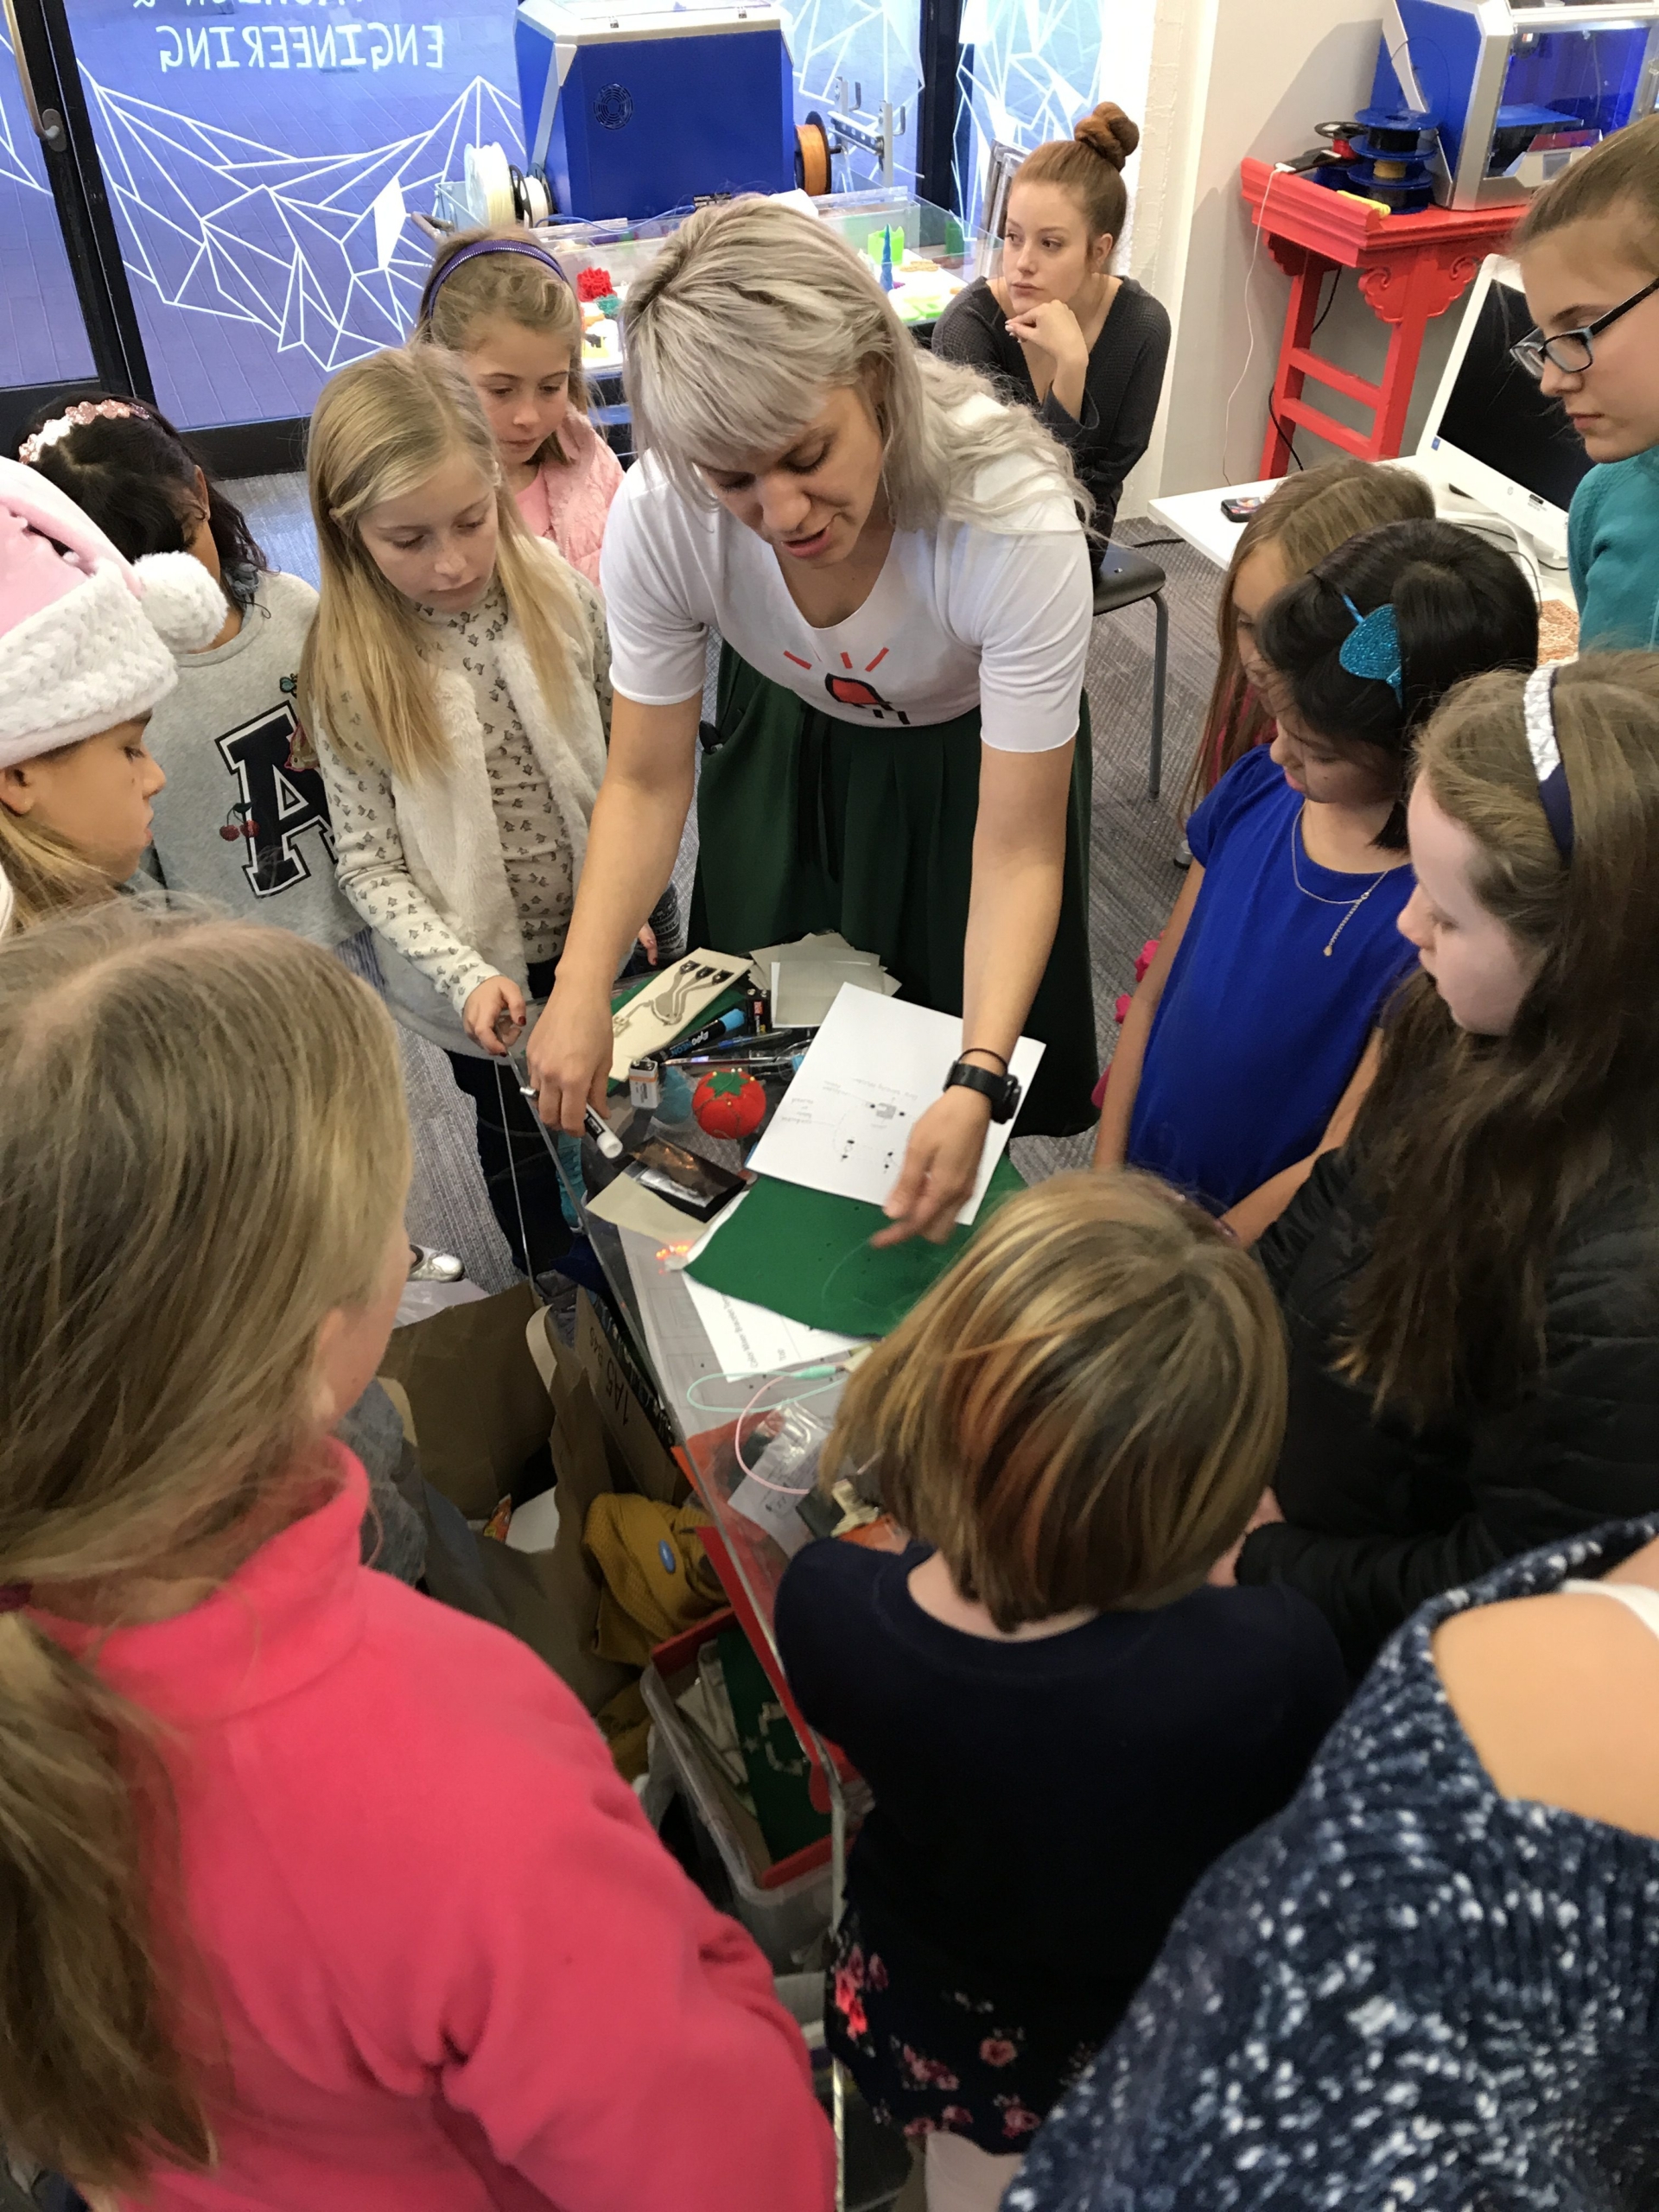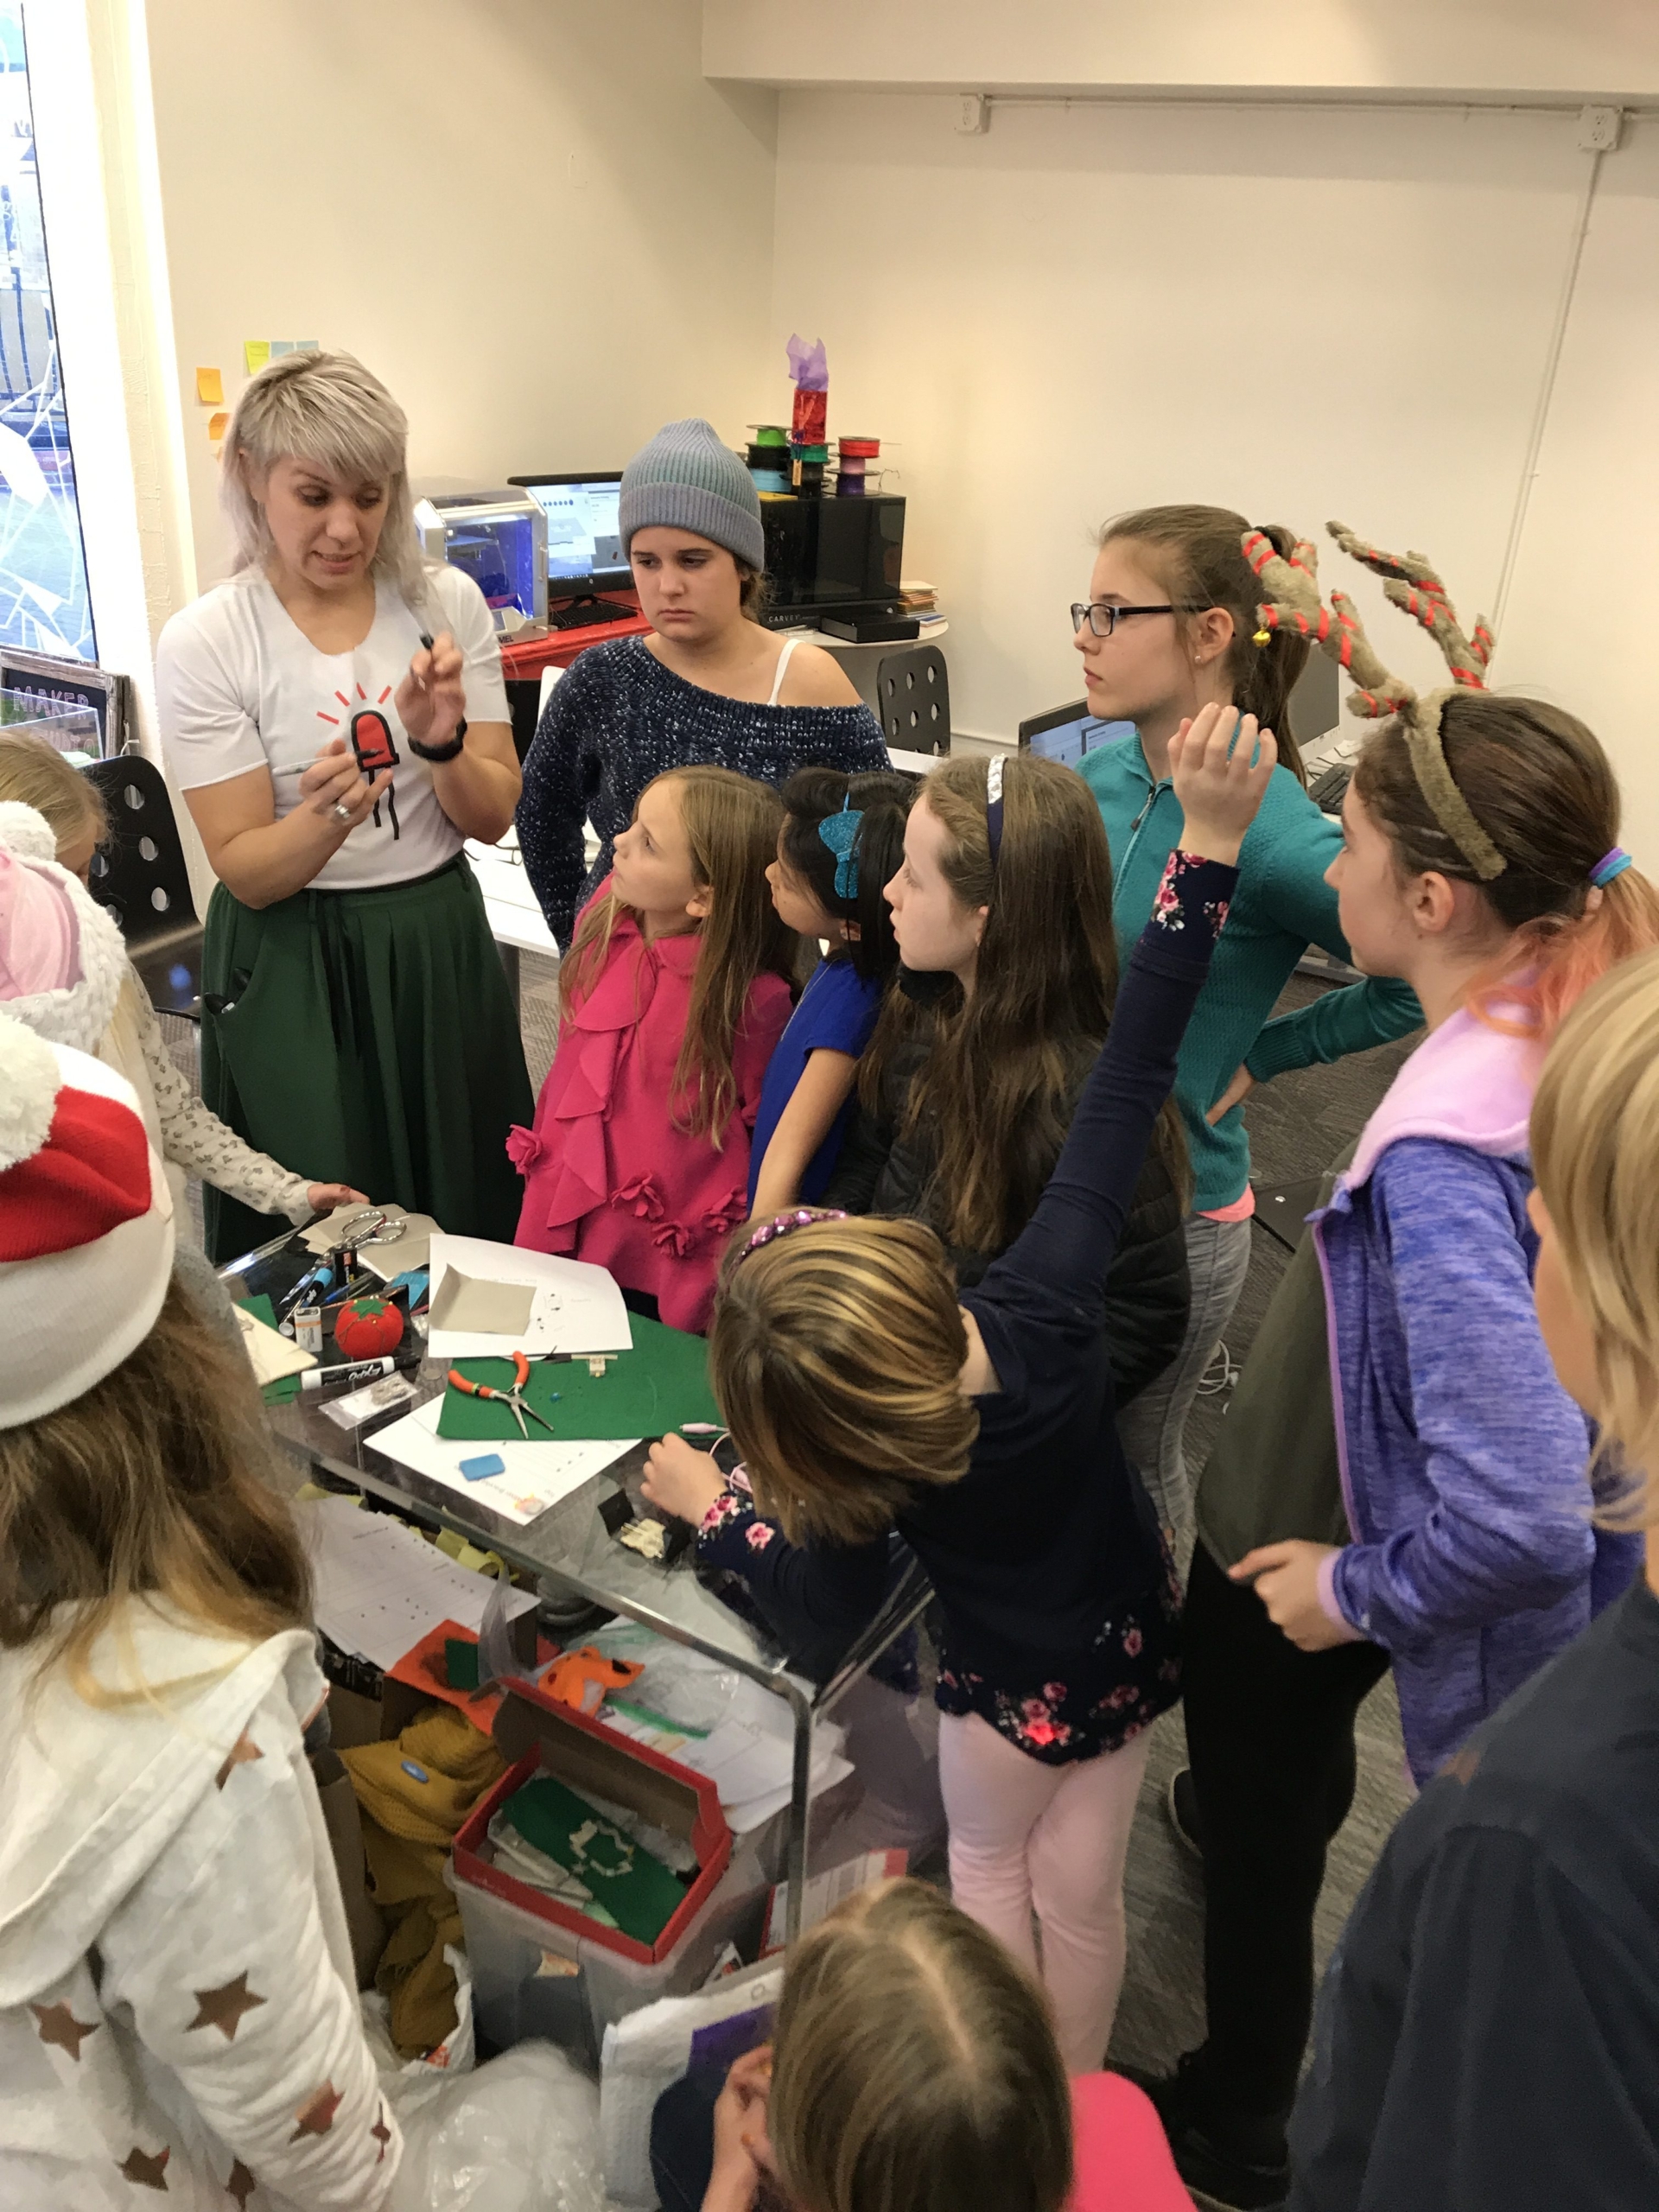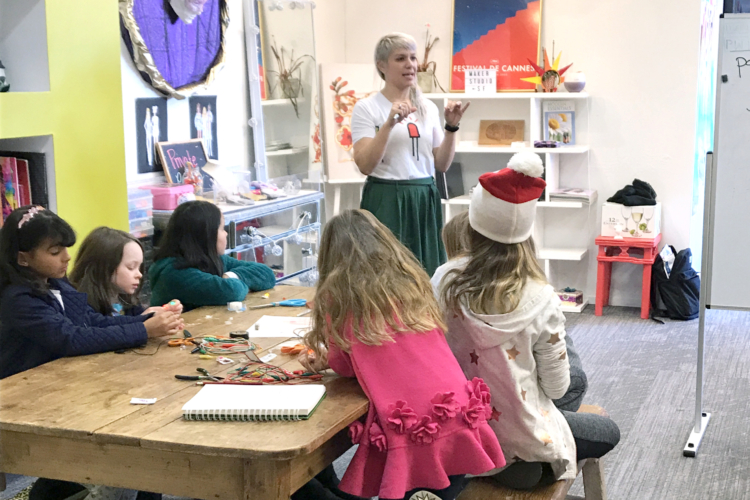
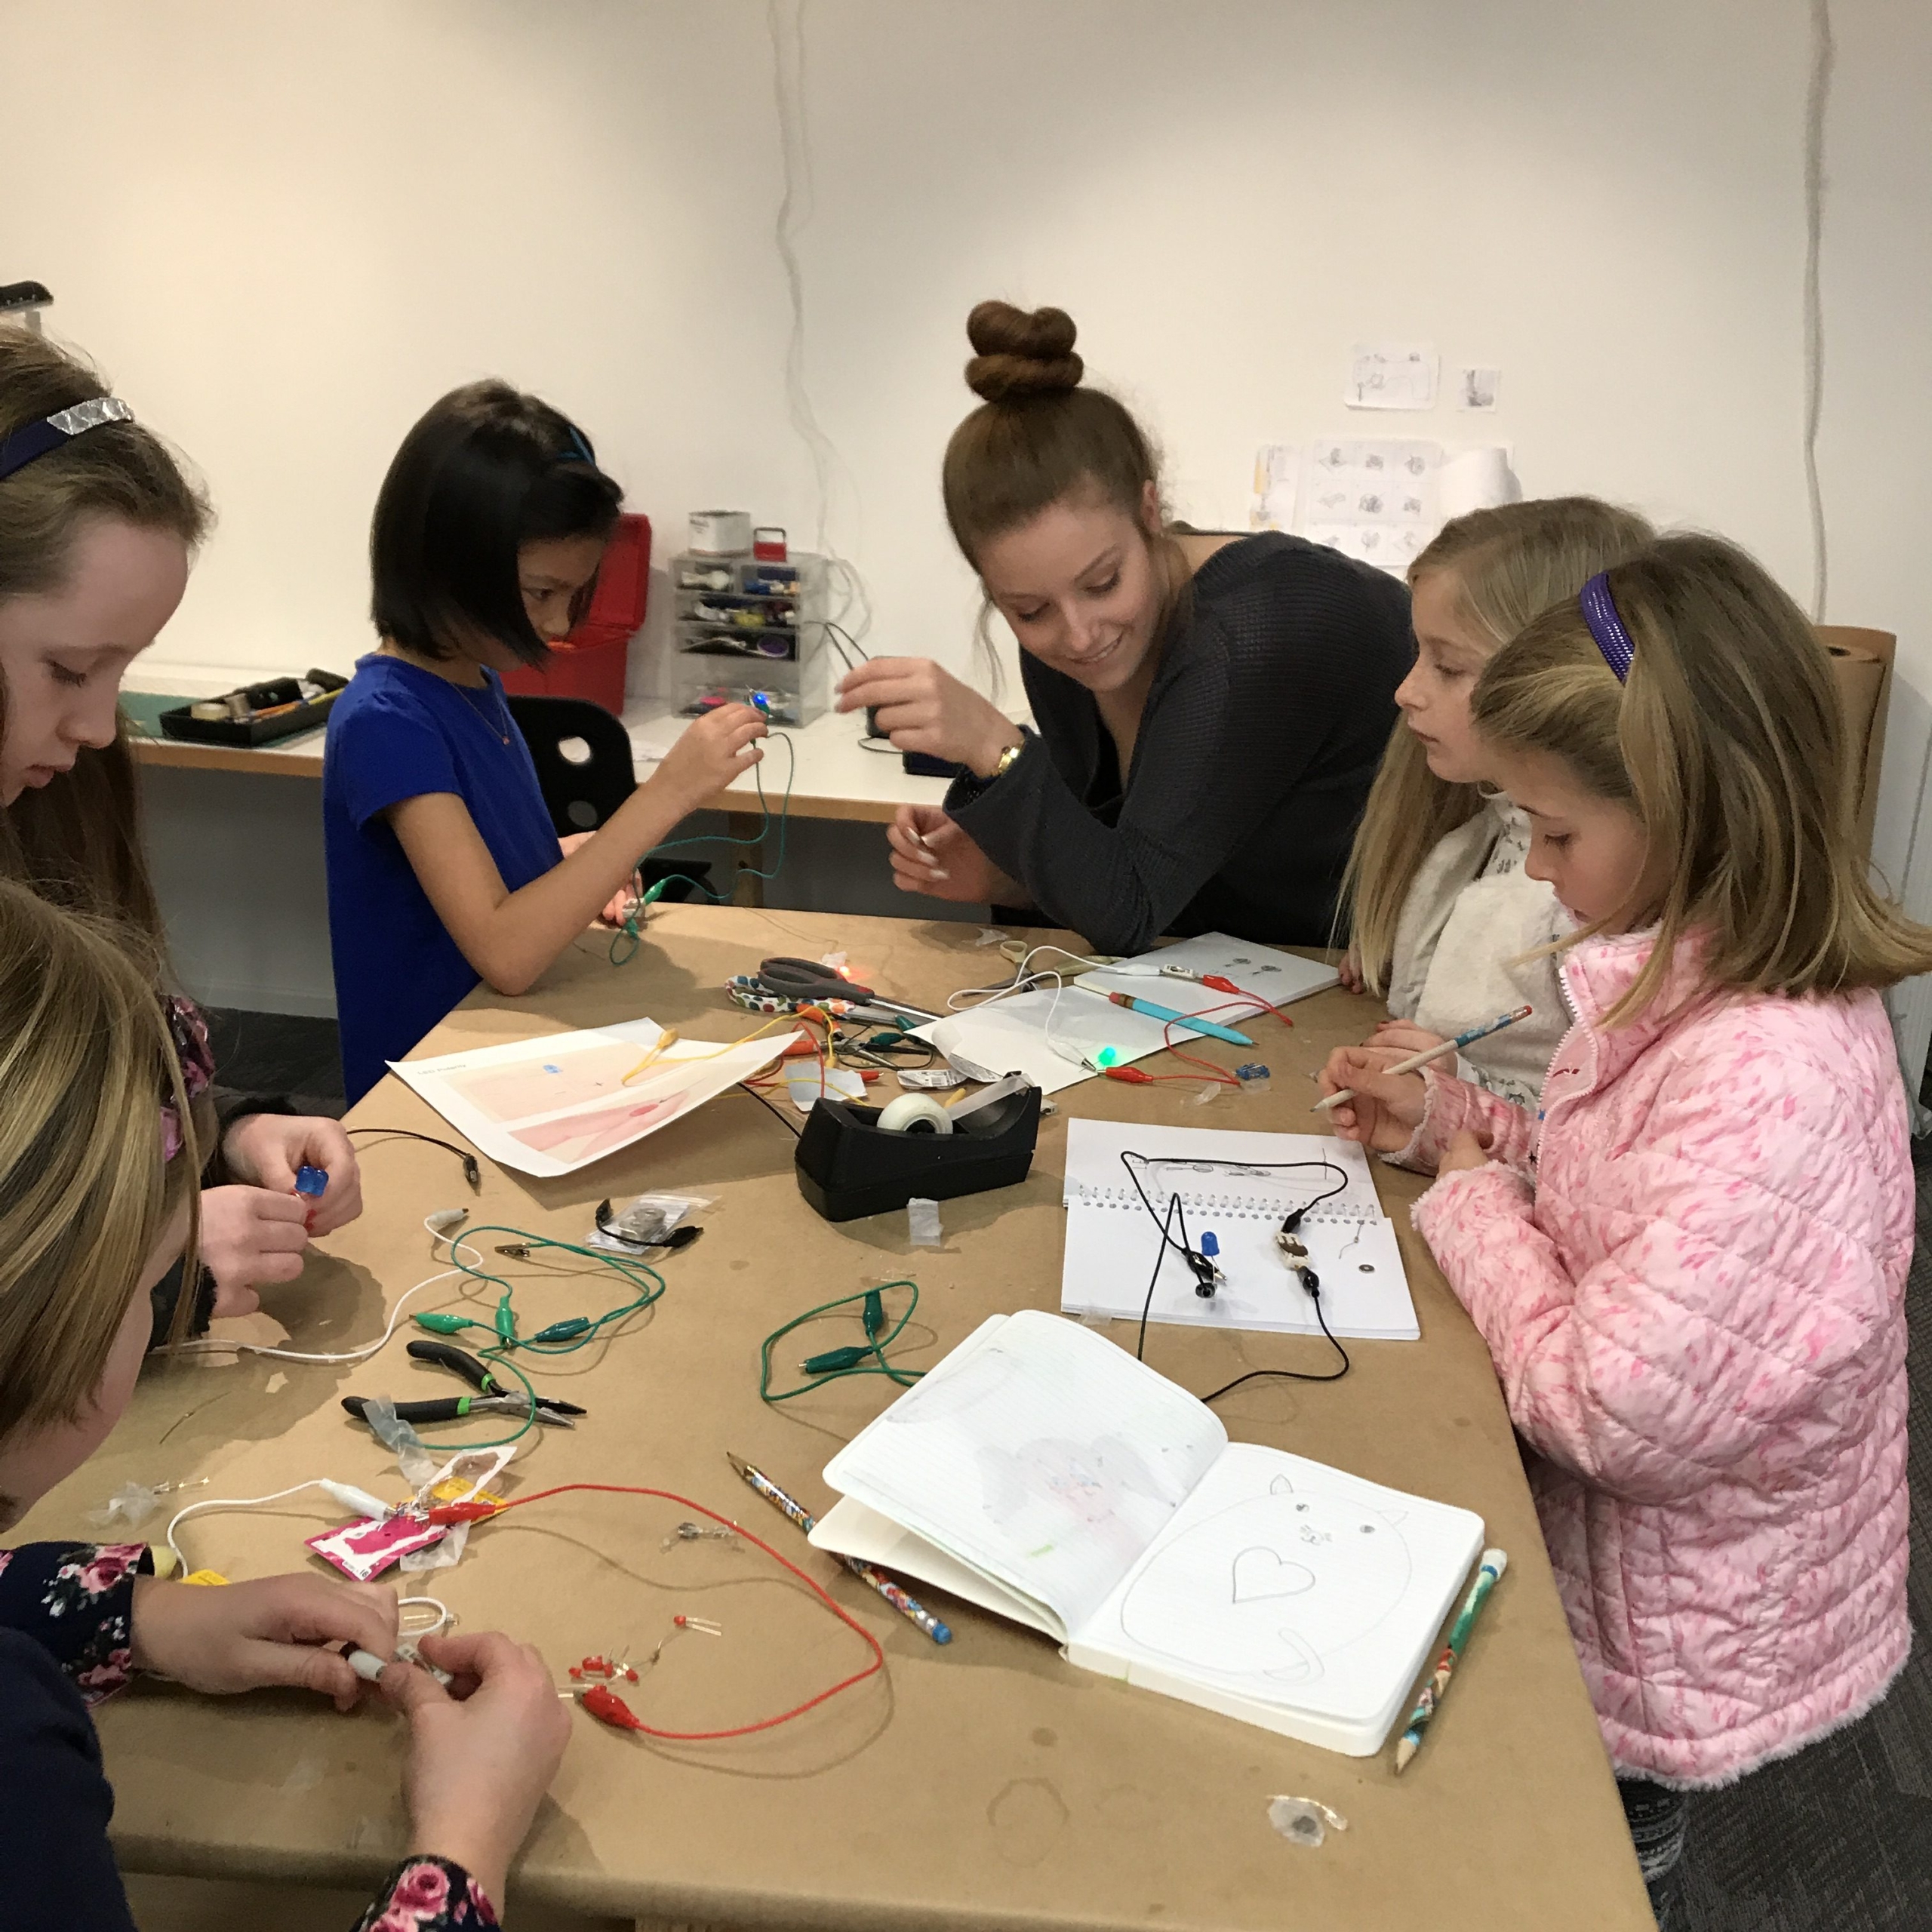
Maker Studio SF is a maker space that focuses on teaching youth, especially girls, technology through fashion. They provide after school programs and camps that focus on the merging of engineering and creative practices, emphasizing that one is intrinsic to the other.
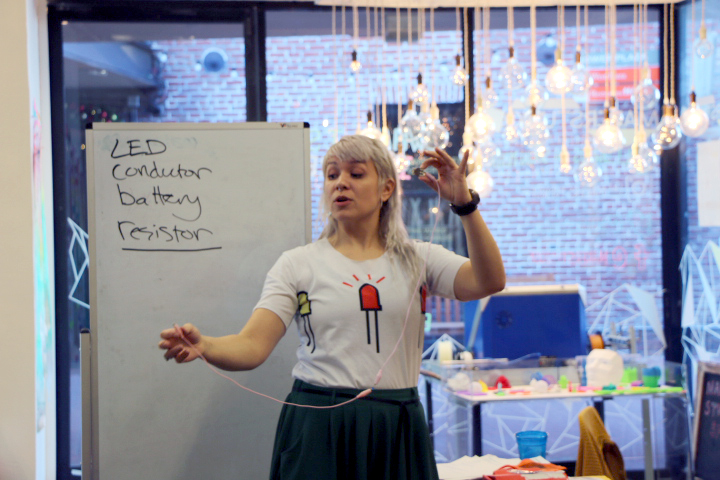
I had the pleasure of teaching the first workshop in their Fashion Engineering Camp program.
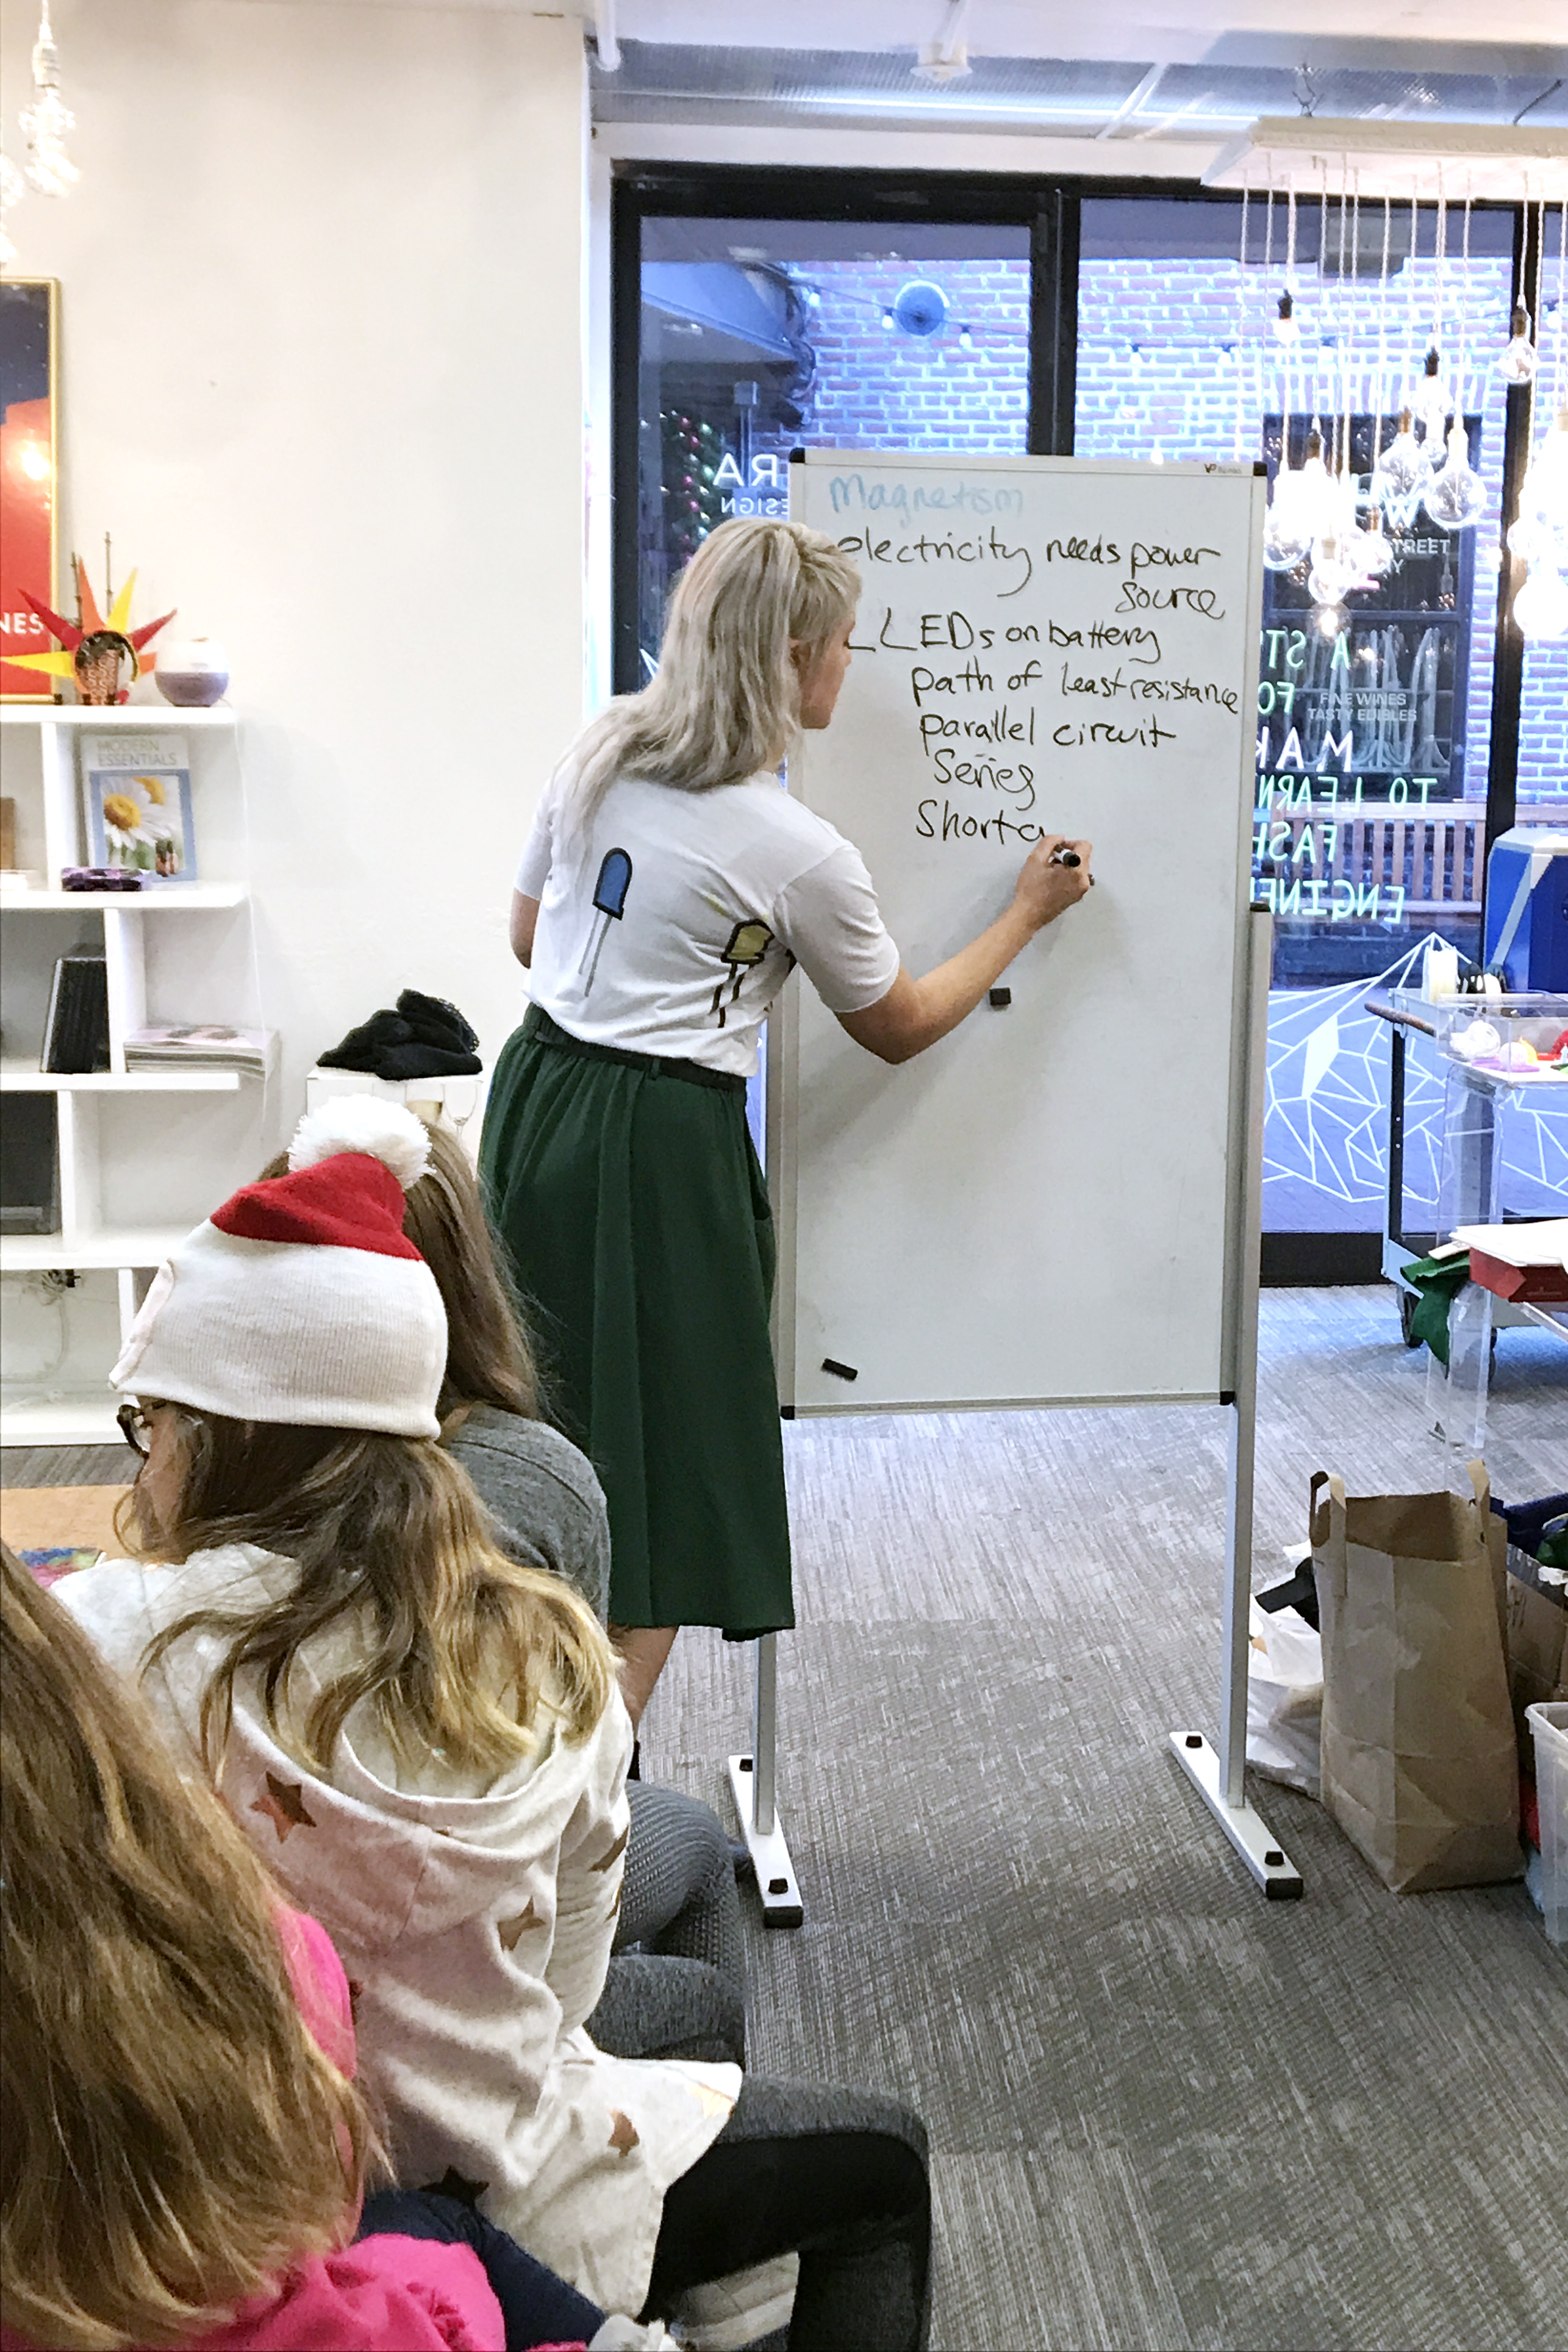
Learning objectives and goals of the workshop:
// What a circuit is, identify terms and some basic electrical concepts.
// Learn through hands-on building.
// Learn how to build a basic circuit using “hard” materials, then learn how to rebuild a circuit using “soft” materials: conductive thread, fabric and resistive plastic.
// Learn soft circuit techniques, ironing and sewing good mechanical and electrical connections.
// Use learned techniques and knowledge to create a larger project around a soft circuit.
Duration: 6 hours with lunch break
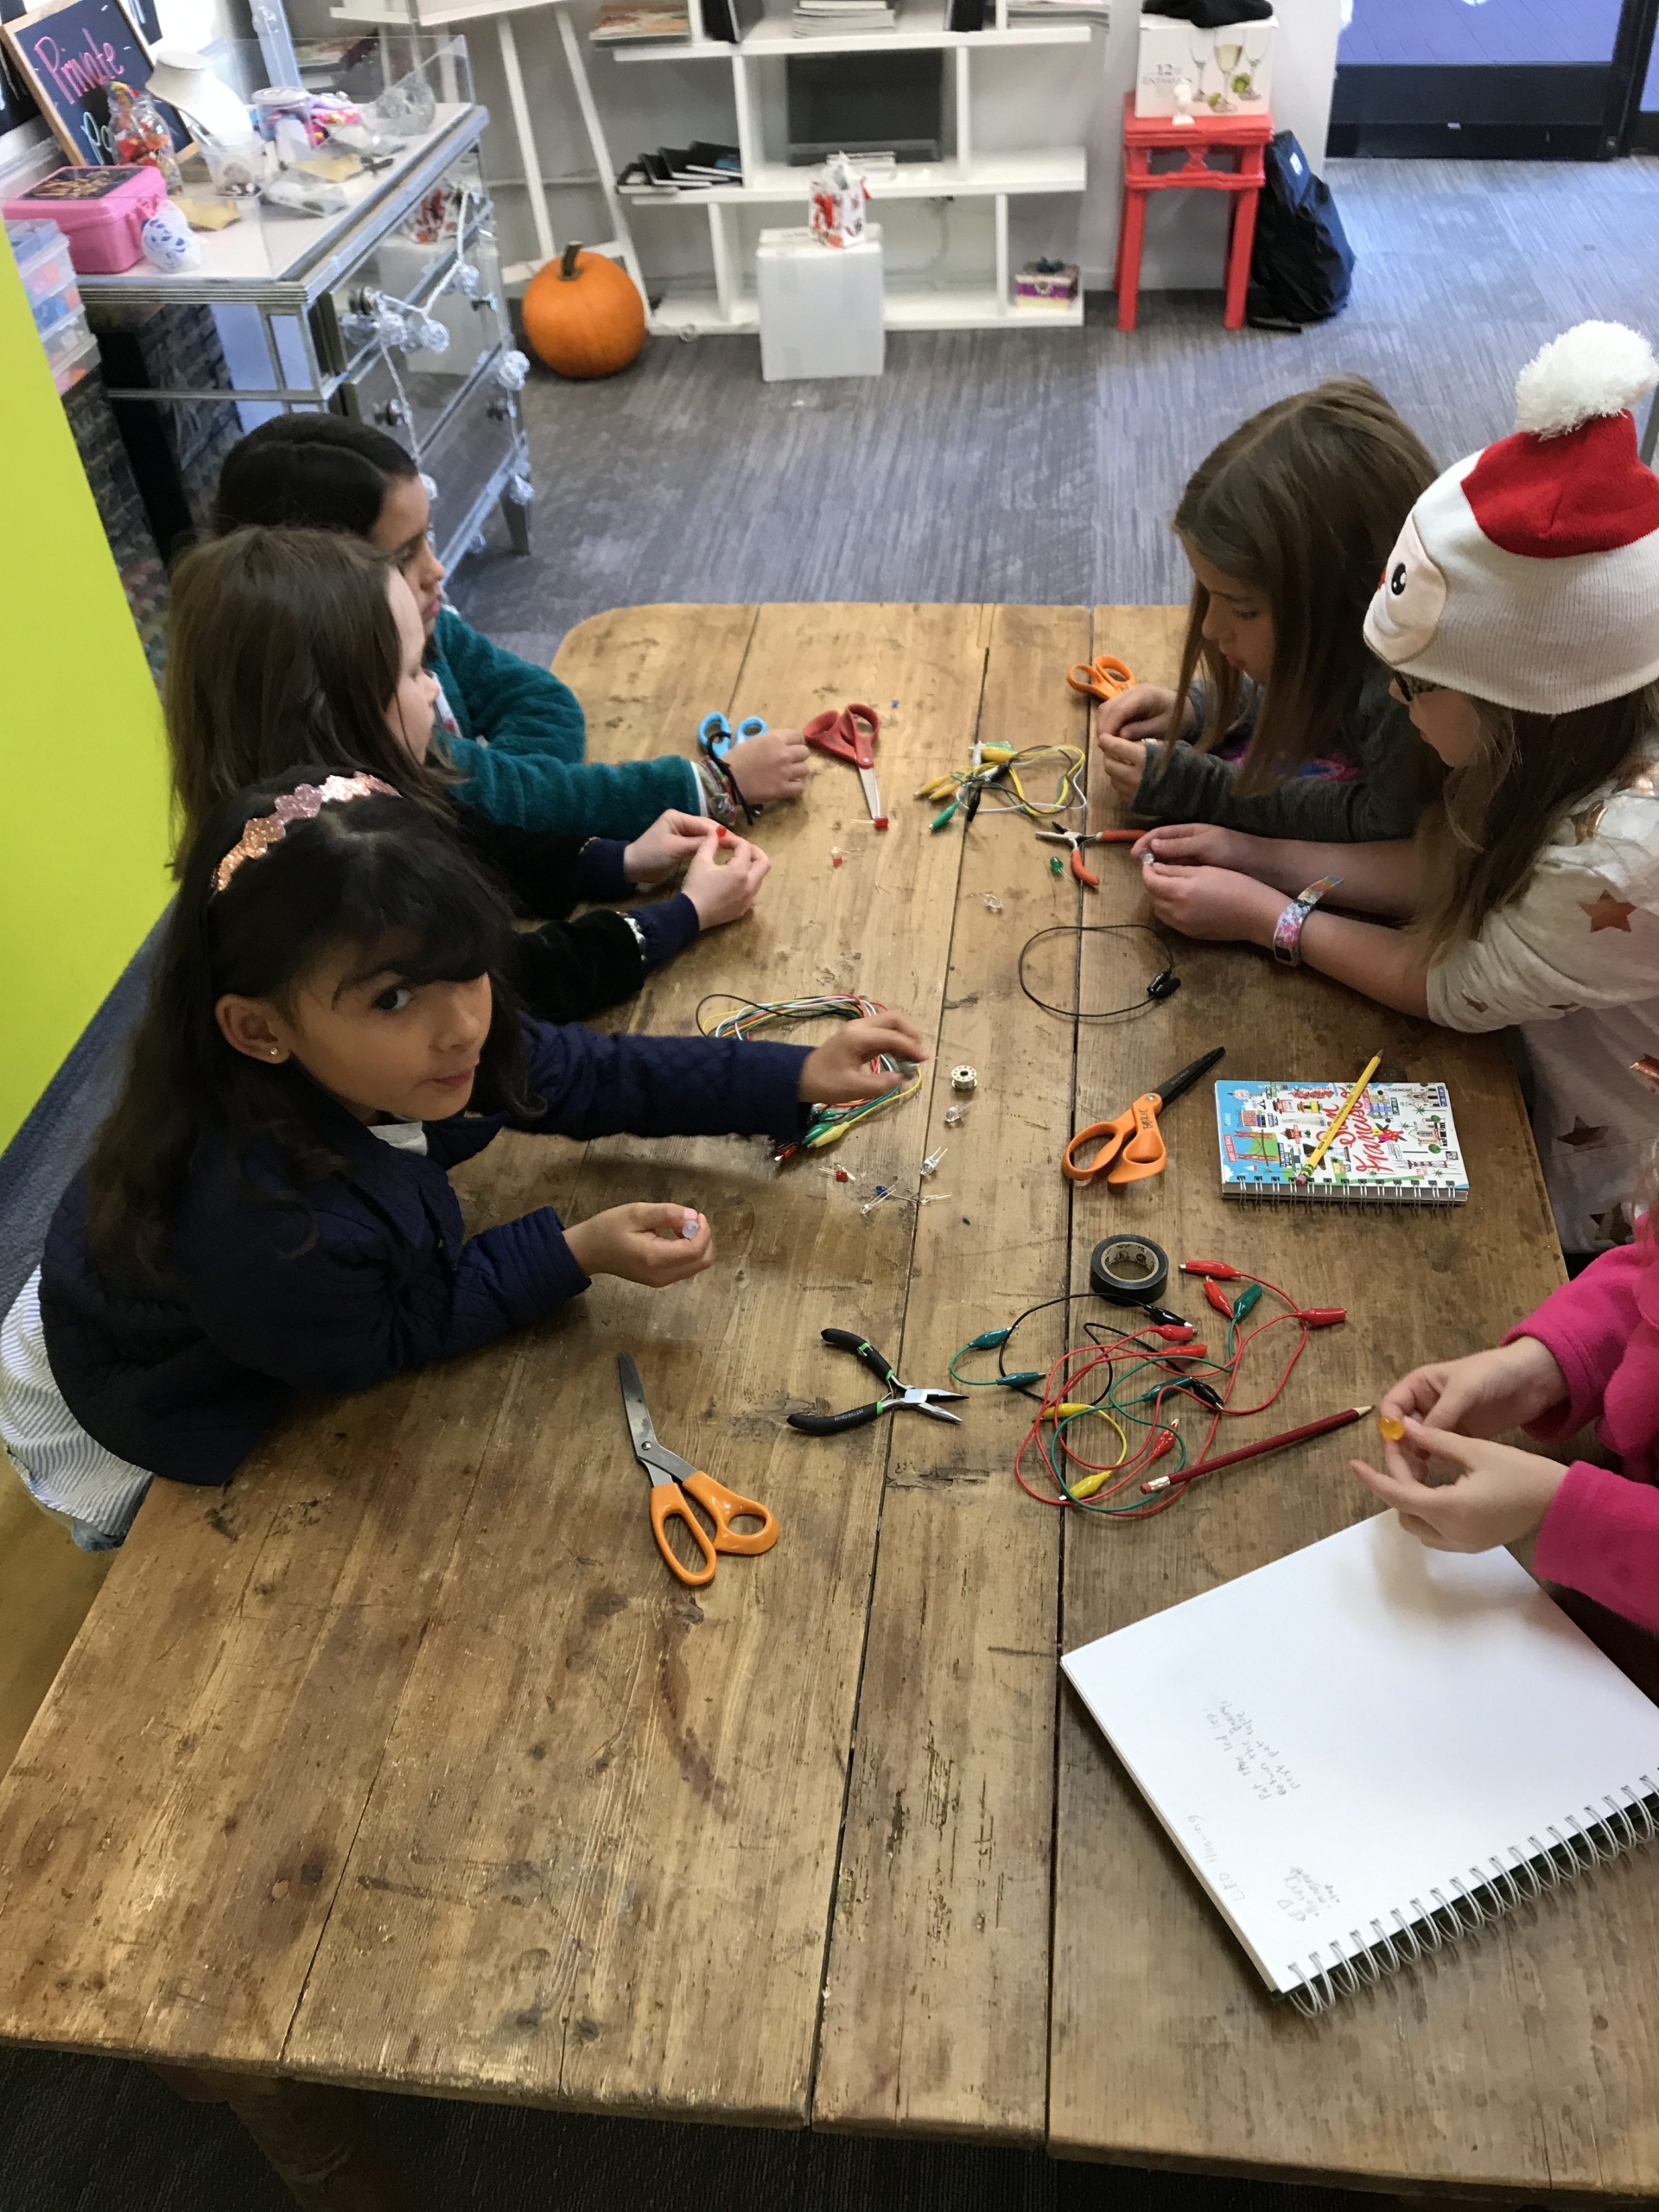
# of students: 15
Age: 3rd – 7th grade
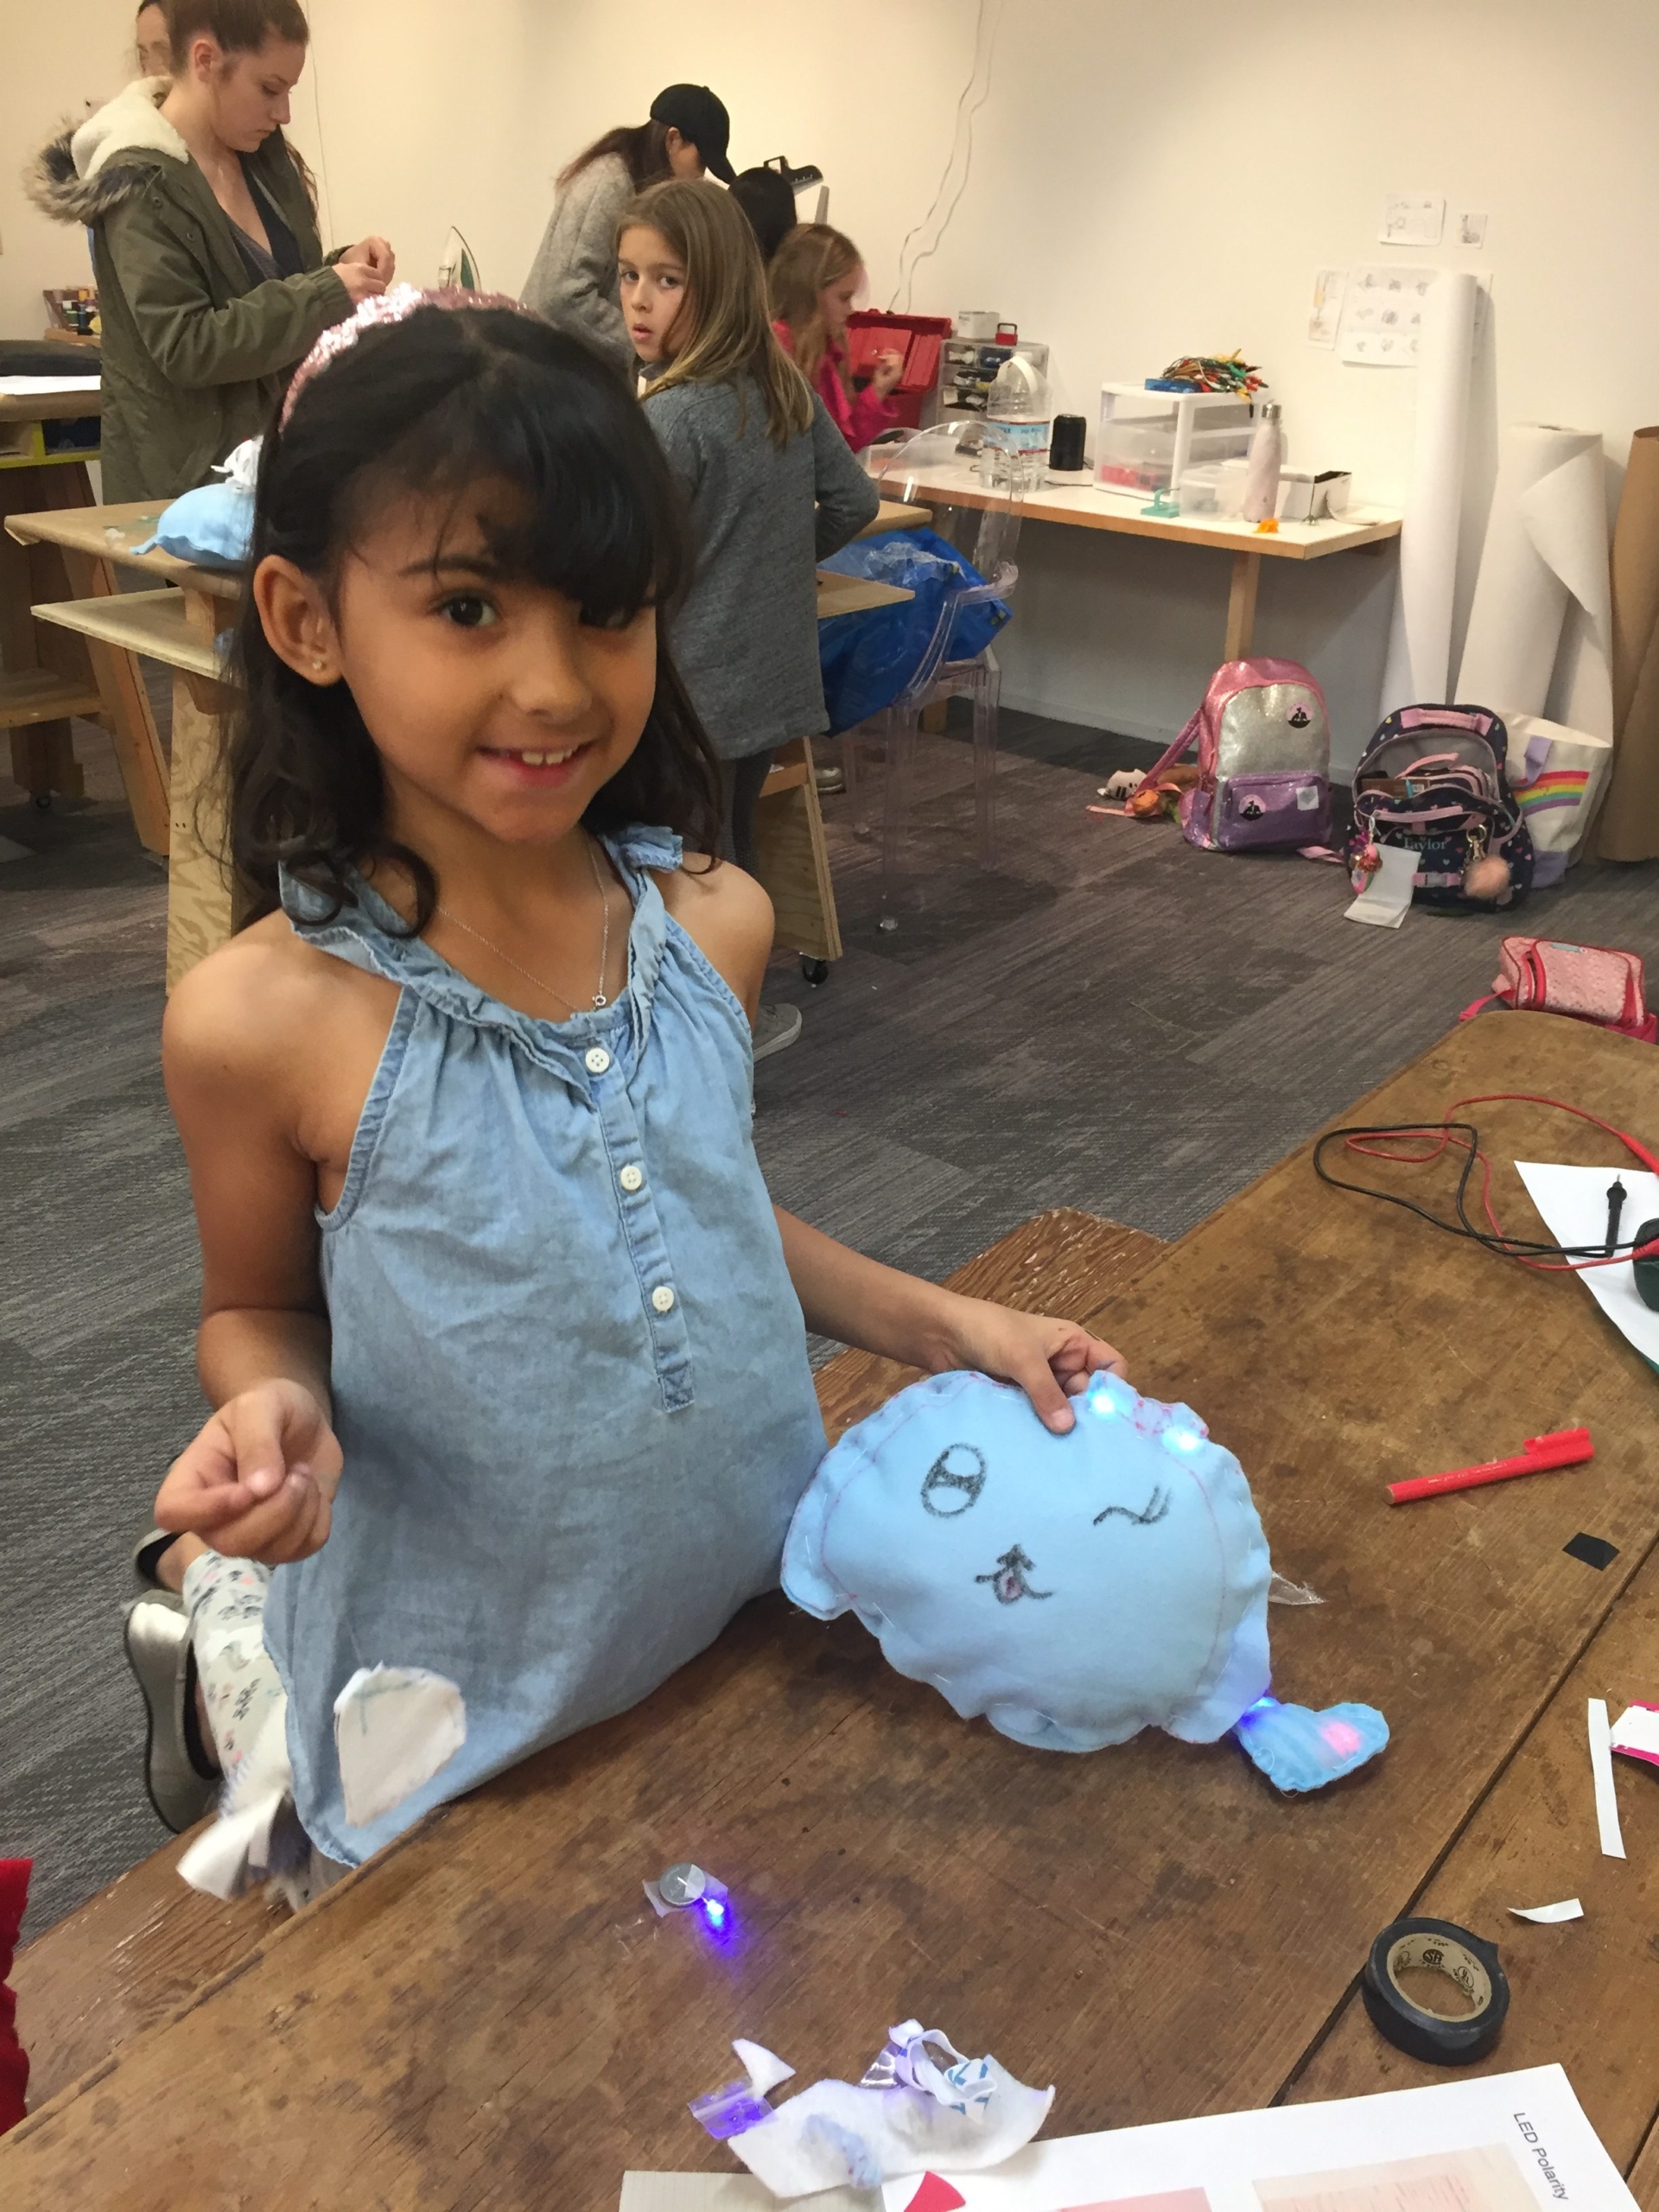
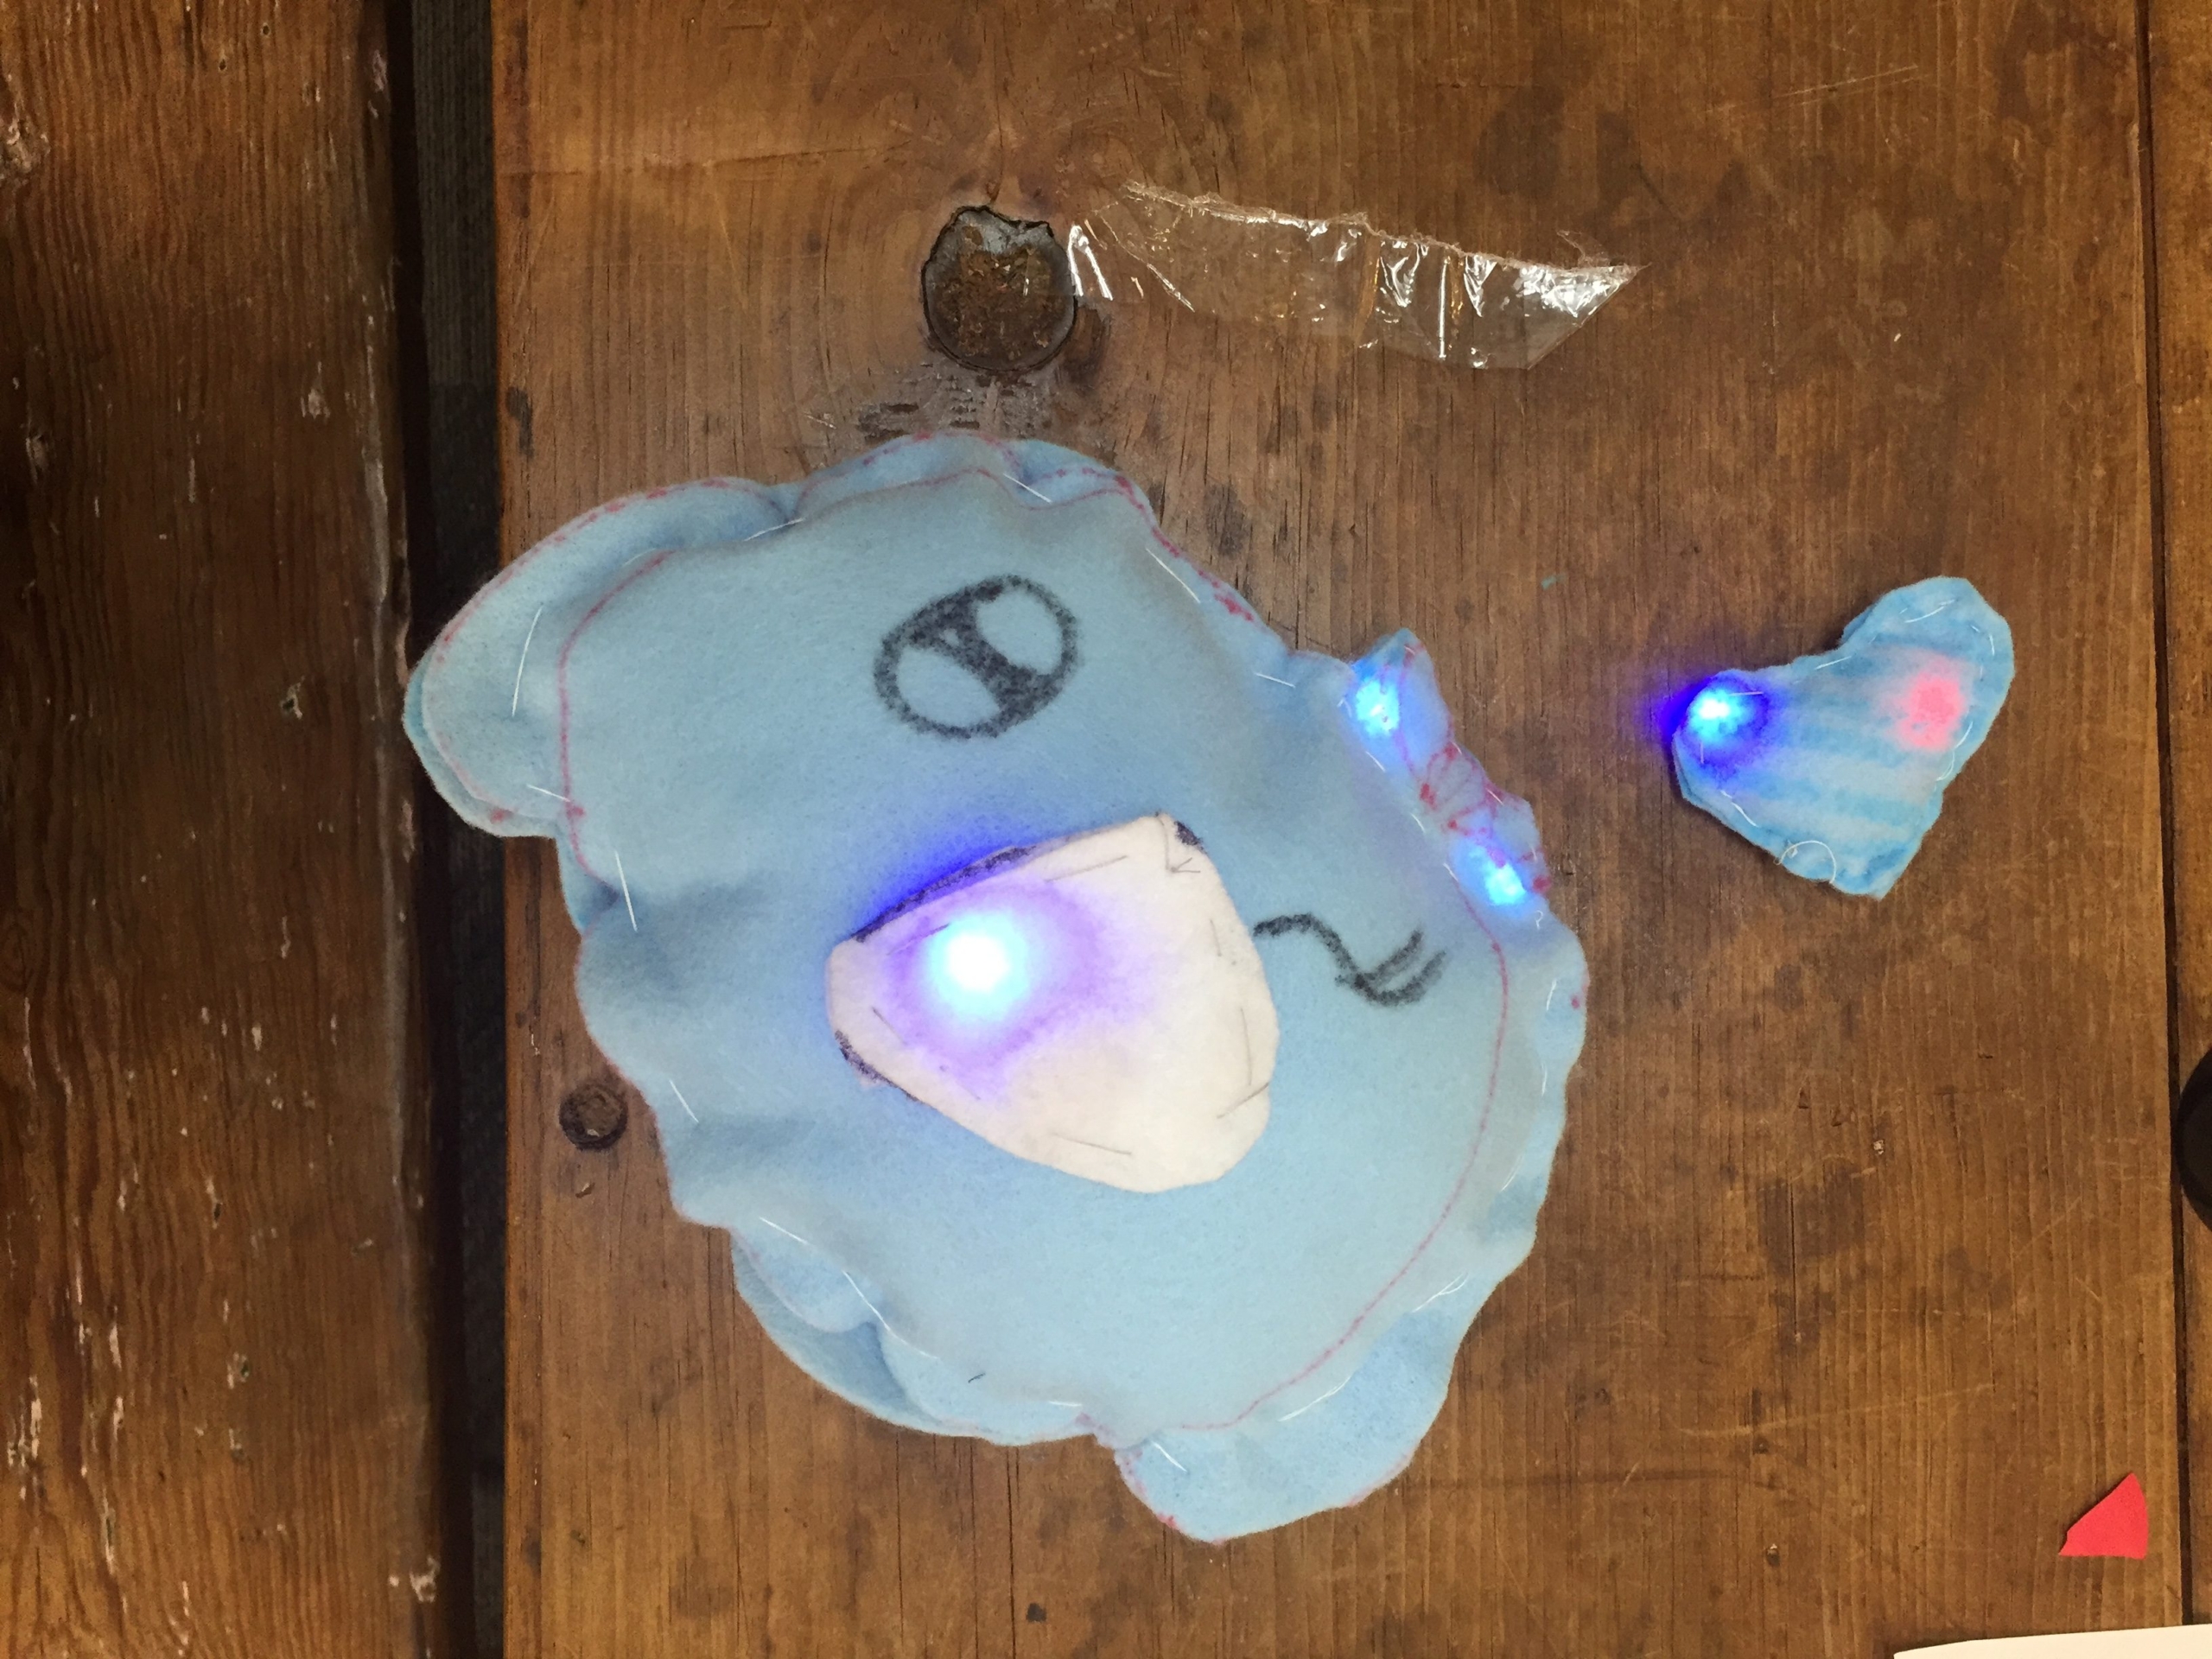
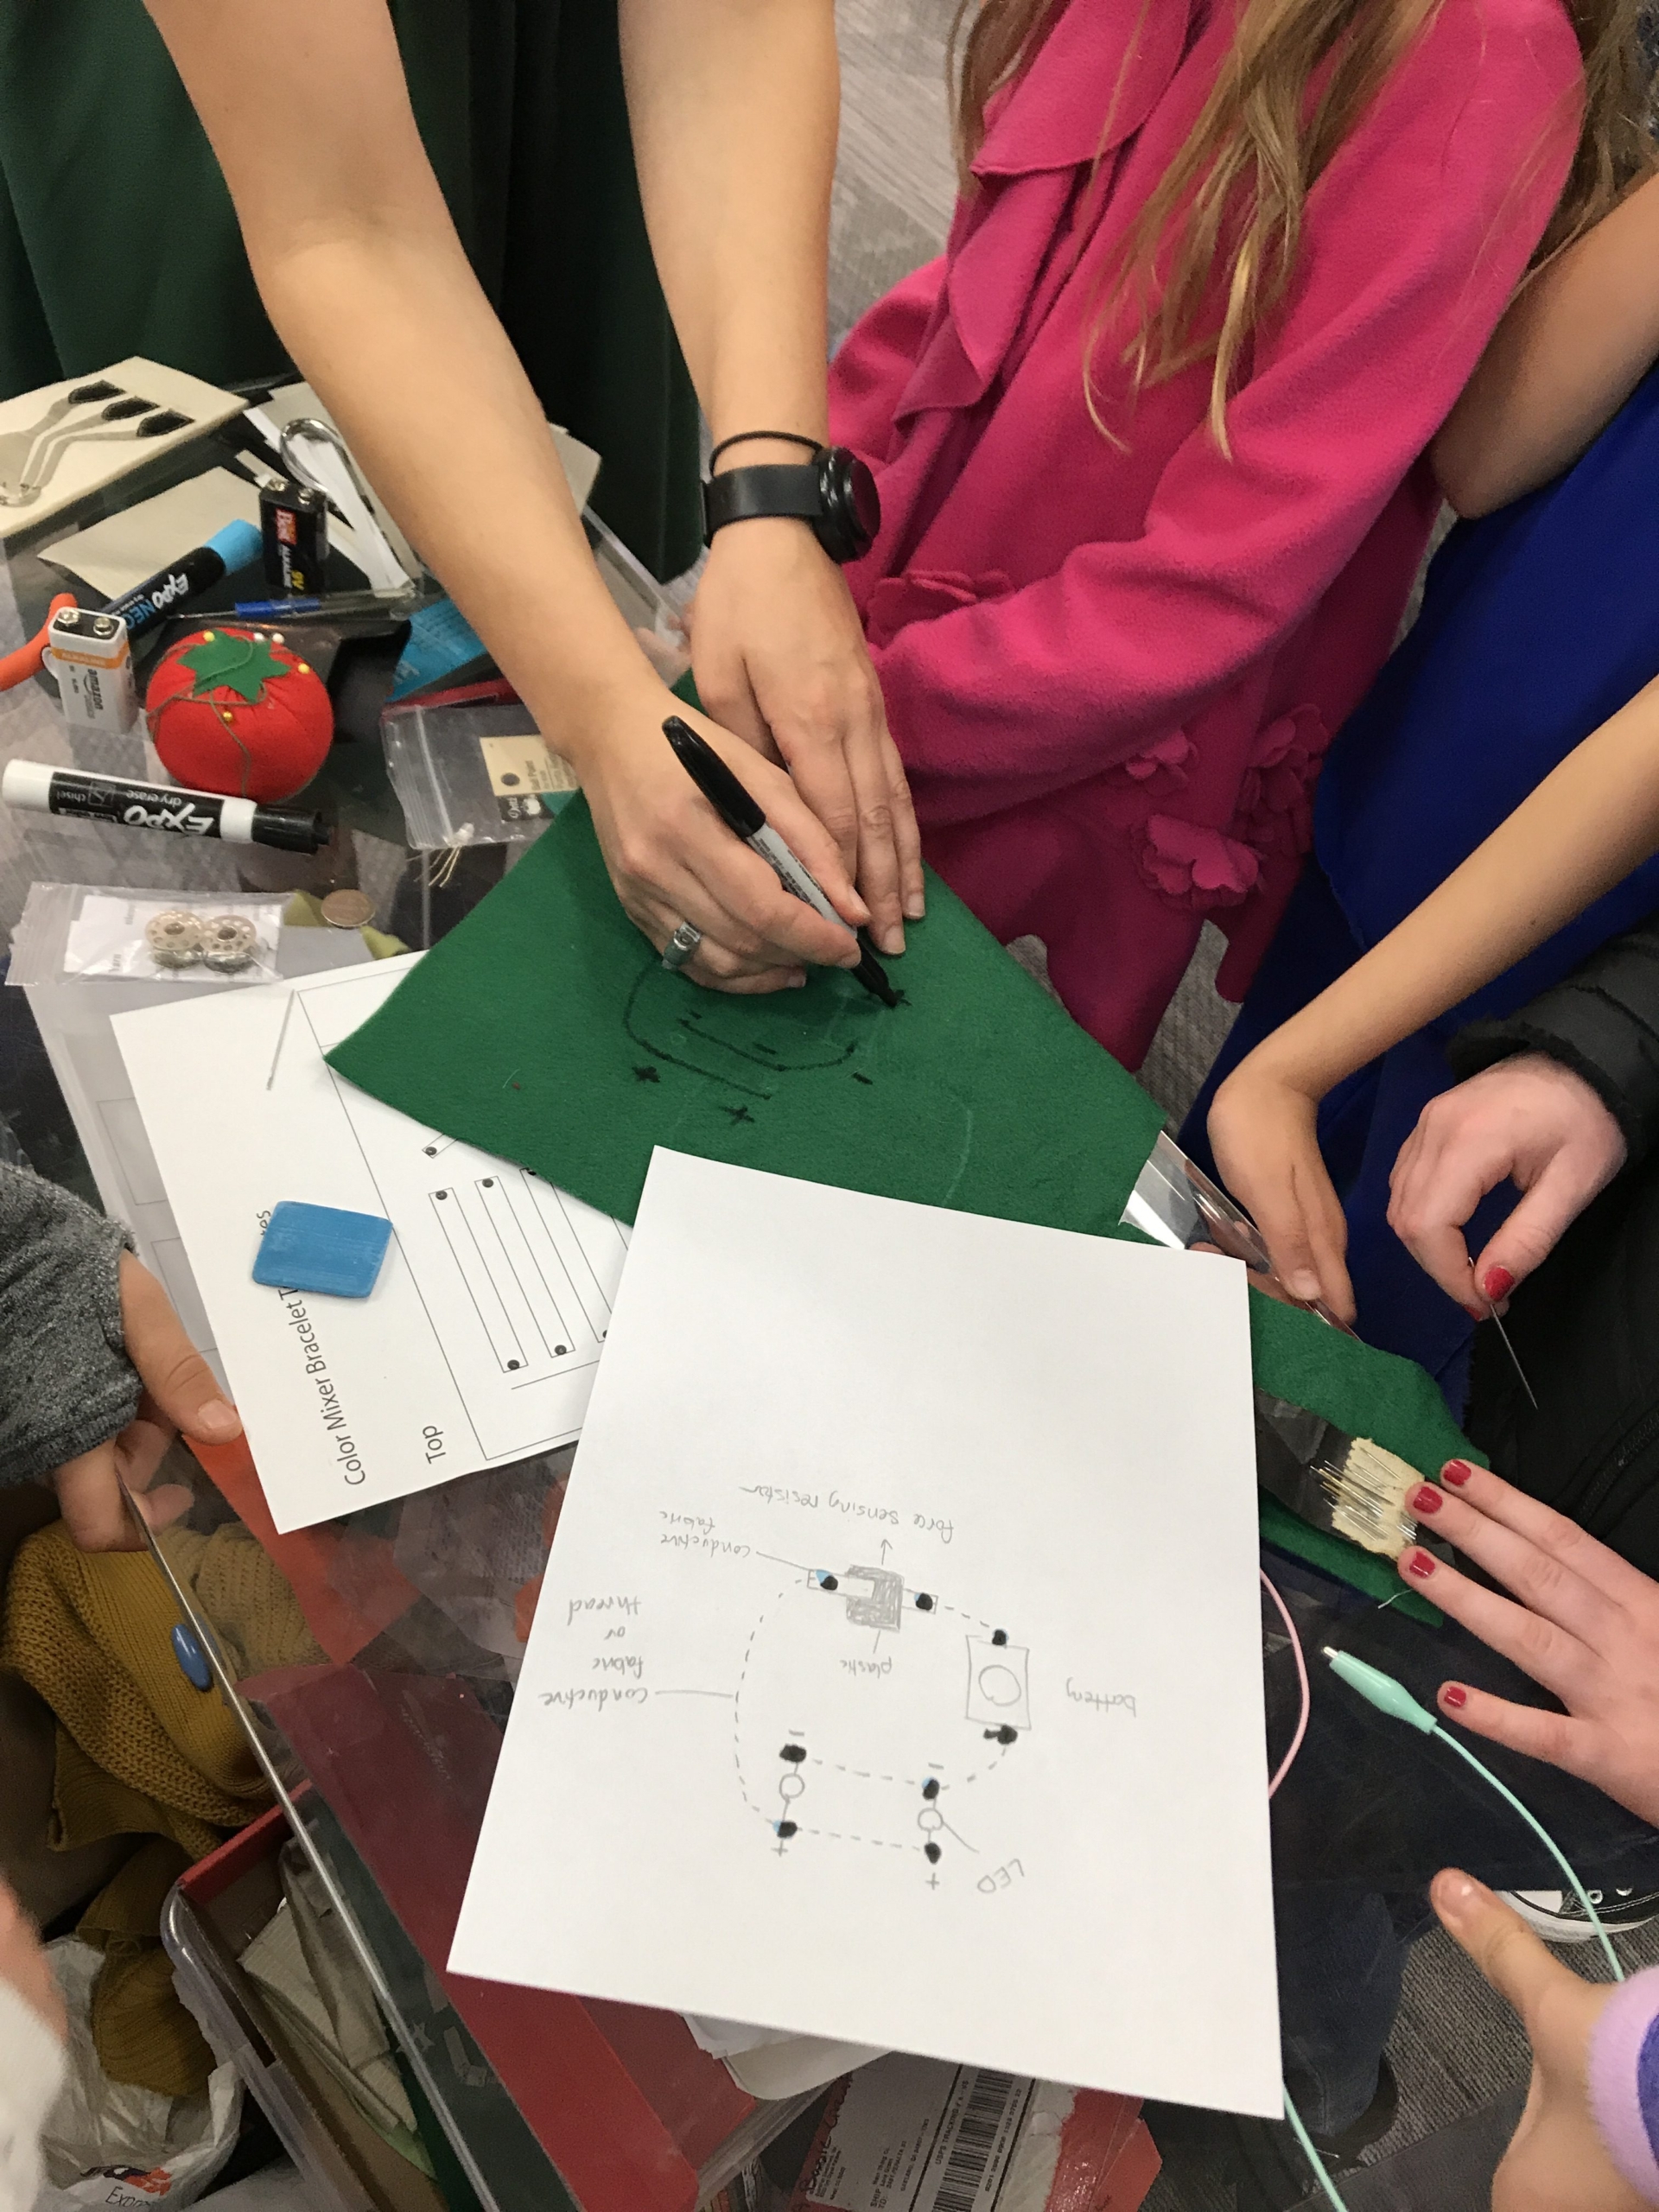
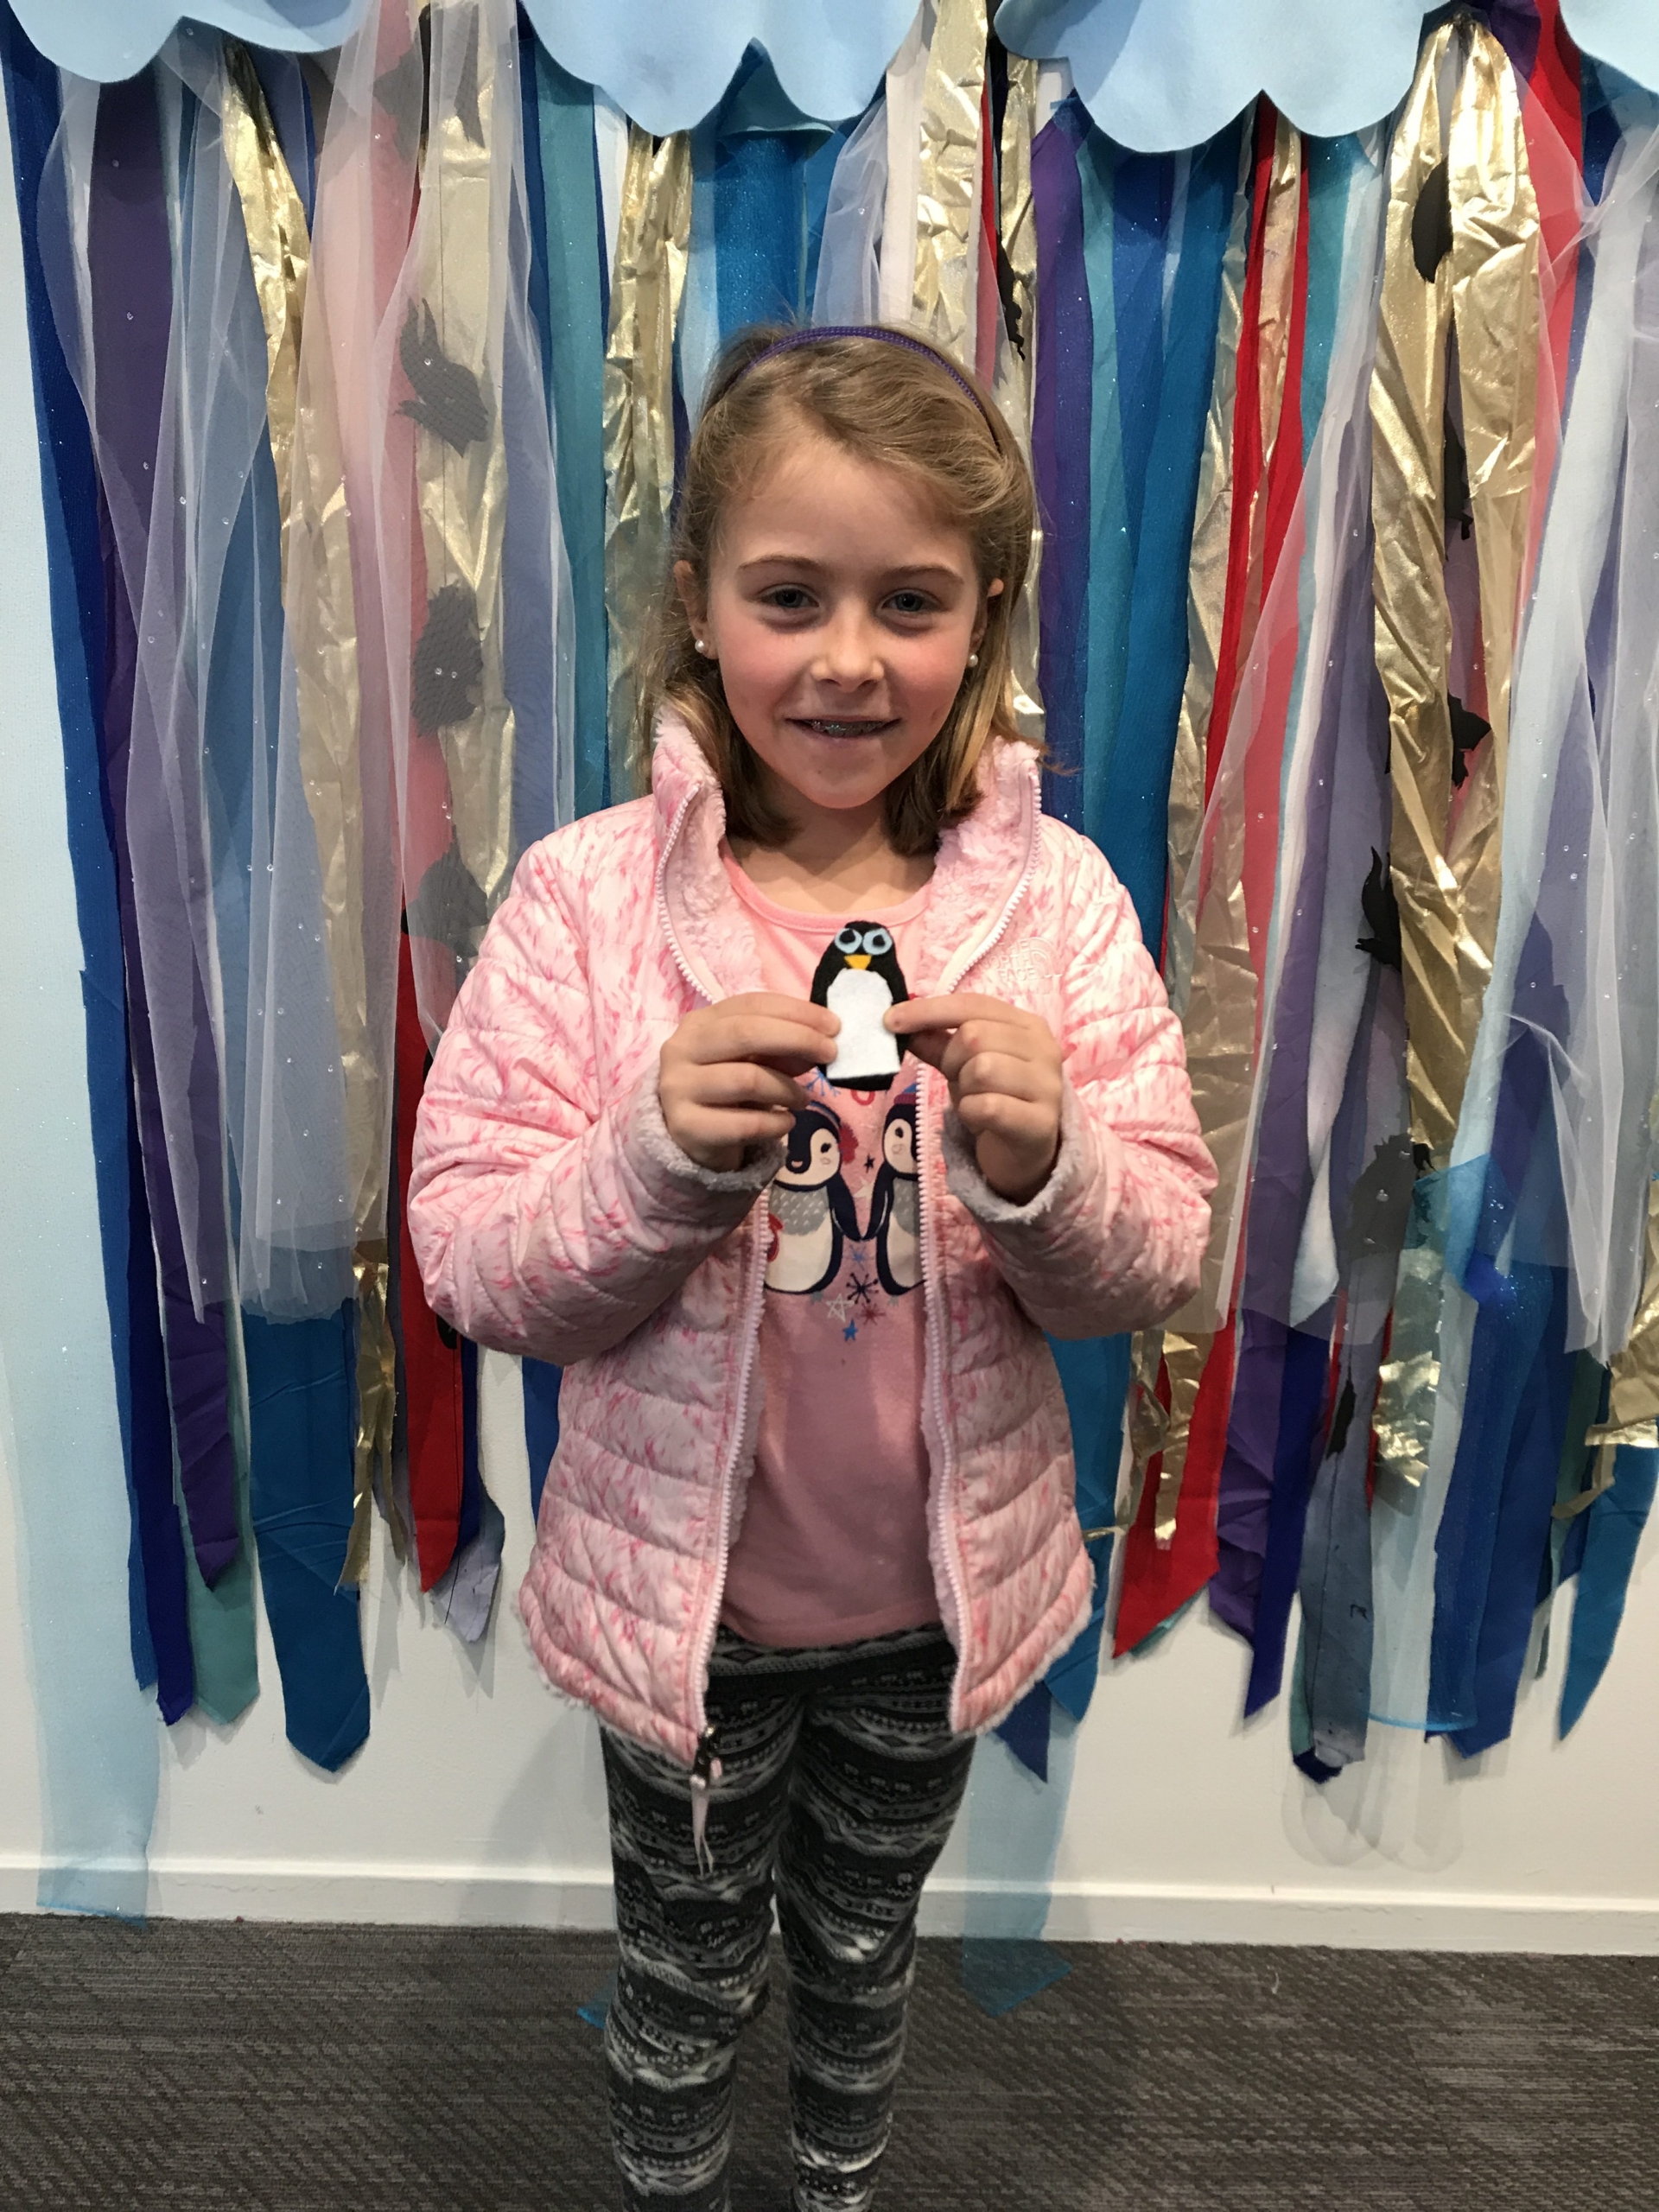
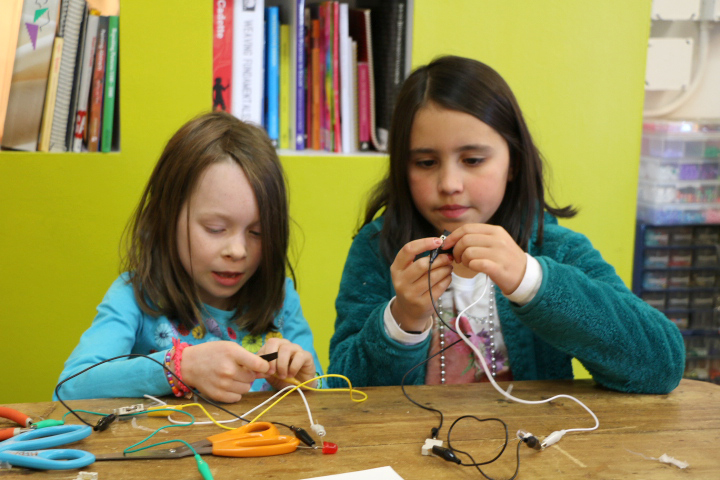
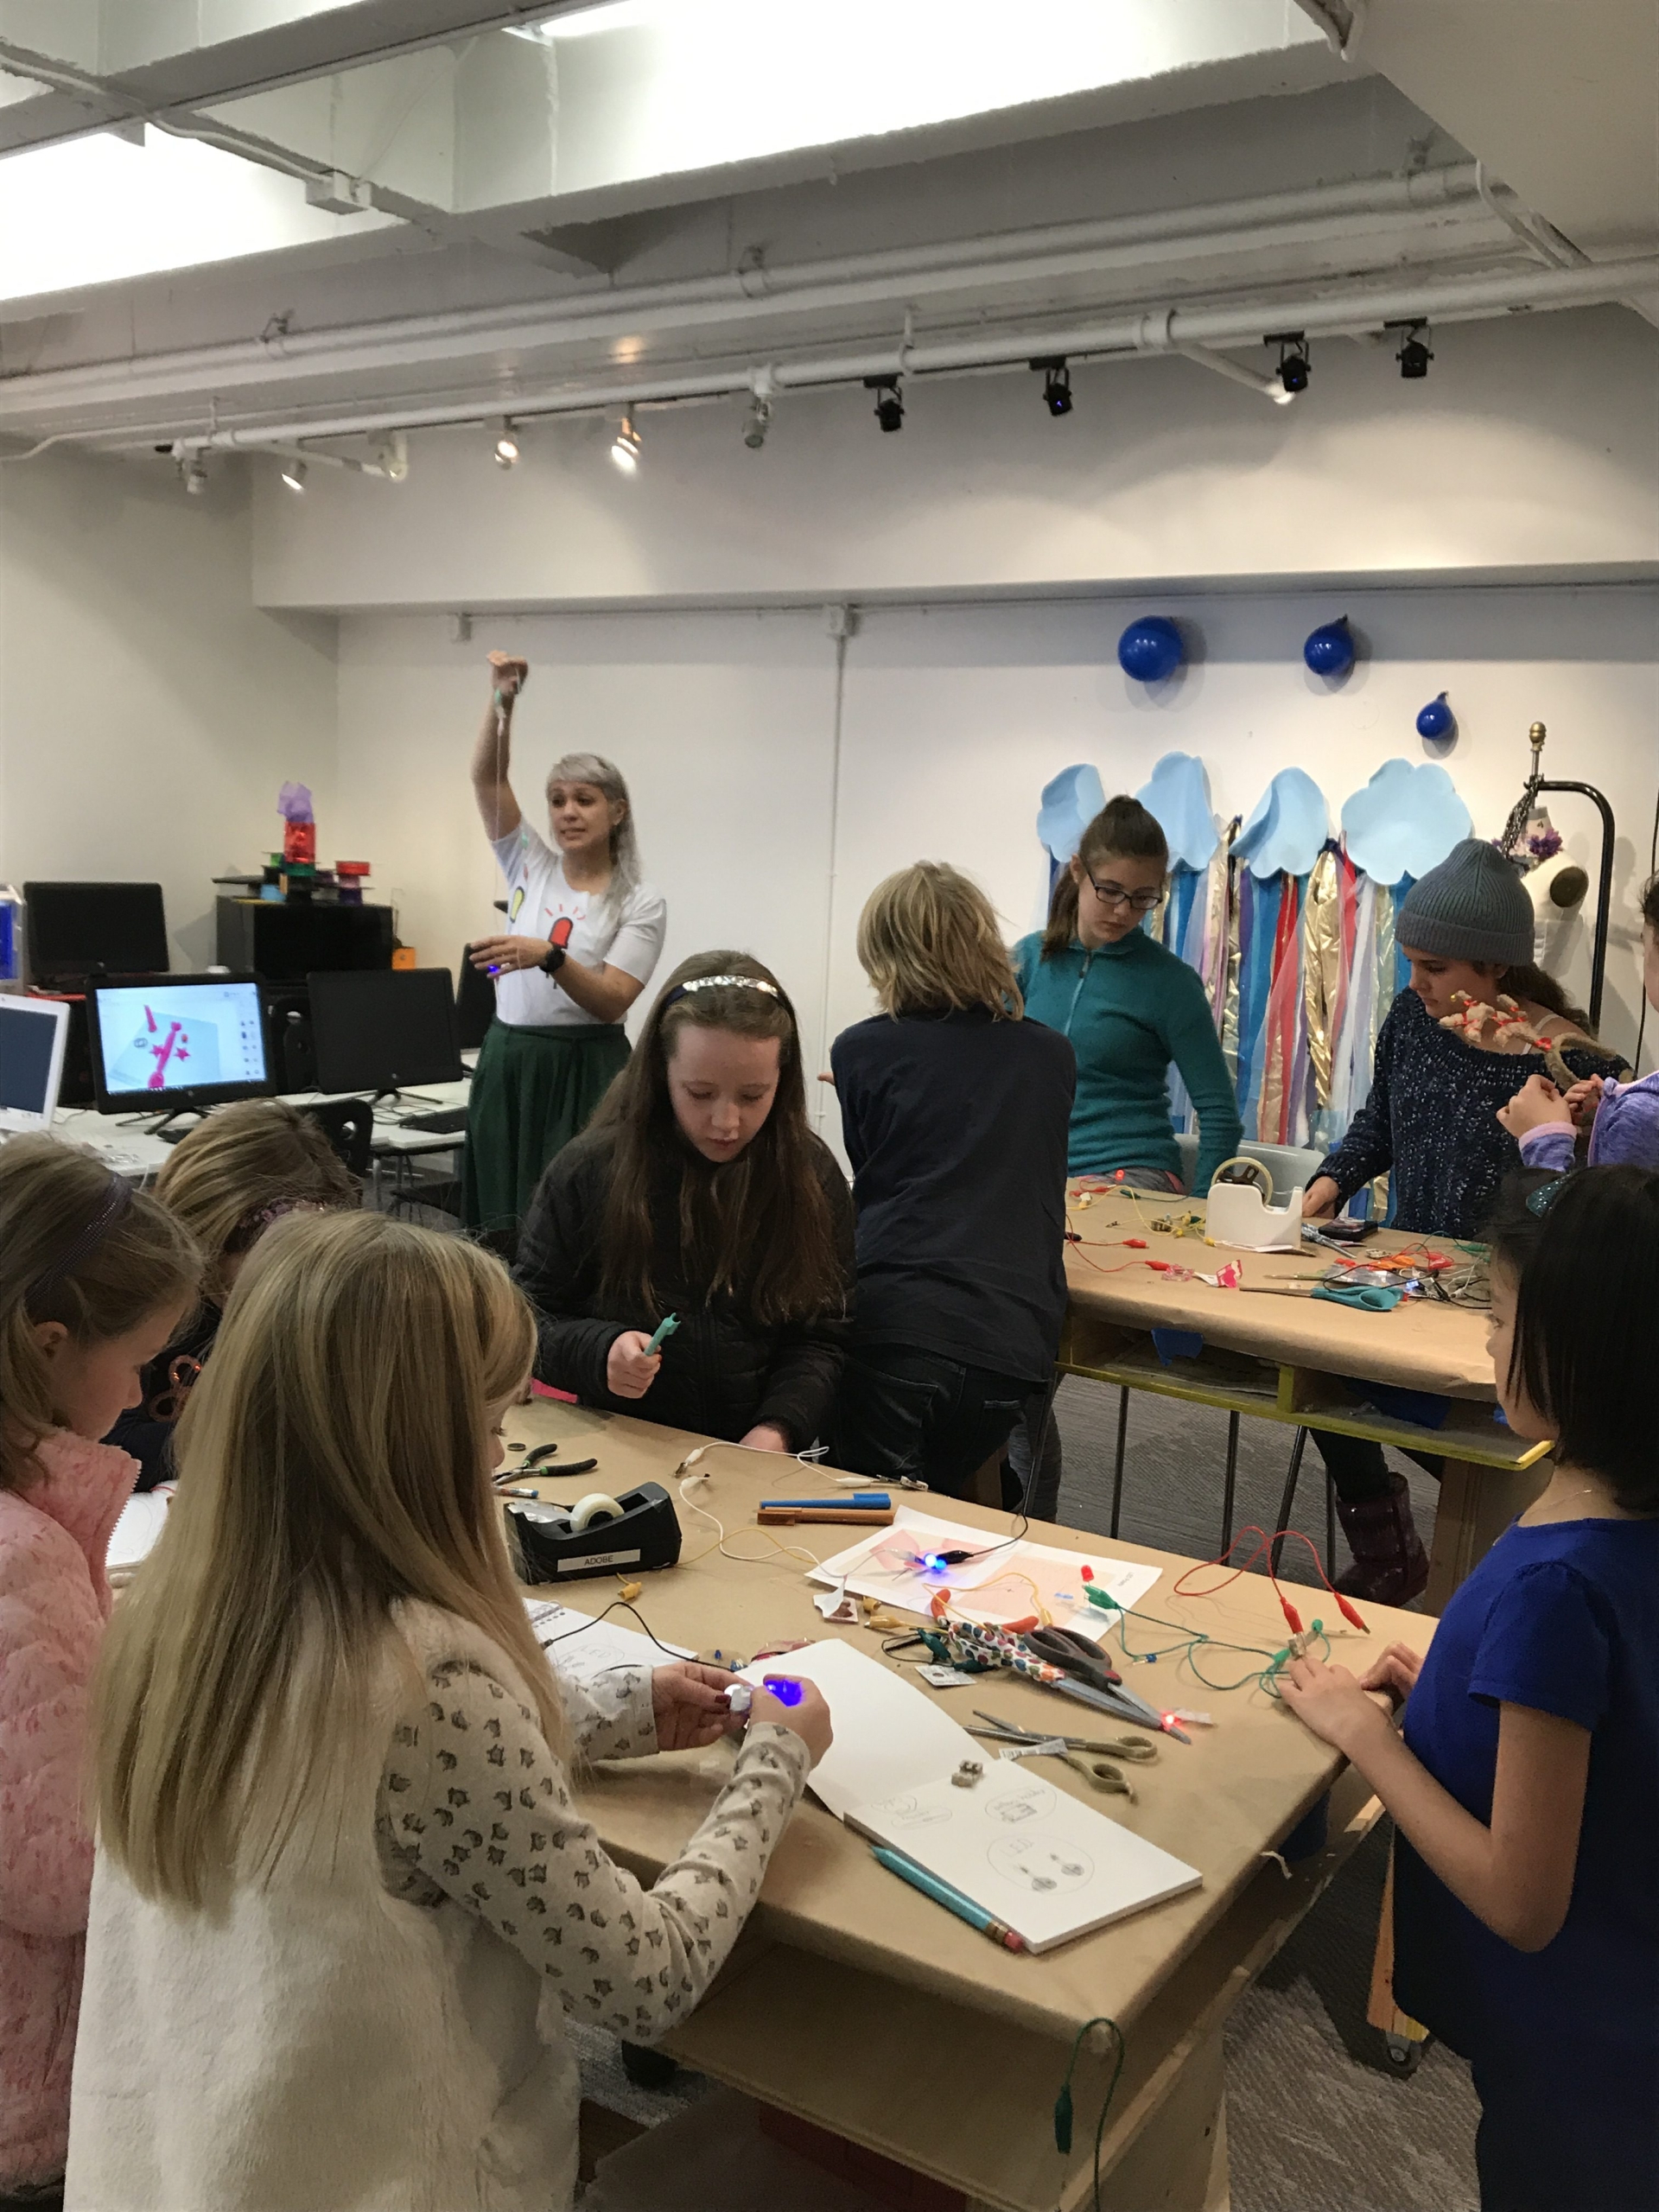
Below is a general outline of the workshop with accompanying photos from each demo build. The final circuit build evolved based on the request of the kids wanting to create a plushie. A template for a plushie circuit with 2 LEDs in parallel was drafted. The bracelet and a circuit with a soft force sensing resistor using Velostat was built by the older kids.
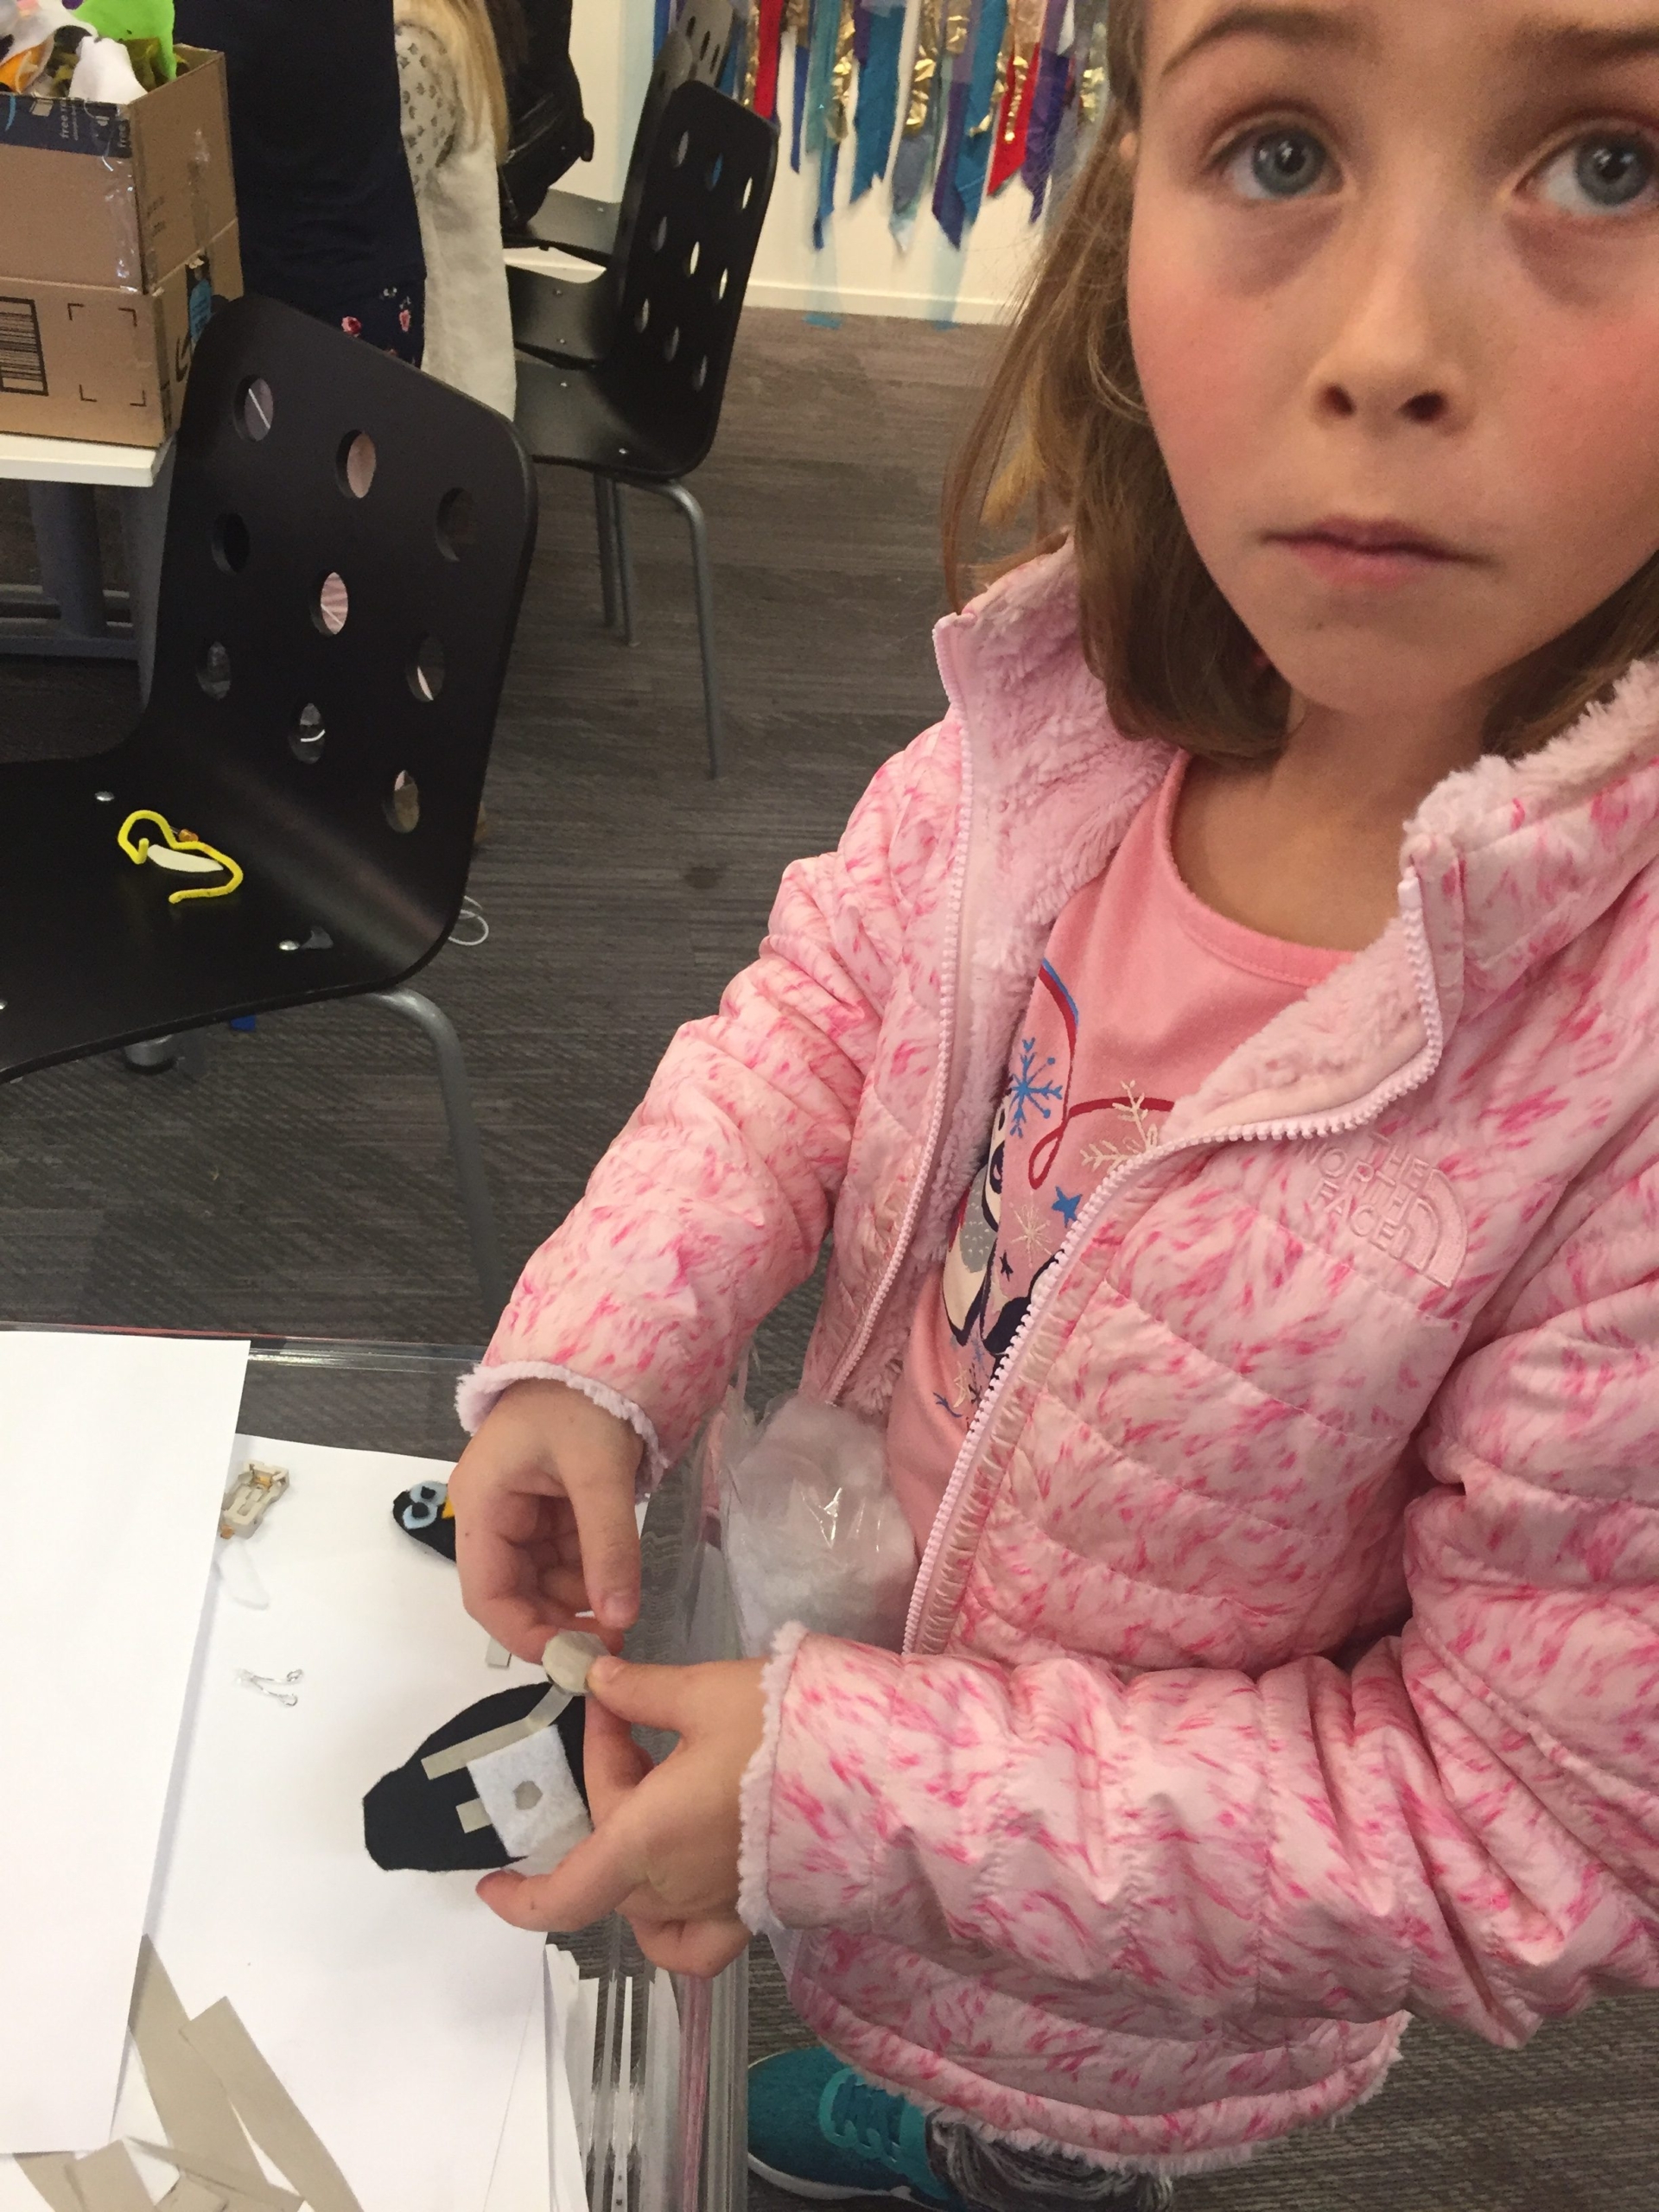
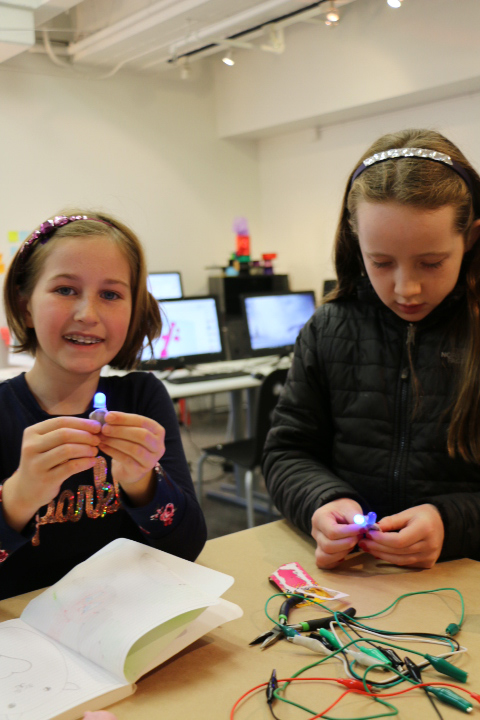
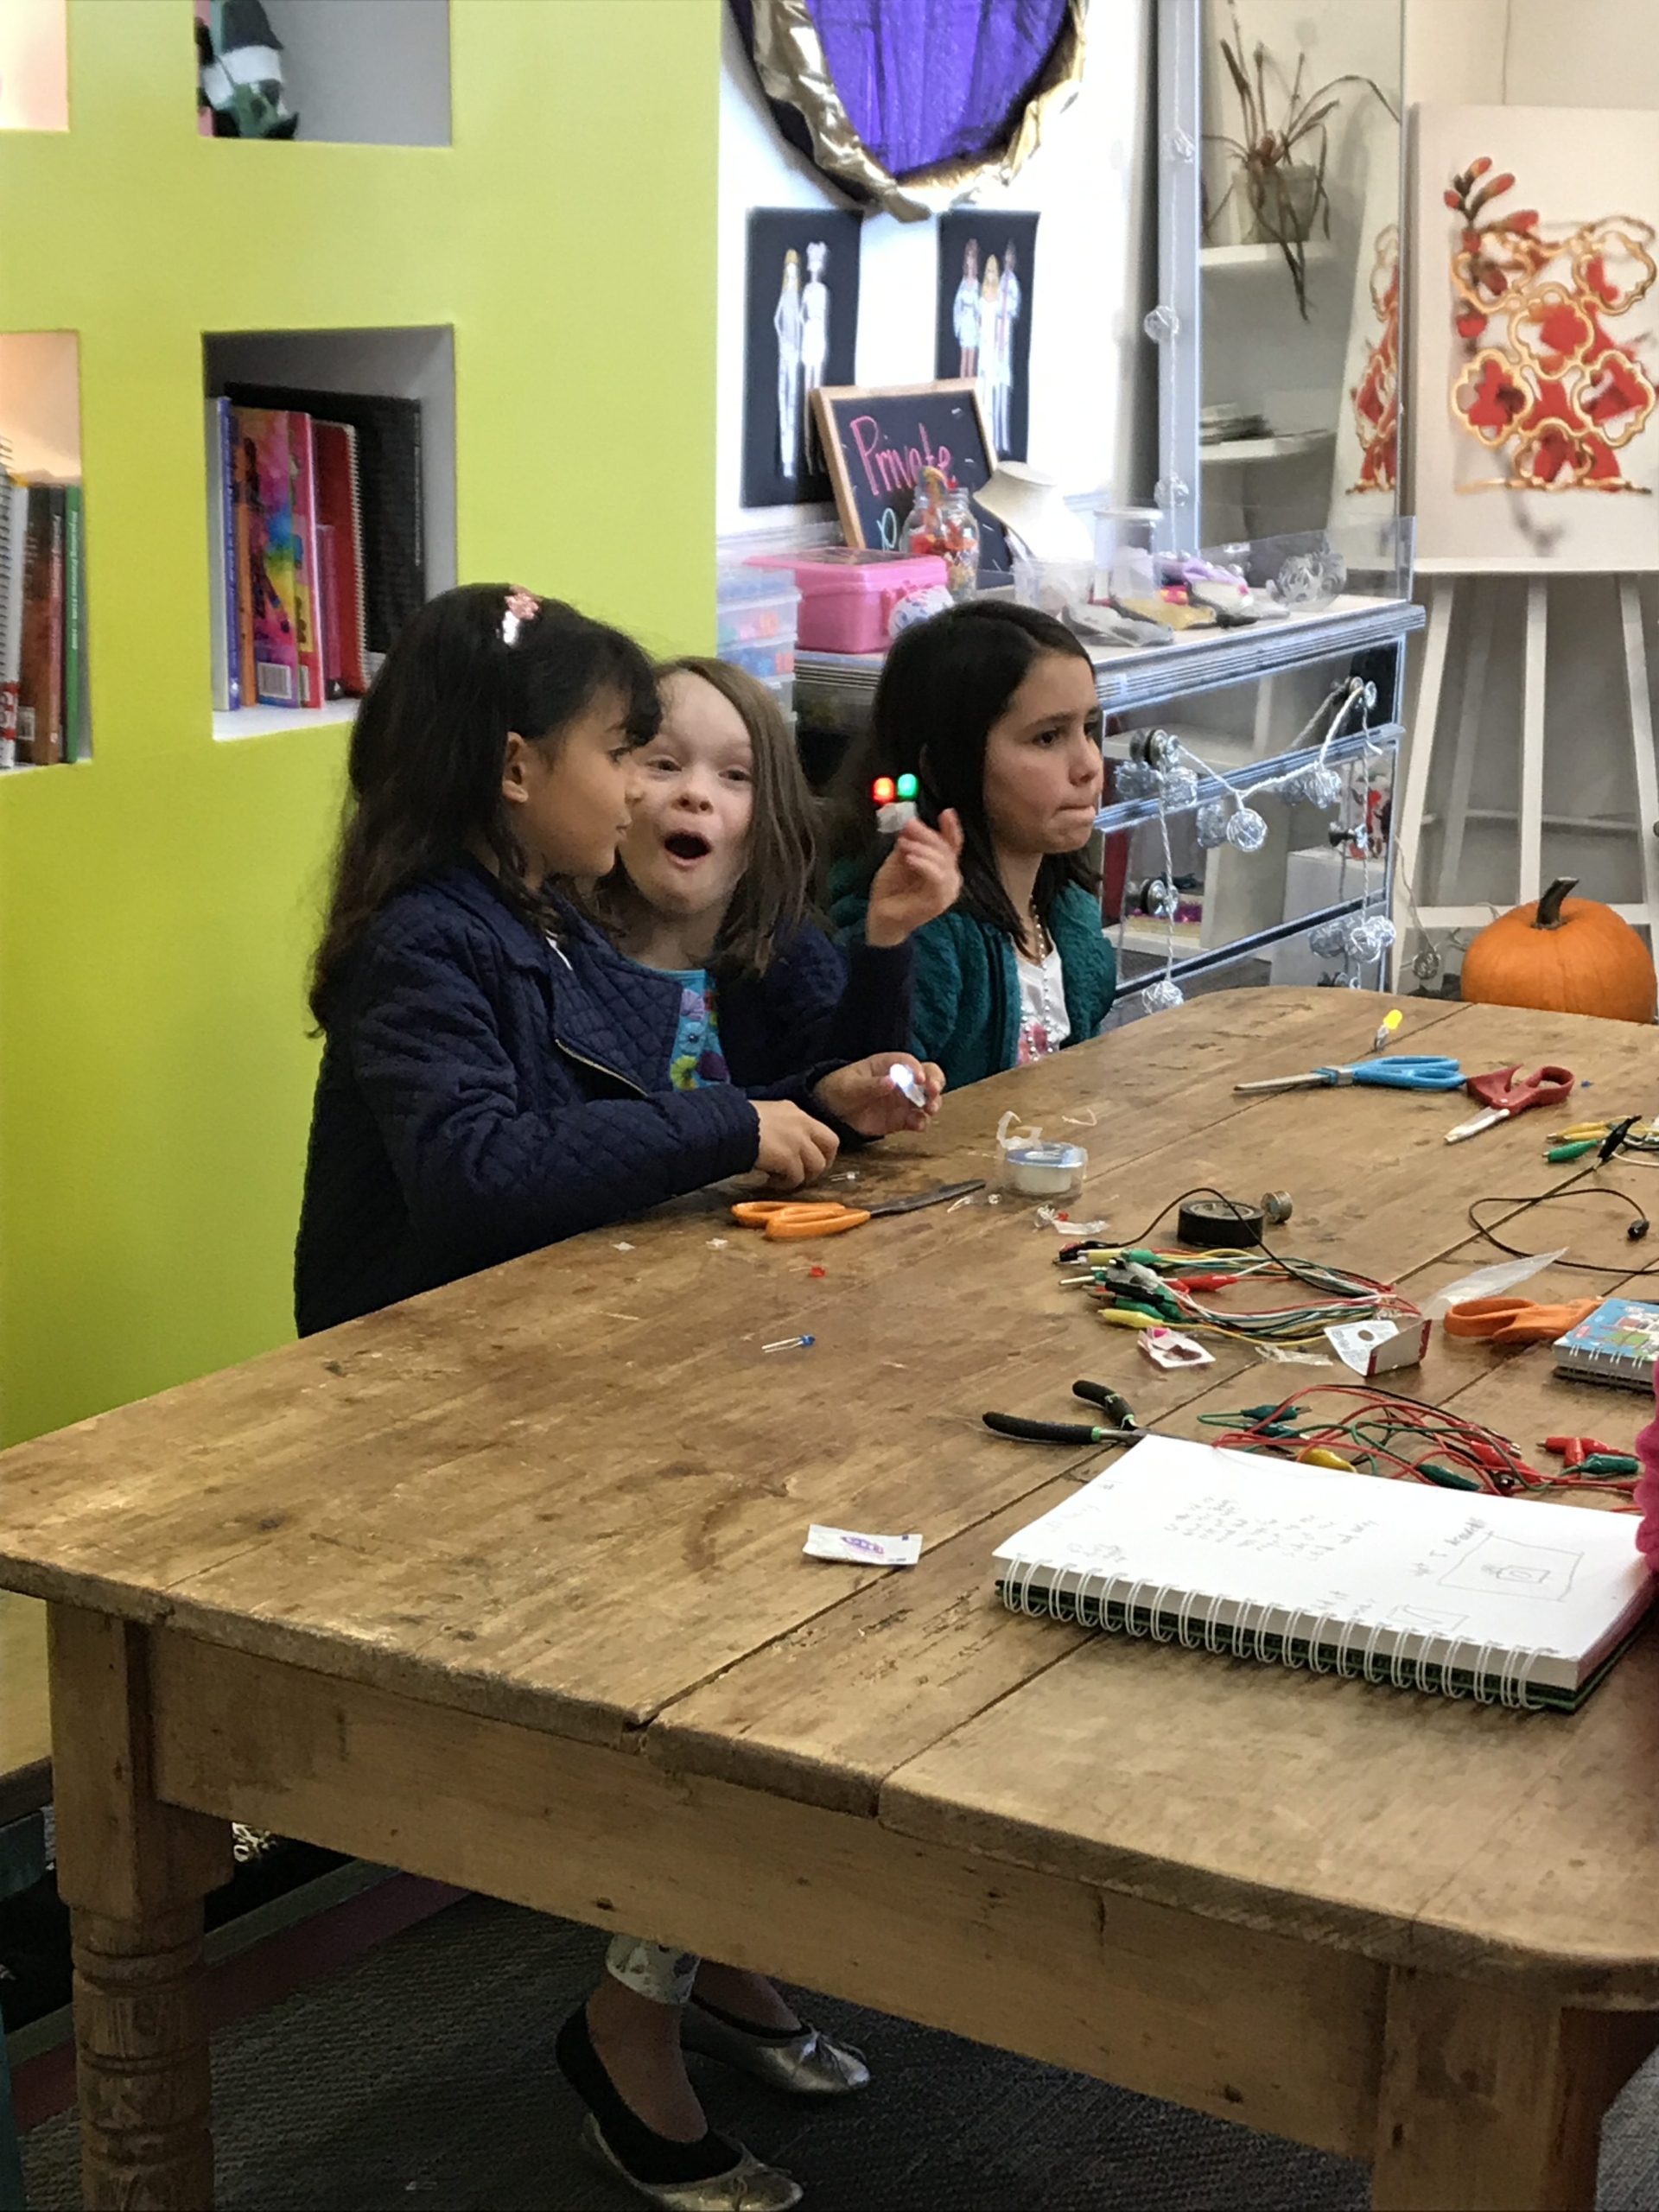
One of the children made as many as 5 plushies! The younger kids had a great time lighting up the ears of their plushies with LED throwies. So much so that batteries were becoming scarce. The next workshop will definitely call for more batteries!
Workshop Outline
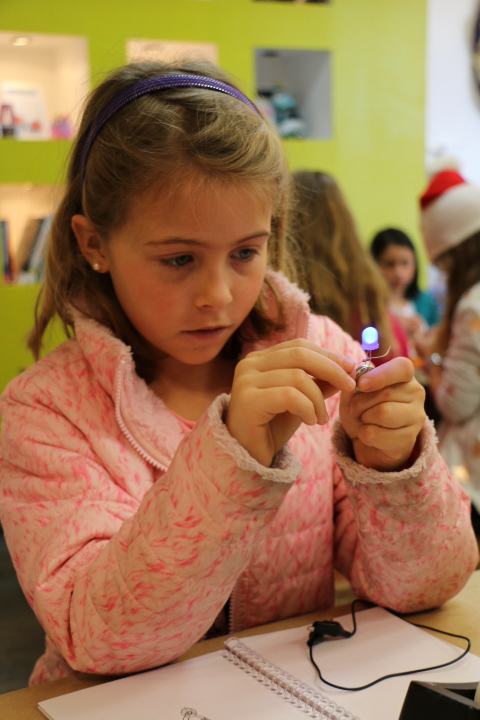
1. Build an LED Throwie!
Materials
1 x LED
1 x magnet
1 x battery
tape
Demo build
Now you build one!
Gather observations
What did you notice while building your throwie?
What didn’t work?
What did work?
Why?
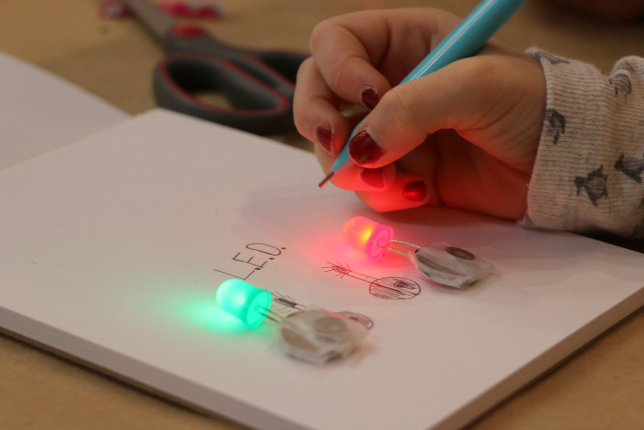
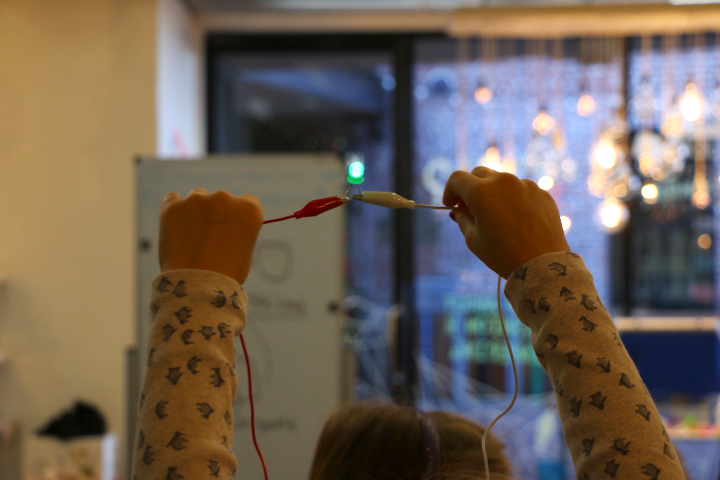
2. Build a Simple Circuit!
You already built a circuit!
The throwie is the most basic circuit there is!
Let’s build another and dive deeper into what makes up a circuit.
1 x LED
1 x battery
1 x battery holder
1 x resistor
3 x alligator leads
Demo build
Now you build one!
What is a circuit?
A closed path that electricity travels along.
Parts of a simple circuit
Battery
– Source of electricity
– Power and ground, positive and negative
Conductors
– A material that allows electricity to freely flow from one component to the next.
– What are some materials that are conductive that you know of?
– What are the conductors in this circuit?
– What were the conductors of the LED throwie?
LED
Called the load, it’s the part of the circuit that is activated or energized from the source of electricity
Introducing the resistor!
Resistor
Comes in different values
How do you know what value it is?
Why would you want one?
Swap Resistors!
(~400 Ohms)
Change the resistor to a high value, what happens and why?
What would happen if you went really high, like 2,000 ohms?
(~2.2k Ohms)
Try it!
What is it doing?
It resists electricity!
– resists current
– lowers voltage

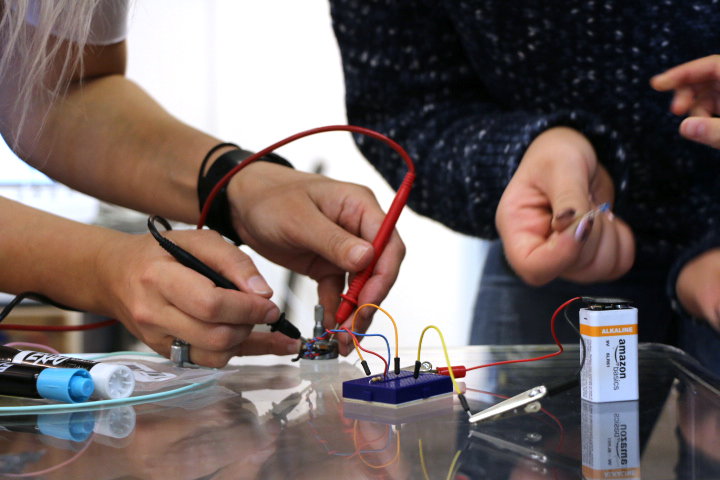
3. Let’s Burn Up an LED!
The resistor in your circuit is to protect the LED.
Batteries have different voltages, let’s go up to 9 volts and see what happens to an LED.
Components, like the LED, take a certain number of volts and certain amount.
– The potentiometer is a resistor with an adjustable value so I can dim the LED or give it way too much power.
How do we save this LED?
A resistor!
4. Make a Soft Adjustable Resistor and Switch!
Make a Switch!
Materials
2 x small pieces of conductive fabric
1 x square of felt
1 x LED
1 x battery
1 x battery holder
3 x alligator leads
Demo making a soft switch
Iron safety!!!
Closed switch
Open switch
Now you make one!
Make a Soft Resistor!
Introducing Velostat!
Can be used like the hard resistor and when pressed is a force sensing resistor.
Demo build of soft variable resistor.
Demo putting it in the circuit and changing the brightness of the LED by pressing.
Now you build one!
Materials
All materials from soft switch build
1 x square of black resistive plastic
Make a sandwich with the plastic in the middle of the conductive fabric (make sure the silver parts are facing the plastic!) and connect that into your circuit.
Press and what happens? What is changing as you apply pressure? (resistance!)
What happens if just the two pieces of fabric unintentionally touch while you are pressing? (a short circuit!)
You have actually made a sensor! Called a force sensing resistor!

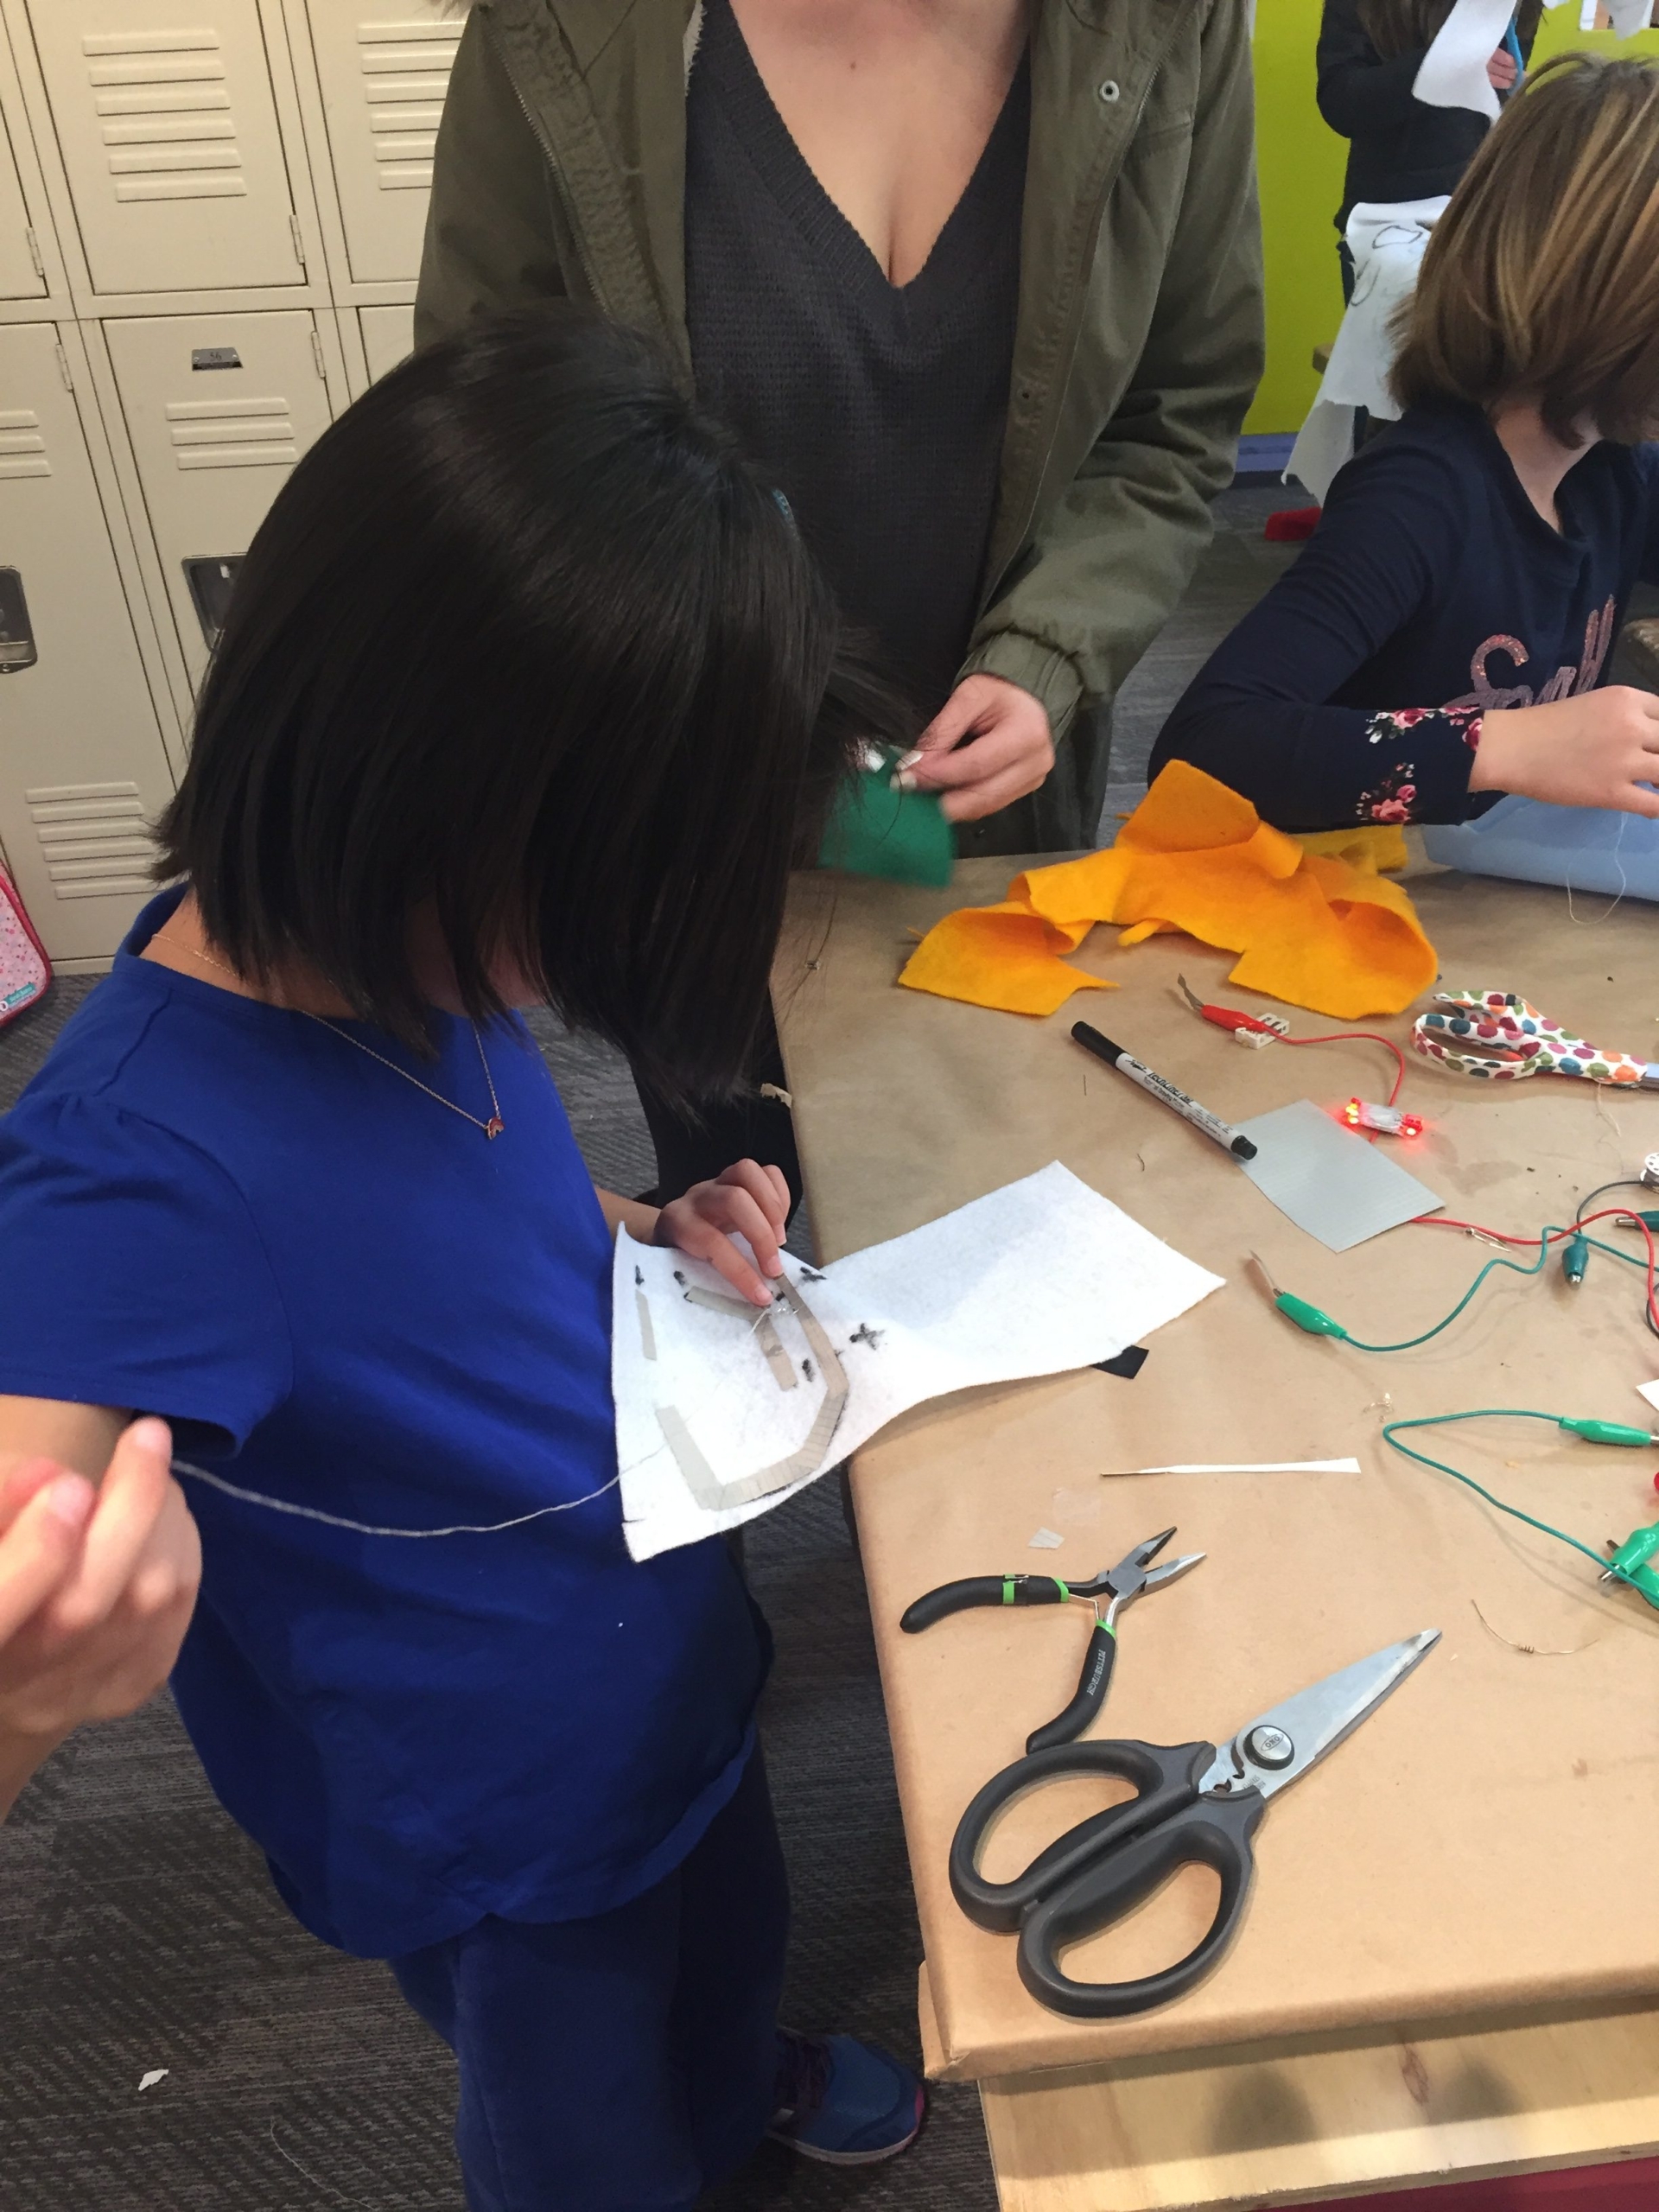
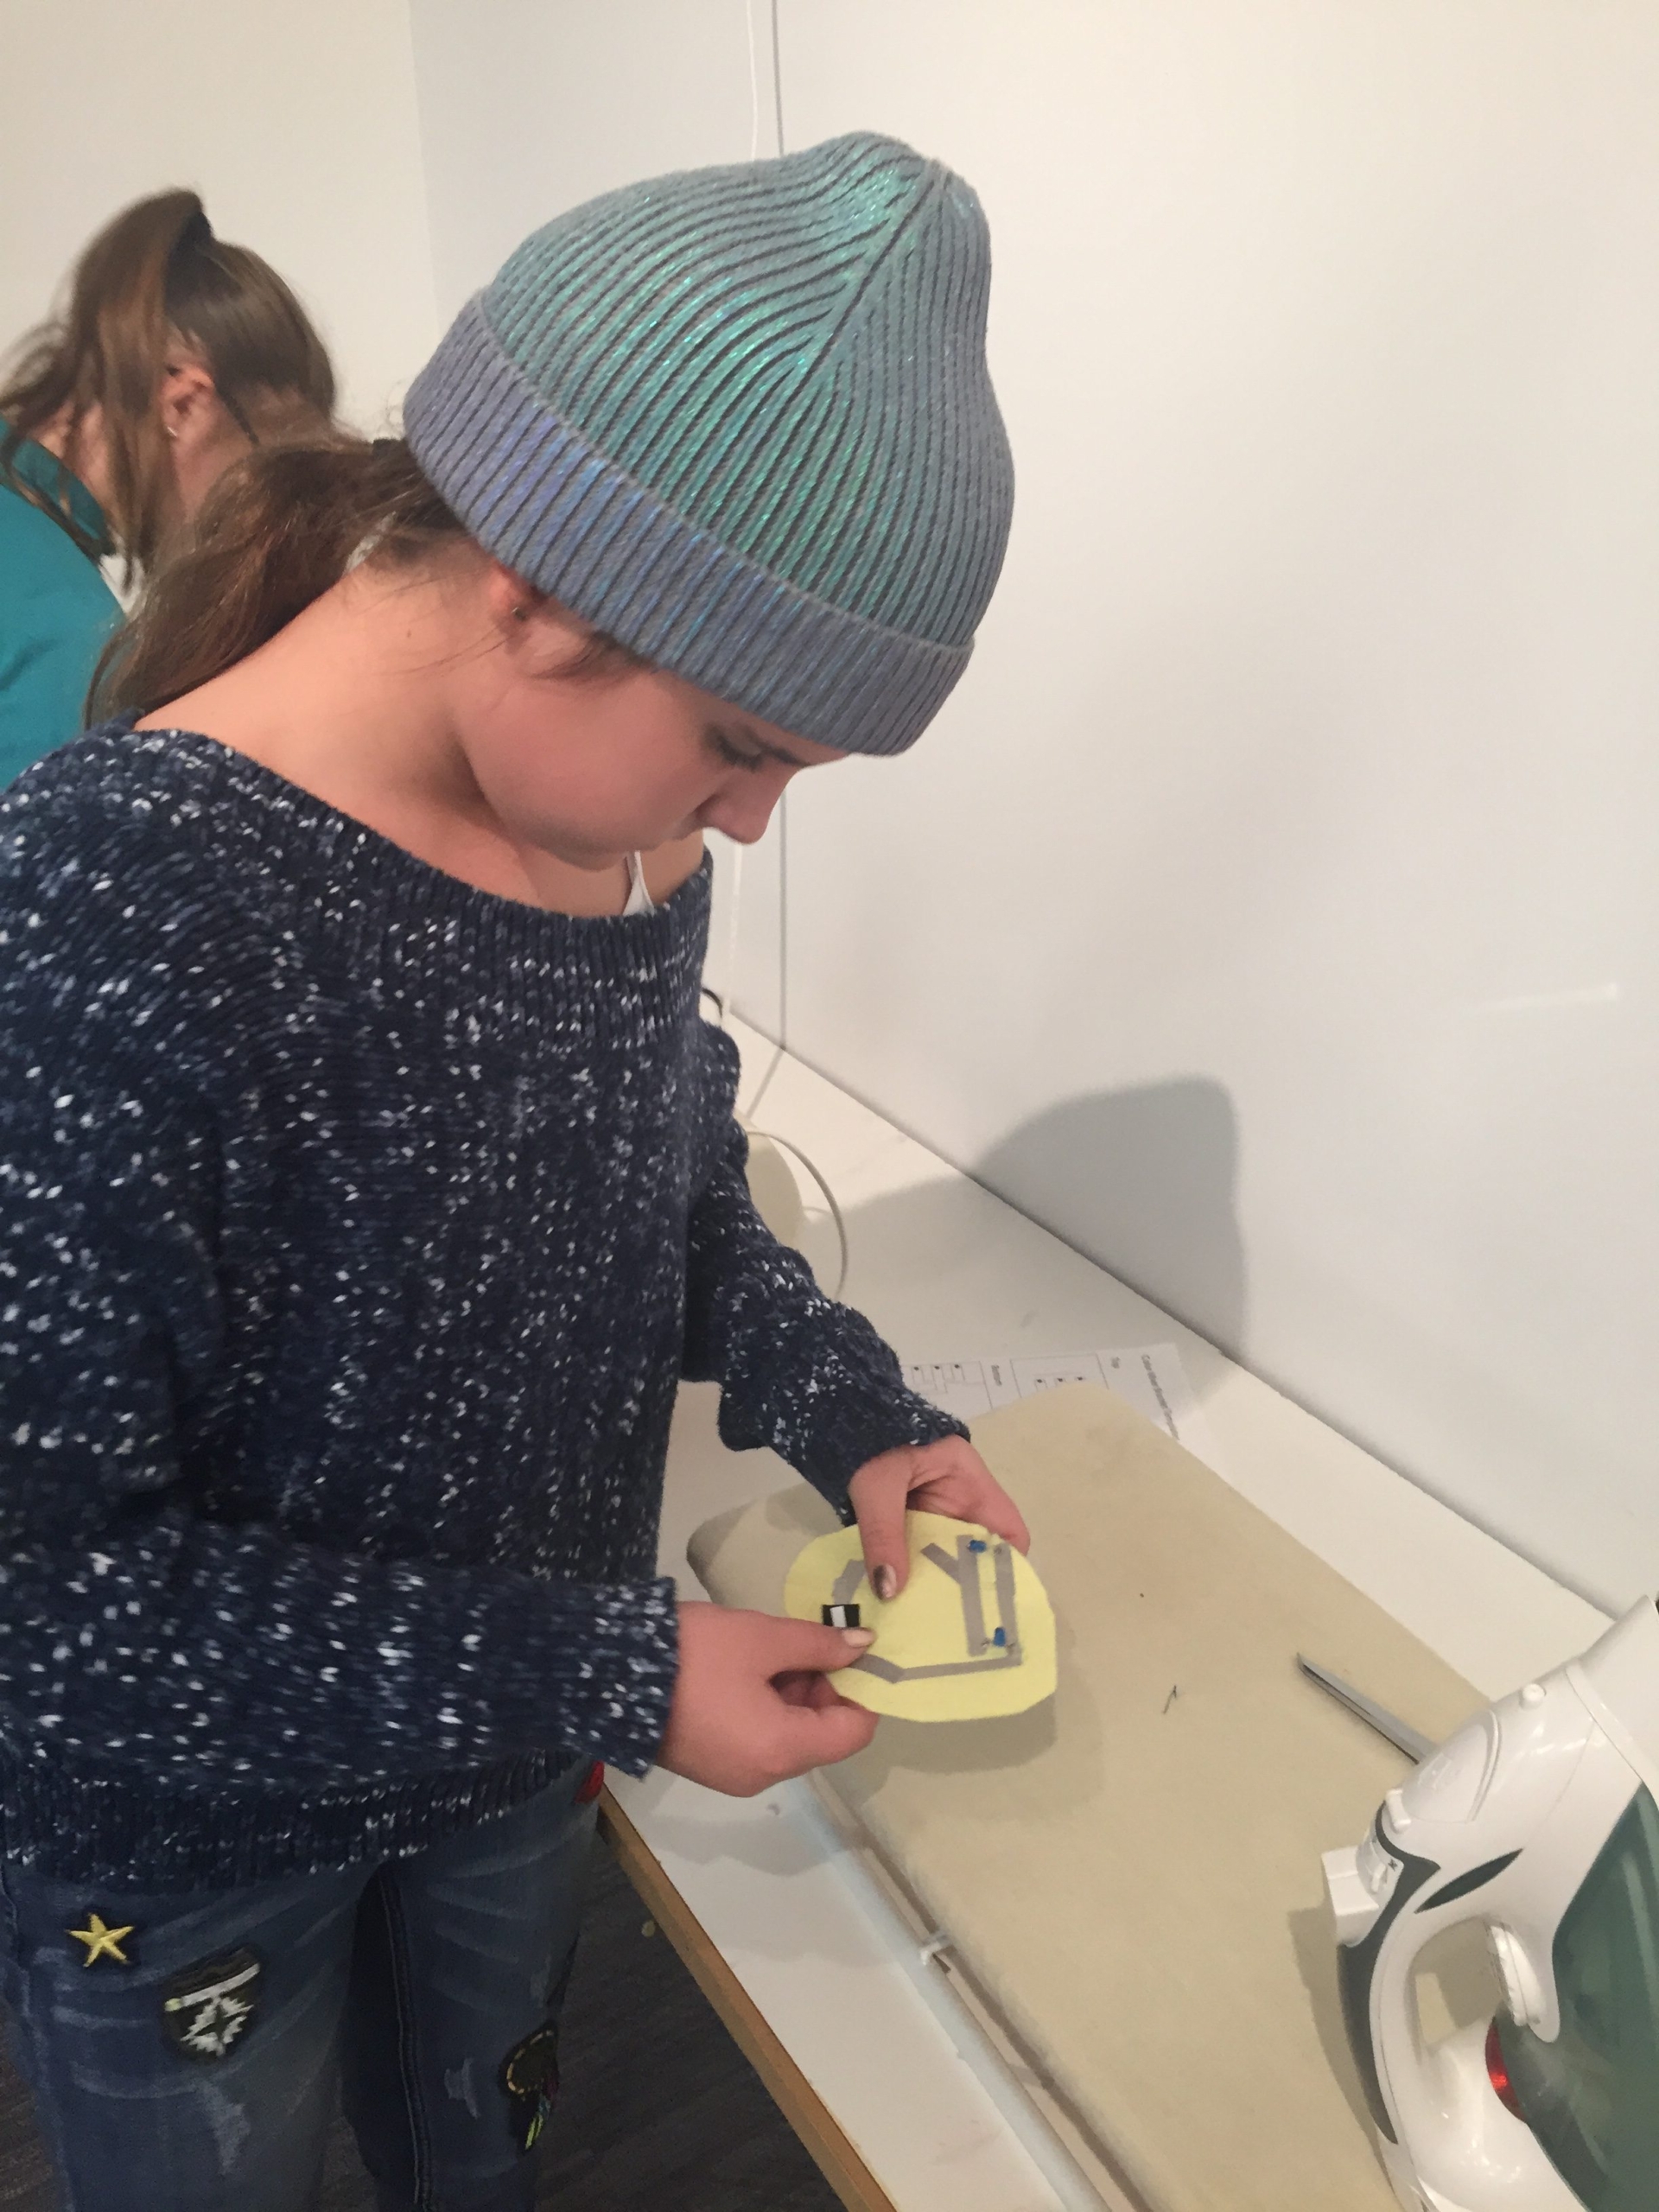
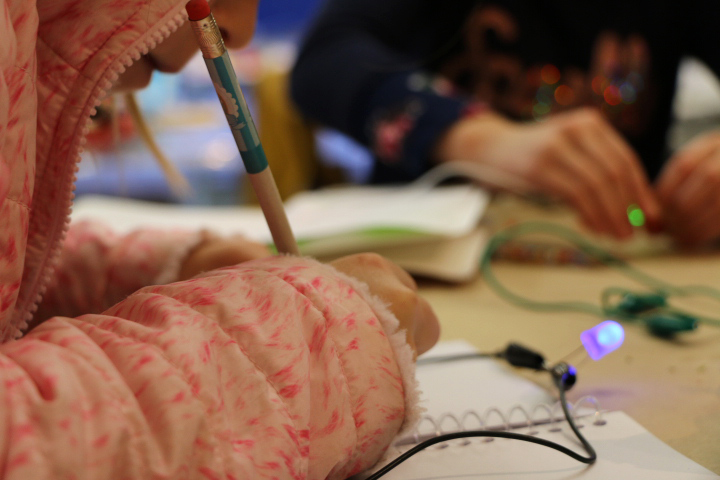
5. Let’s Build a Soft LED Circuit!
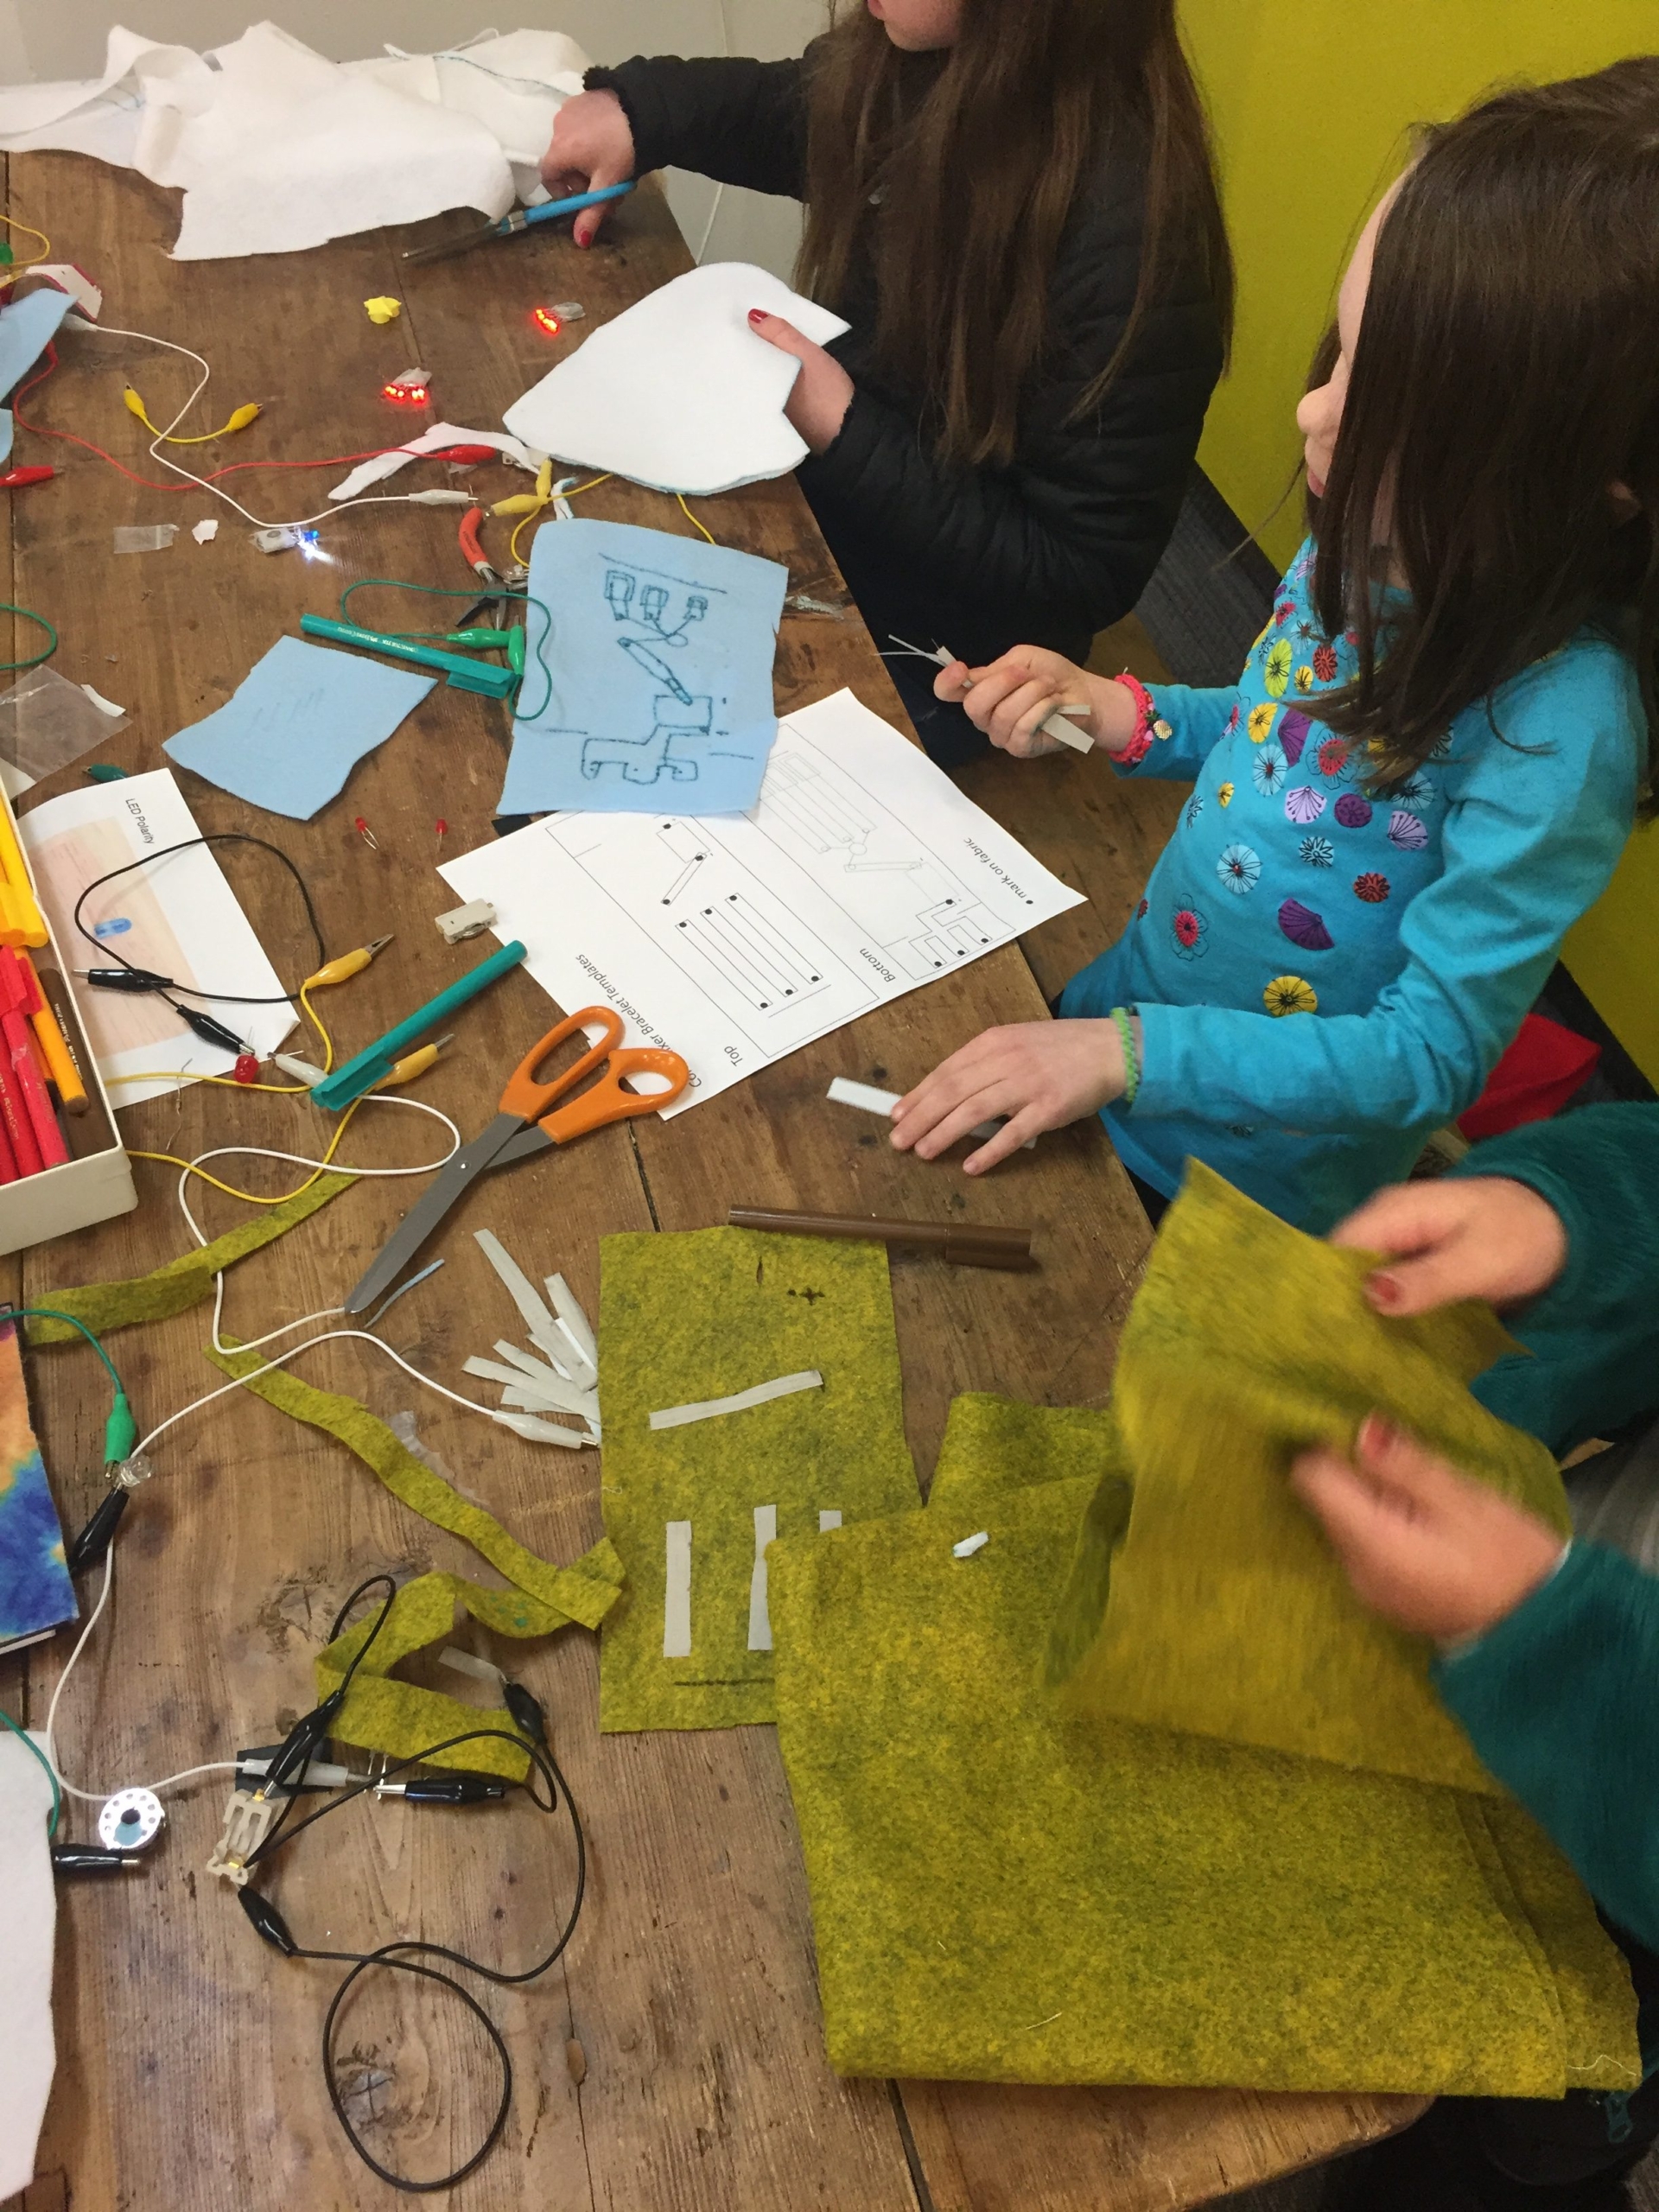
Introduce circuit templates:
Bracelet
Plushie with soft circuit
What is an RGB LED?
Polarity review
3 positives instead of one for each color channel
Color mixing
Demo each step, have them do it, then review.
Materials
Conductive fabric
Conductive thread
1x RGB LED
1 x battery holder
1 x battery
1 x hand needle
Thread
Scissors
Fabric marker
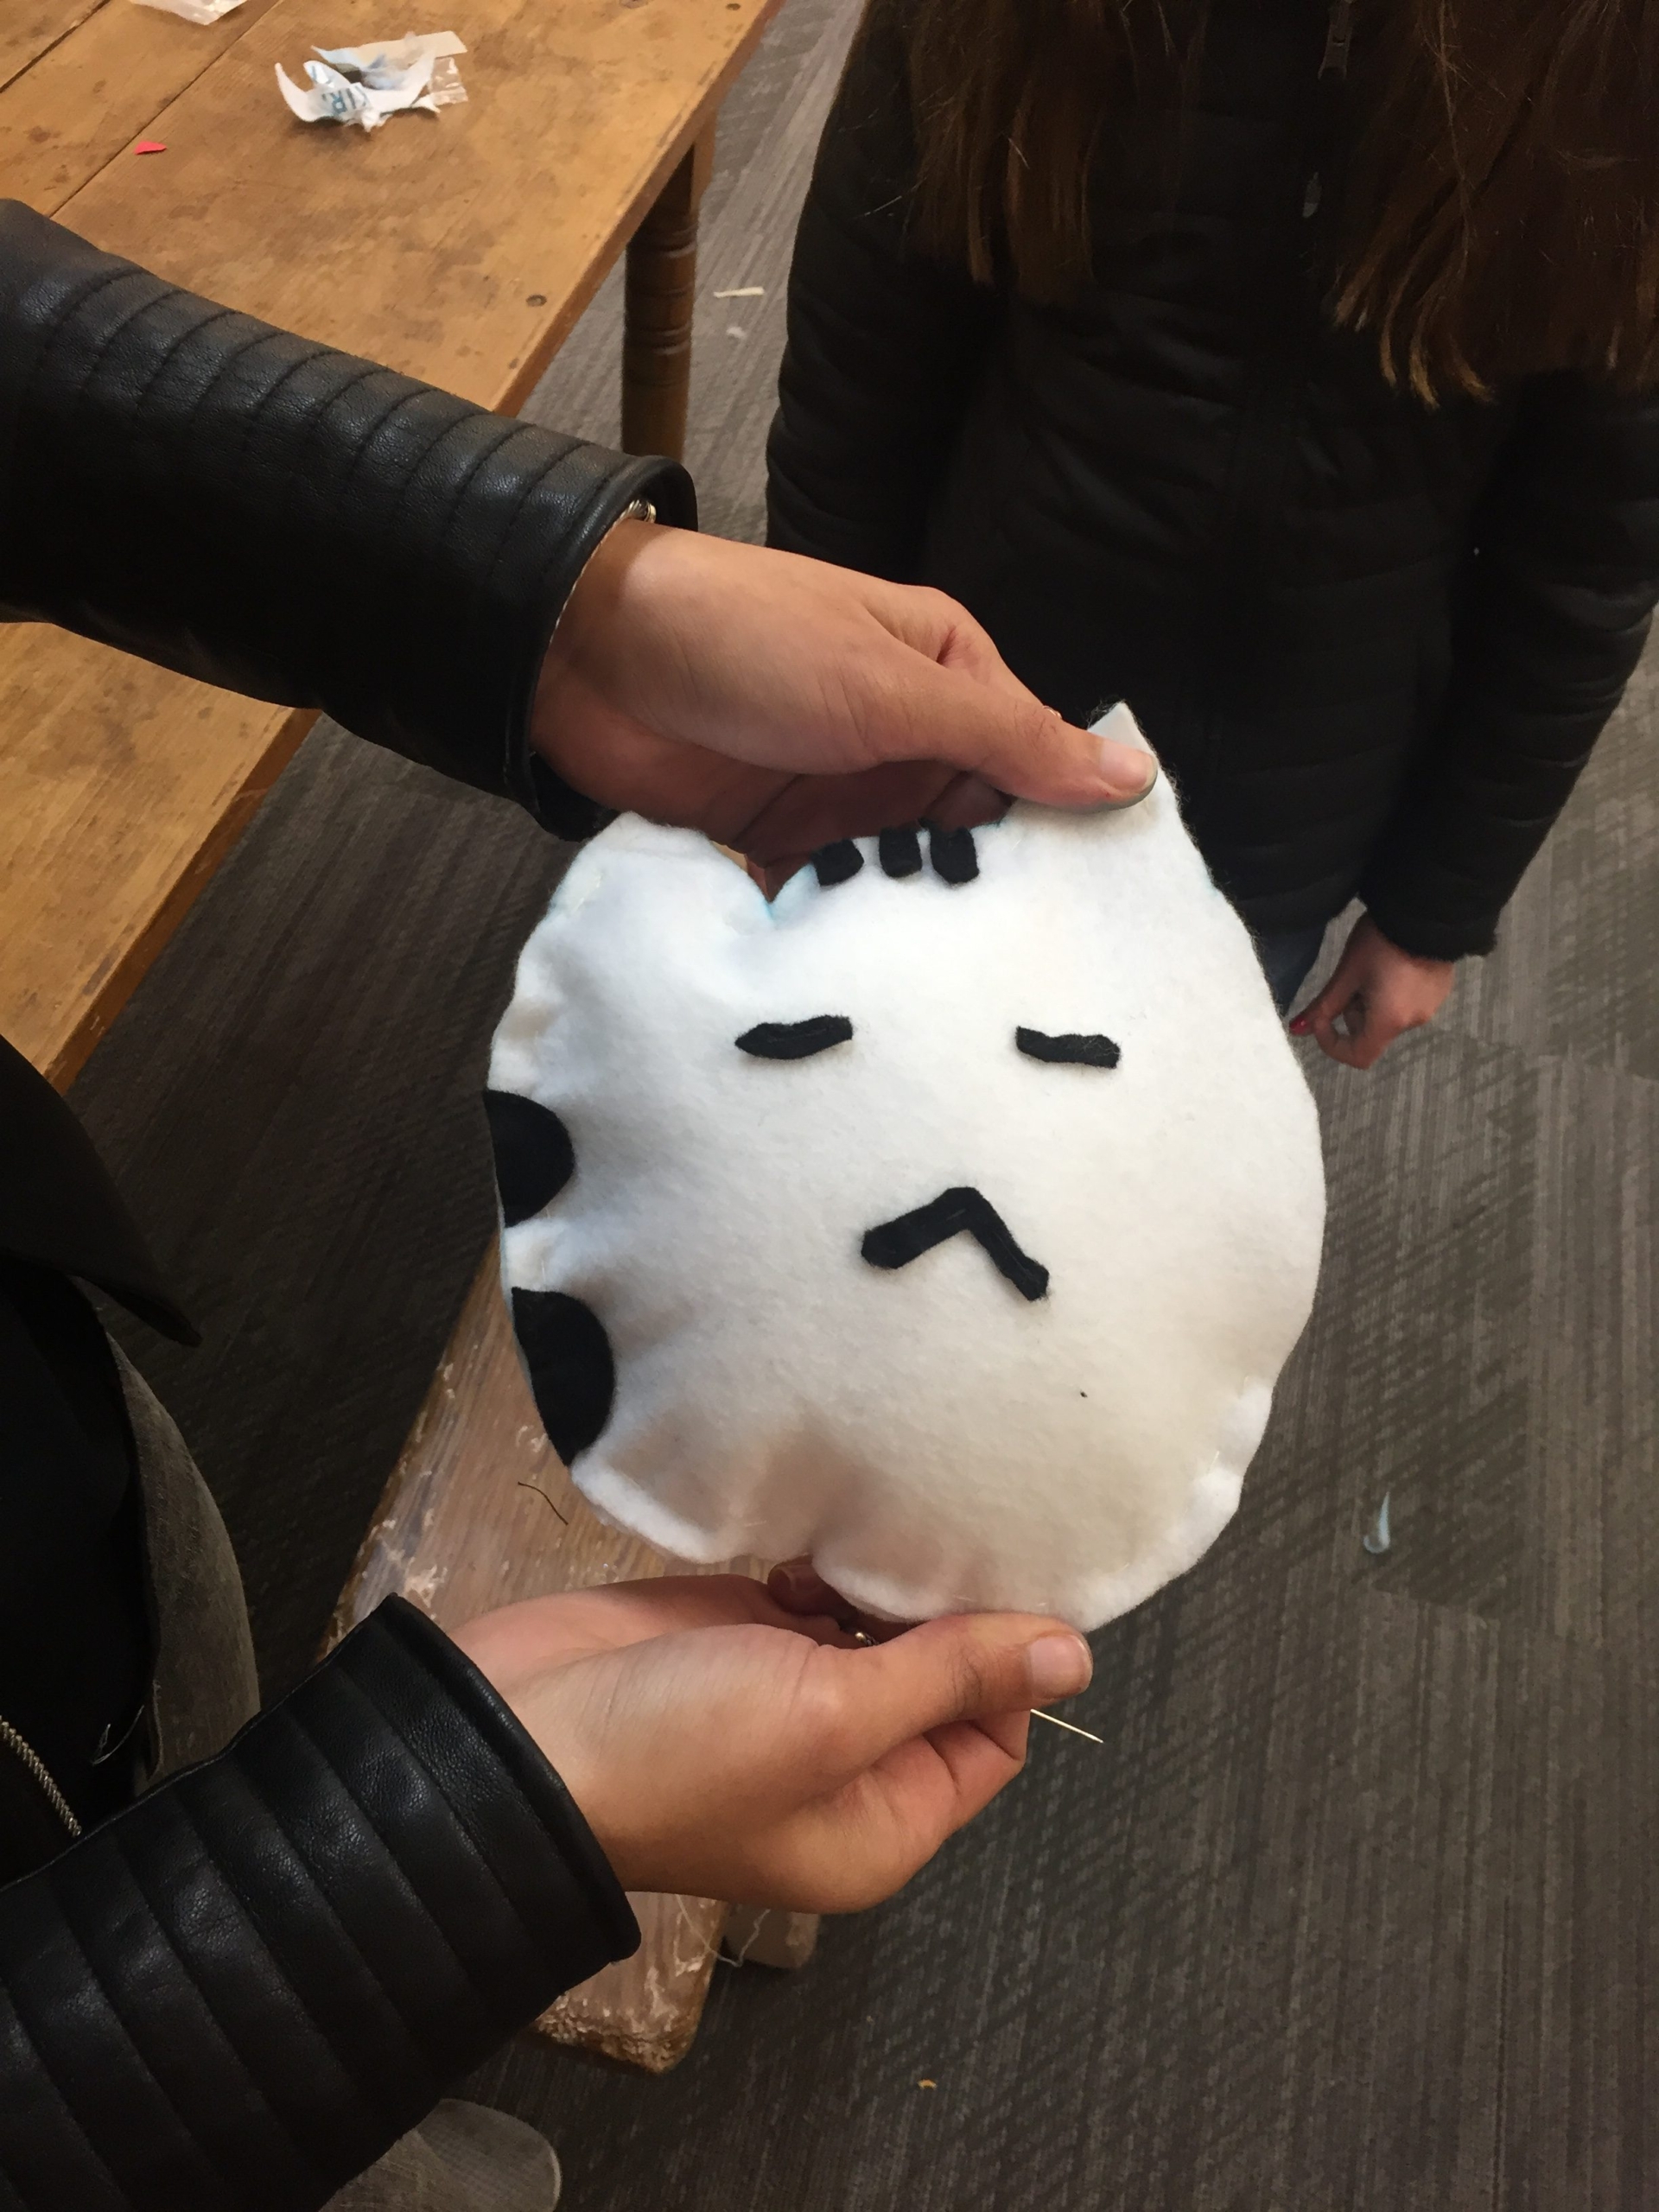
Step 1: Grab Felt and Mark template on felt
– design plushie shape
– decide whether you will make a soft switch or variable resistor
Step 2. Prep LED(s) for sewing
Use pliers to curl up LED legs (mark them so you know which one is ground!).
Step 3. Iron down conductive traces.
Review of iron safety
Help each other out if you see something that should be fixed or is unsafe!
Step 4. Sew Down LED and components
Demo sewing through hole with whip stitch
Knotting and clipping (remember what a short circuit is?)
Review short circuit and how one is easily made with conductive thread.
You are making a physical mechanical connection and an electrical connection!
What a good connection looks like and what a bad connection looks like.
Step 5. Finish switch or variable resistor
– Sew Down Plastic (if making circuit with FSR)
– Sew down felt space (switch)
Step 6. Admire your handiwork!