What is it that makes a person value a piece of clothing? How can technology enhance and help a culture reclaim a sense of value in their clothing? The community being talked about and explored in this project is one that I am personally involved with; the western consumerist capitalist culture. The heirloom electronic garment I set out to build is one that I want to use to see if I can indeed develop an attachment for it. This mode of thinking, one of creating a lasting bond with clothing, is in direct response to the fact that I am witnessing a habit and perpetual support structure around disposable clothing that I have participated in but am aiming to leave. This project is also one where I honestly ask myself – can technology (electronic in nature) truly add something meaningful to clothing and textiles? And if it could and if I am building a lasting relationship with it, can it be sustainable and deemed “good” or at least “better” than the alternative?
Many factors came to mind that I wanted to resolve which ultimately lead me to freeze up because I wasn’t actually in a position or able to solve all the problems I wanted to in one stroke. What I did focus on was coming up with a simple straight forward way to add emotional value to a garment that could be written into a long term narrative, a speculative one, but one that leaned towards the practical (albeit subjective).
The concept was formed into a jacket that held memories. An heirloom that collected audio memories throughout time. These audio memories are attached to embroideries. The embroideries could be decorative or eventually repairs if worn and damages occurred. Not only can the motivation be the ability to capture a solid source of narrative and time but also be one of aesthetic control and necessary repairs that could have a two-fold layer of function to it.
This project was kickstarted during my residency at Autodesk’s Pier 9. There I was able to use laser cutters, 3D printers and Autodesk software with guidance, such as their newly acquired Eagle EDA software.
Interaction
The interaction for the jacket changed as I tested scenarios. Here is the final interaction:
SEW
+ Embroider/sew design.
MIC
+ If it is not already, pin mic through the appropriate signal lines
RECORD
+ Press record button – LED flashes to tell you its waiting for the next step
+ Touch newly embroidered design to “attach” the recording to it – LED flashes and stays on to tell you the mic has turned on it’s recording
+ Record audio
+ Press button when done – LED goes off
SPEAKER
+ If it is not already, pin speaker into signal lines
PLAY
+ Press play button – LED blinks and stays on
+ Touch embroidery – LED blinks
+ Play recording
REPEAT
+ Continue to record memories and moments to enjoy solo or to share with others.
Prototype
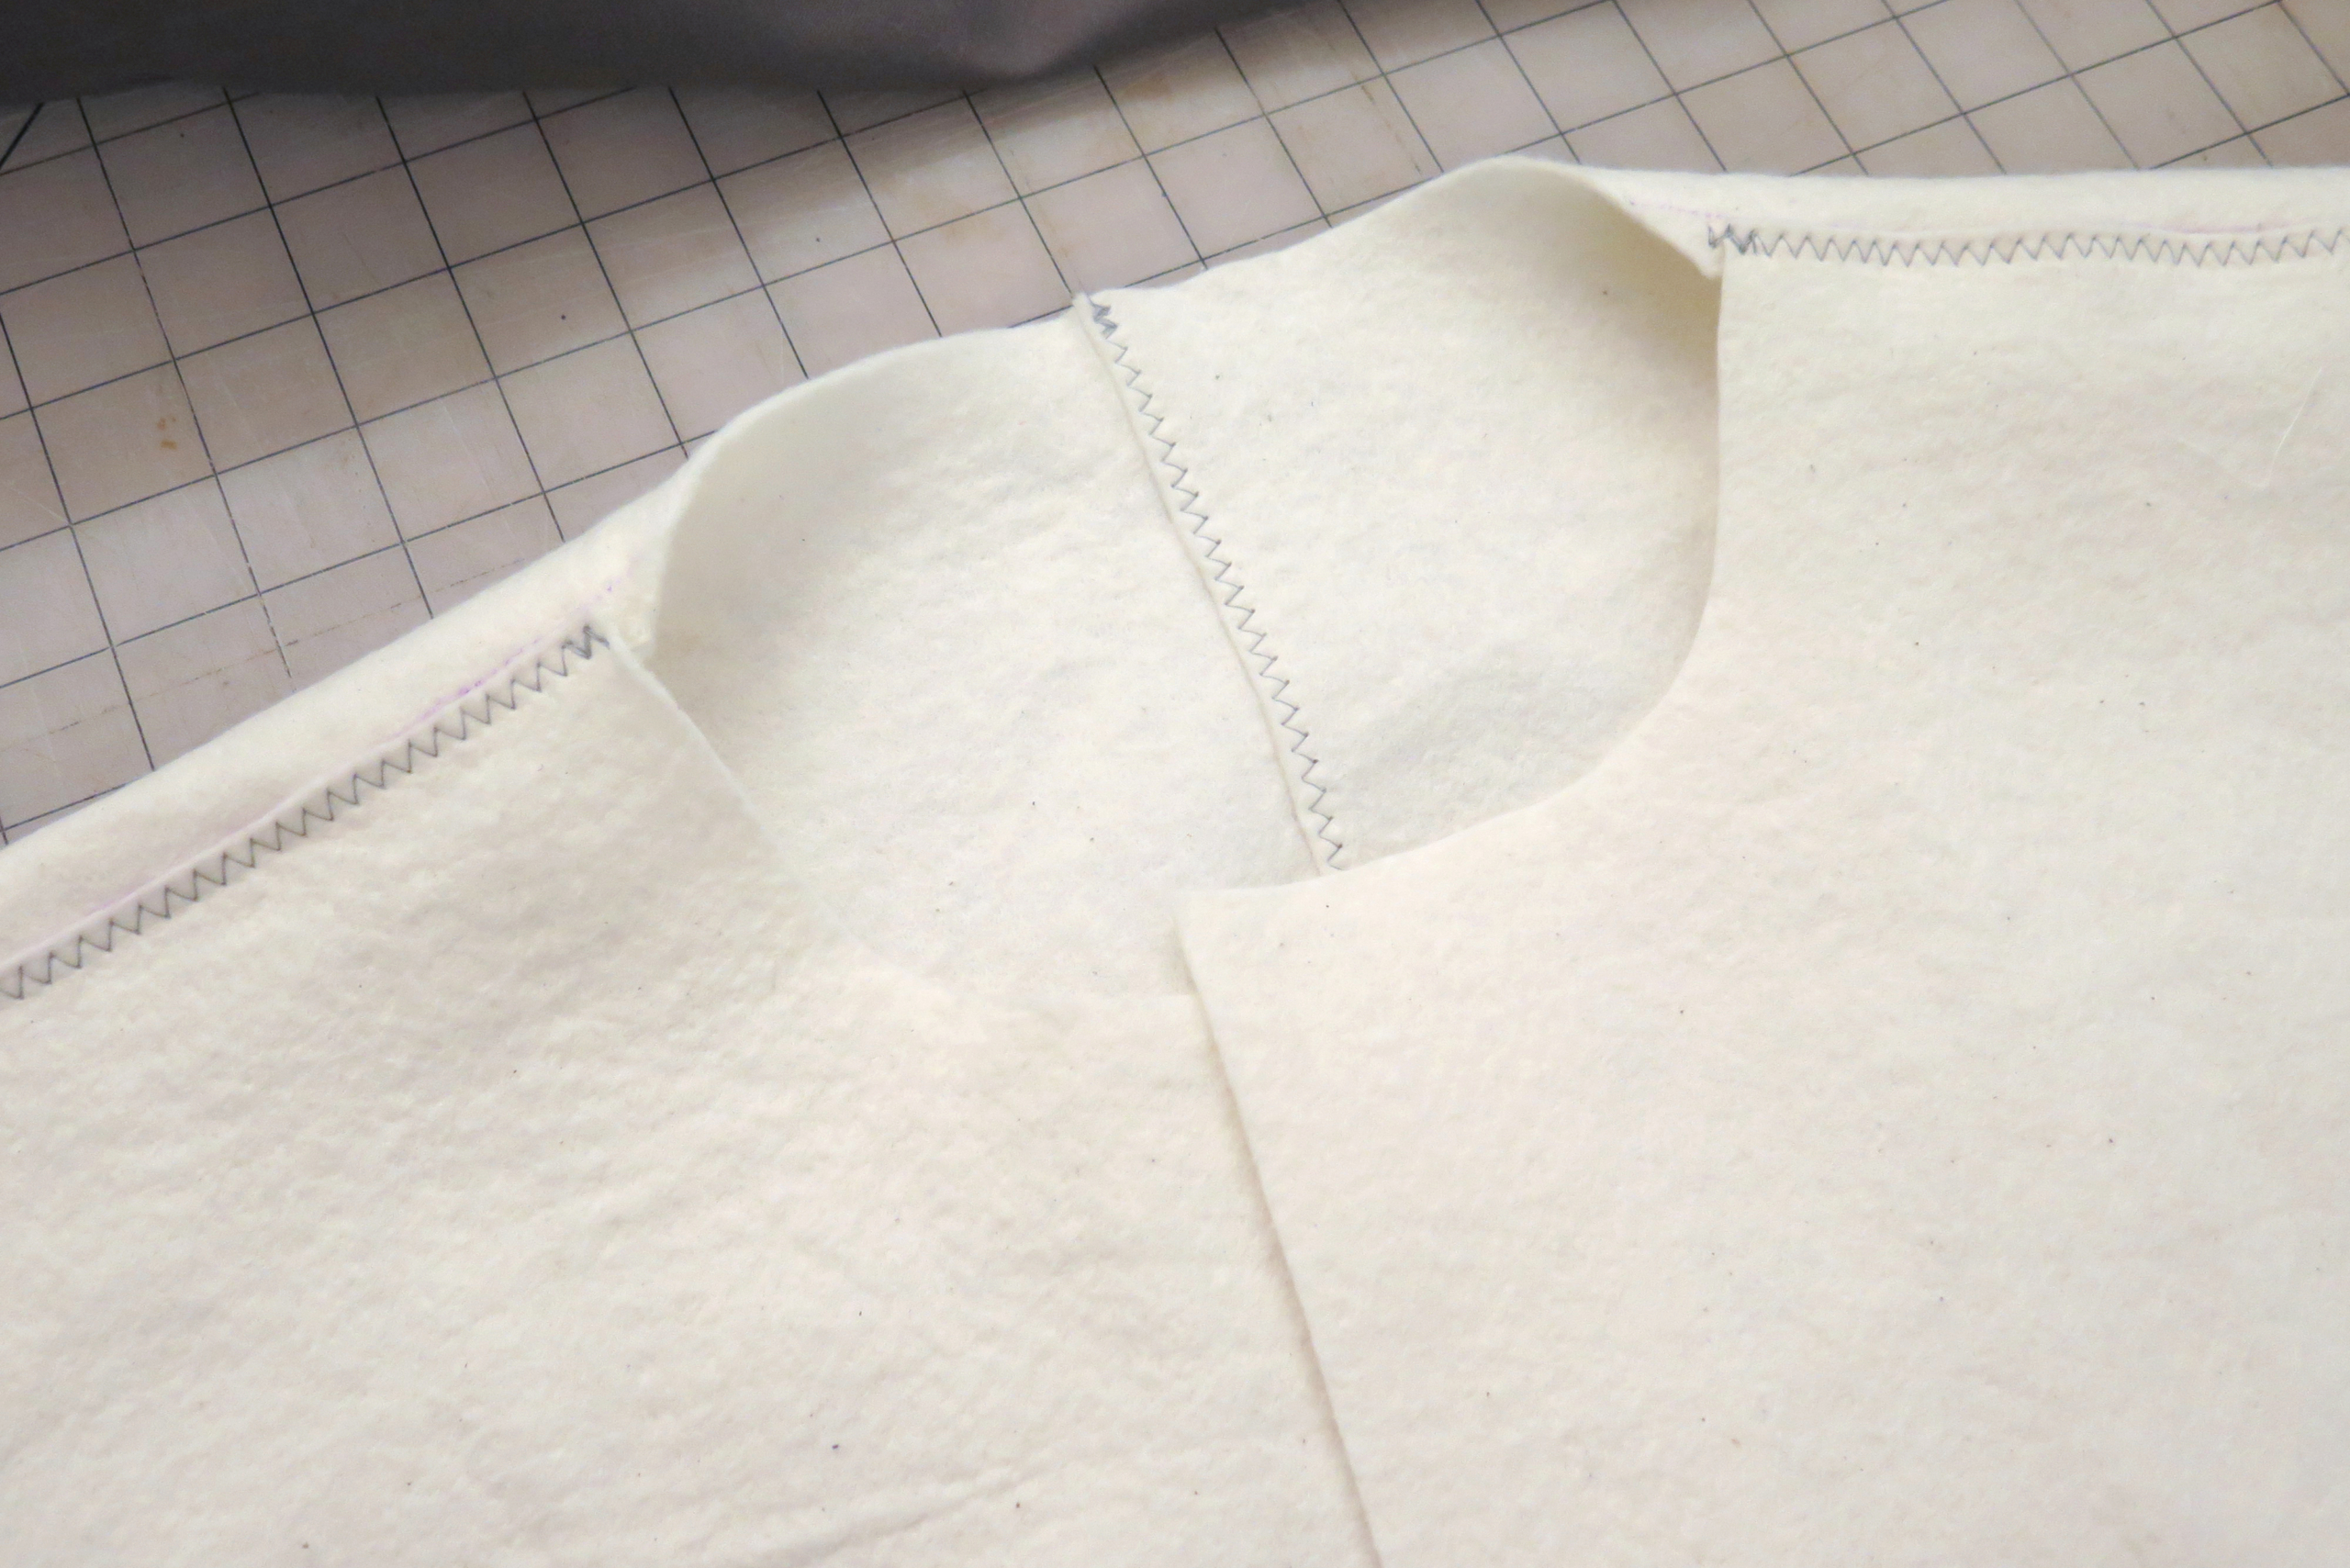
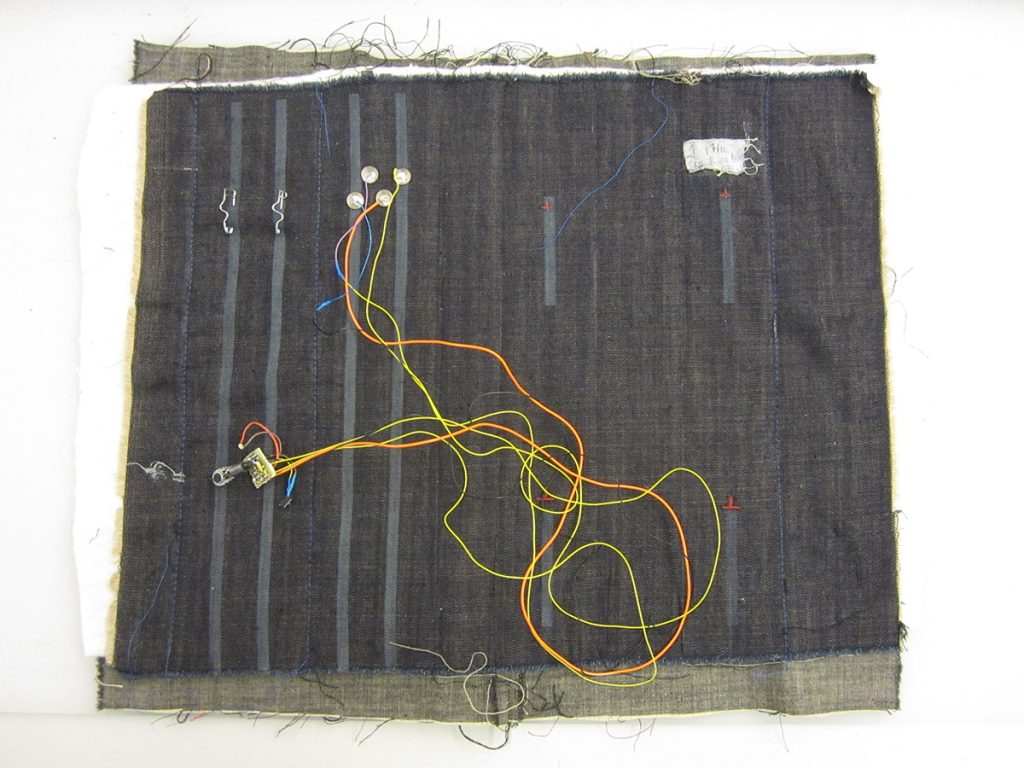
To start, I made a prototype using conductive fabric. In this design the recording was going to start after soft switches were sewn closed. This was to test how the conductive fabric traces would hold up as signal lines for audio in, out and the sew through closing of switches interaction.

Final
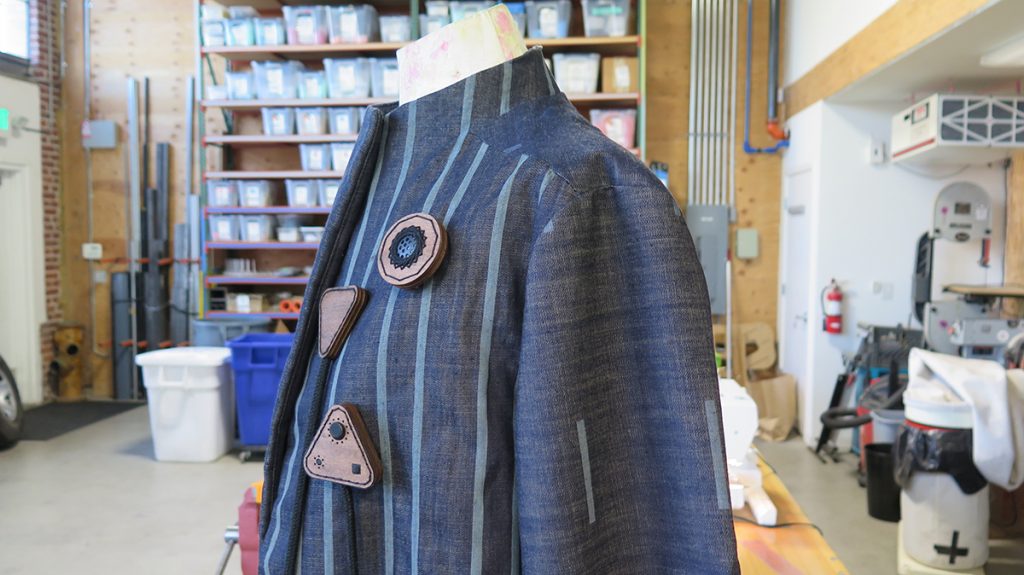
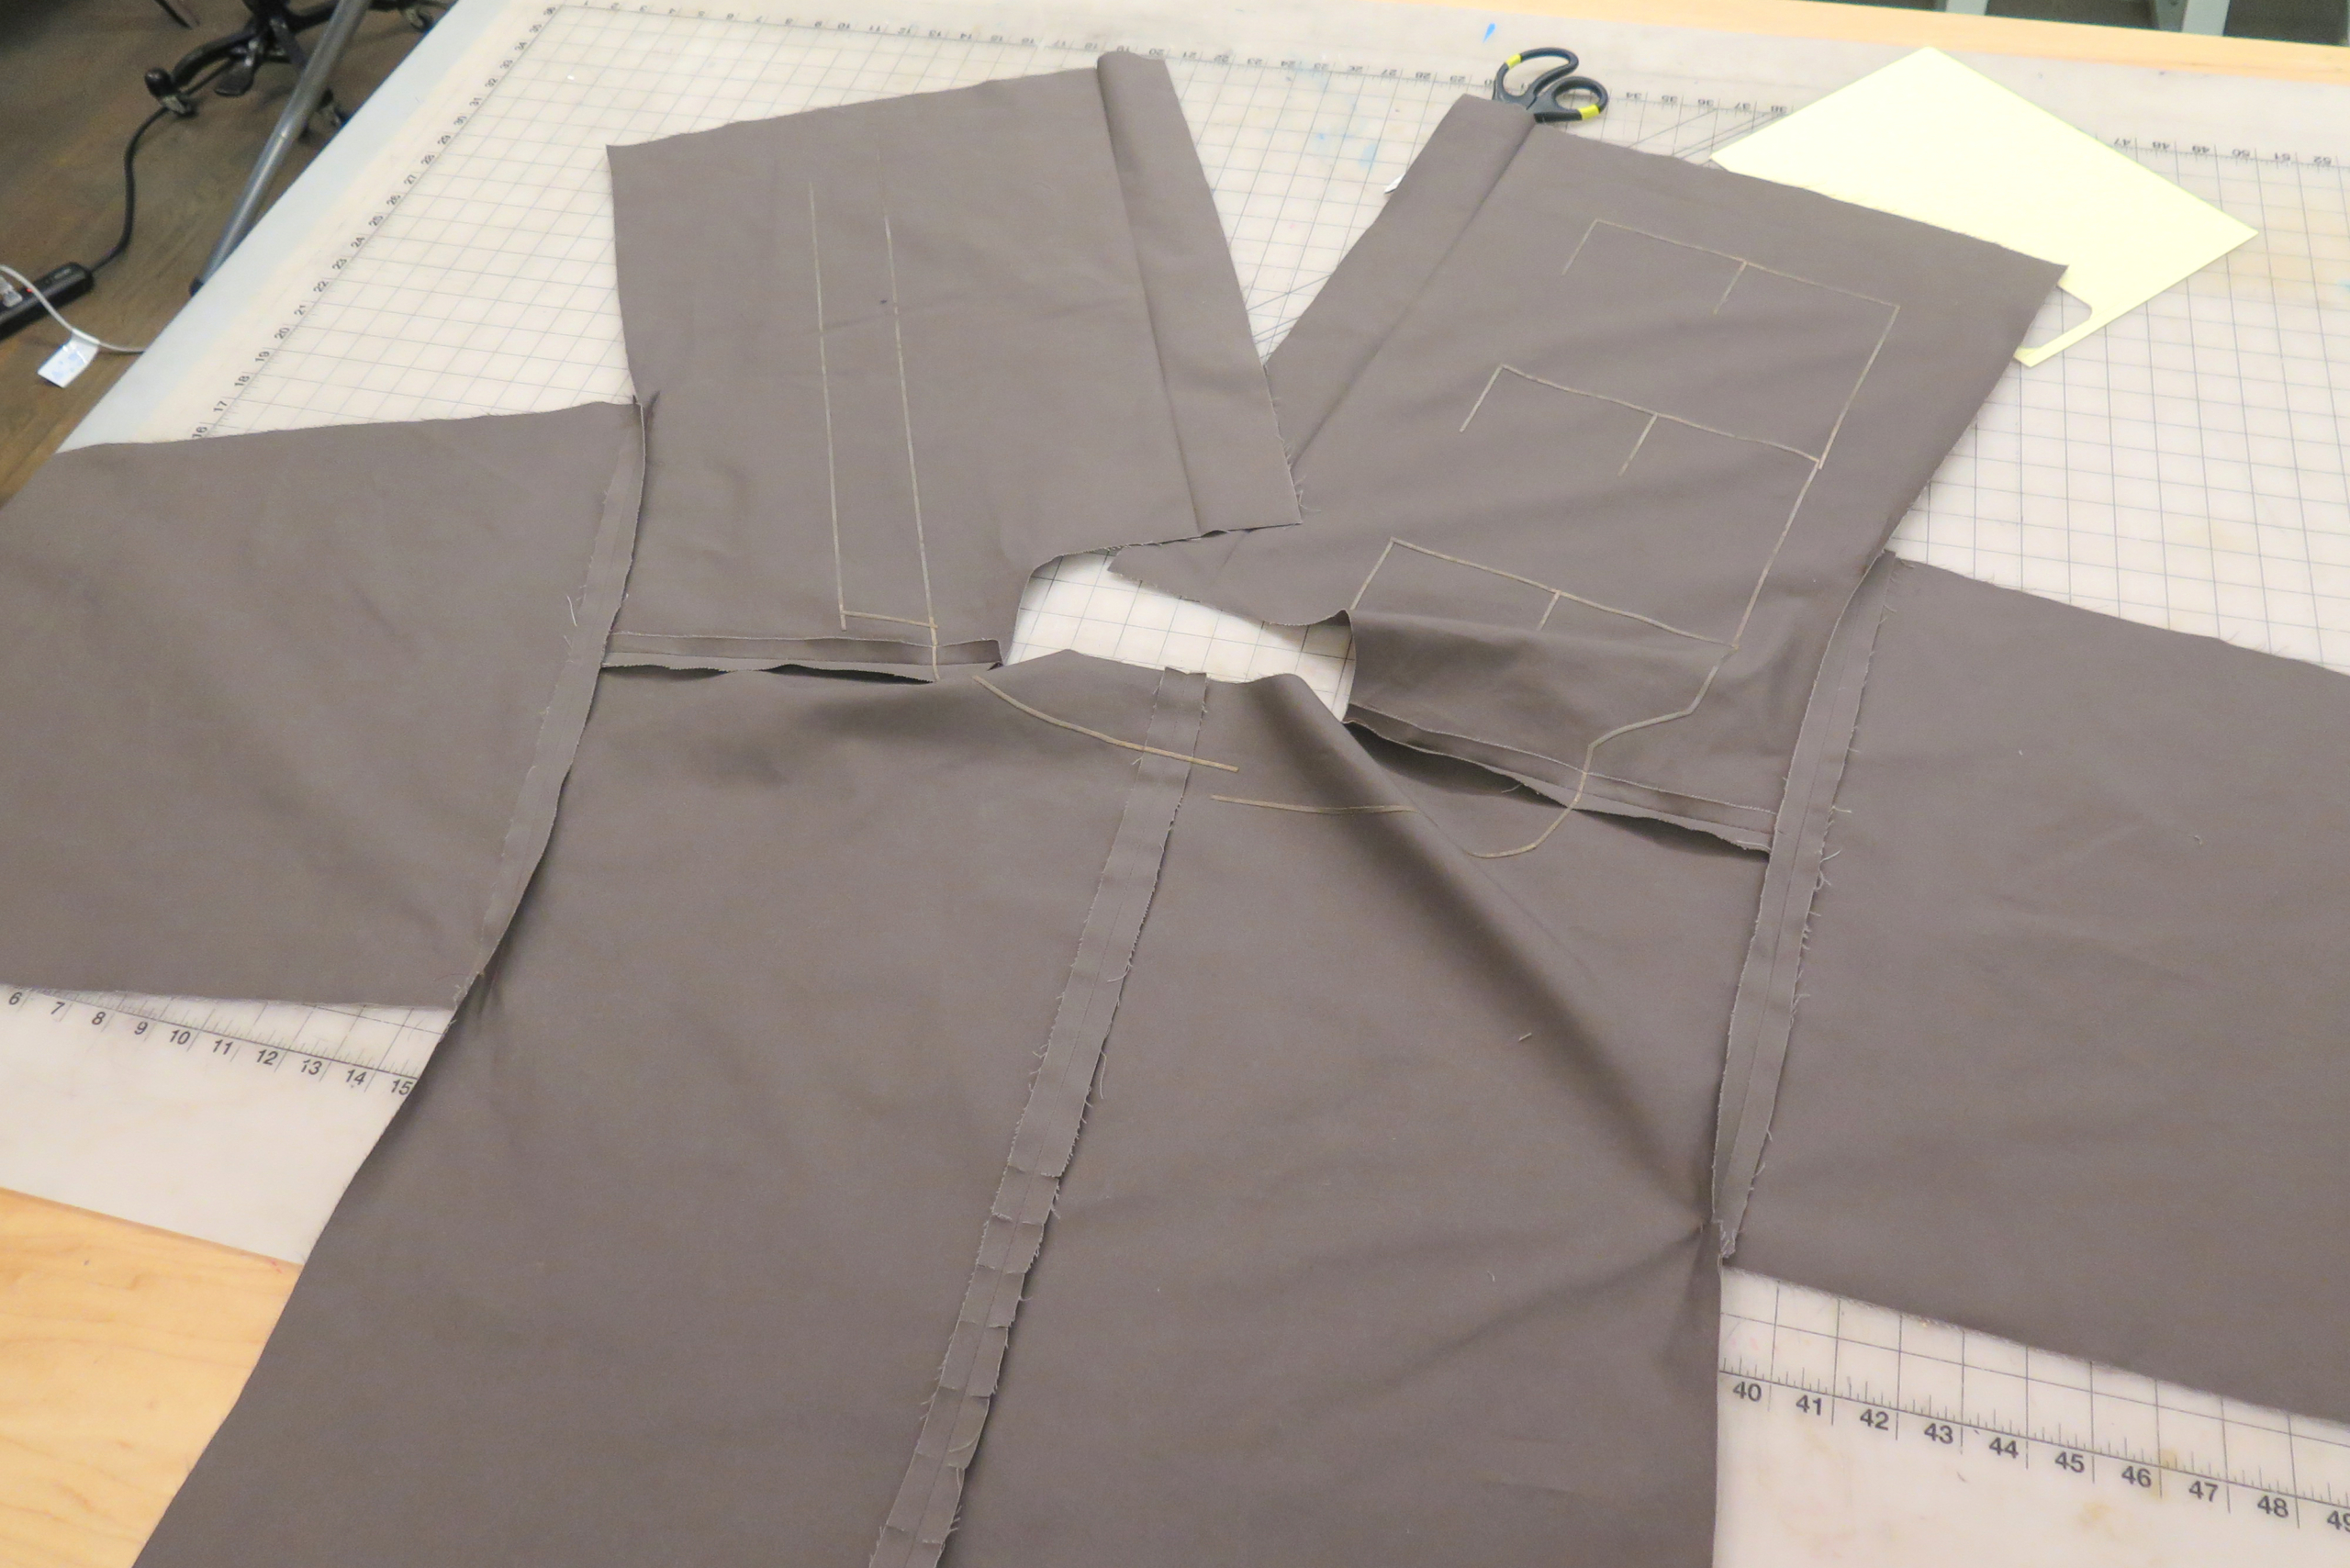
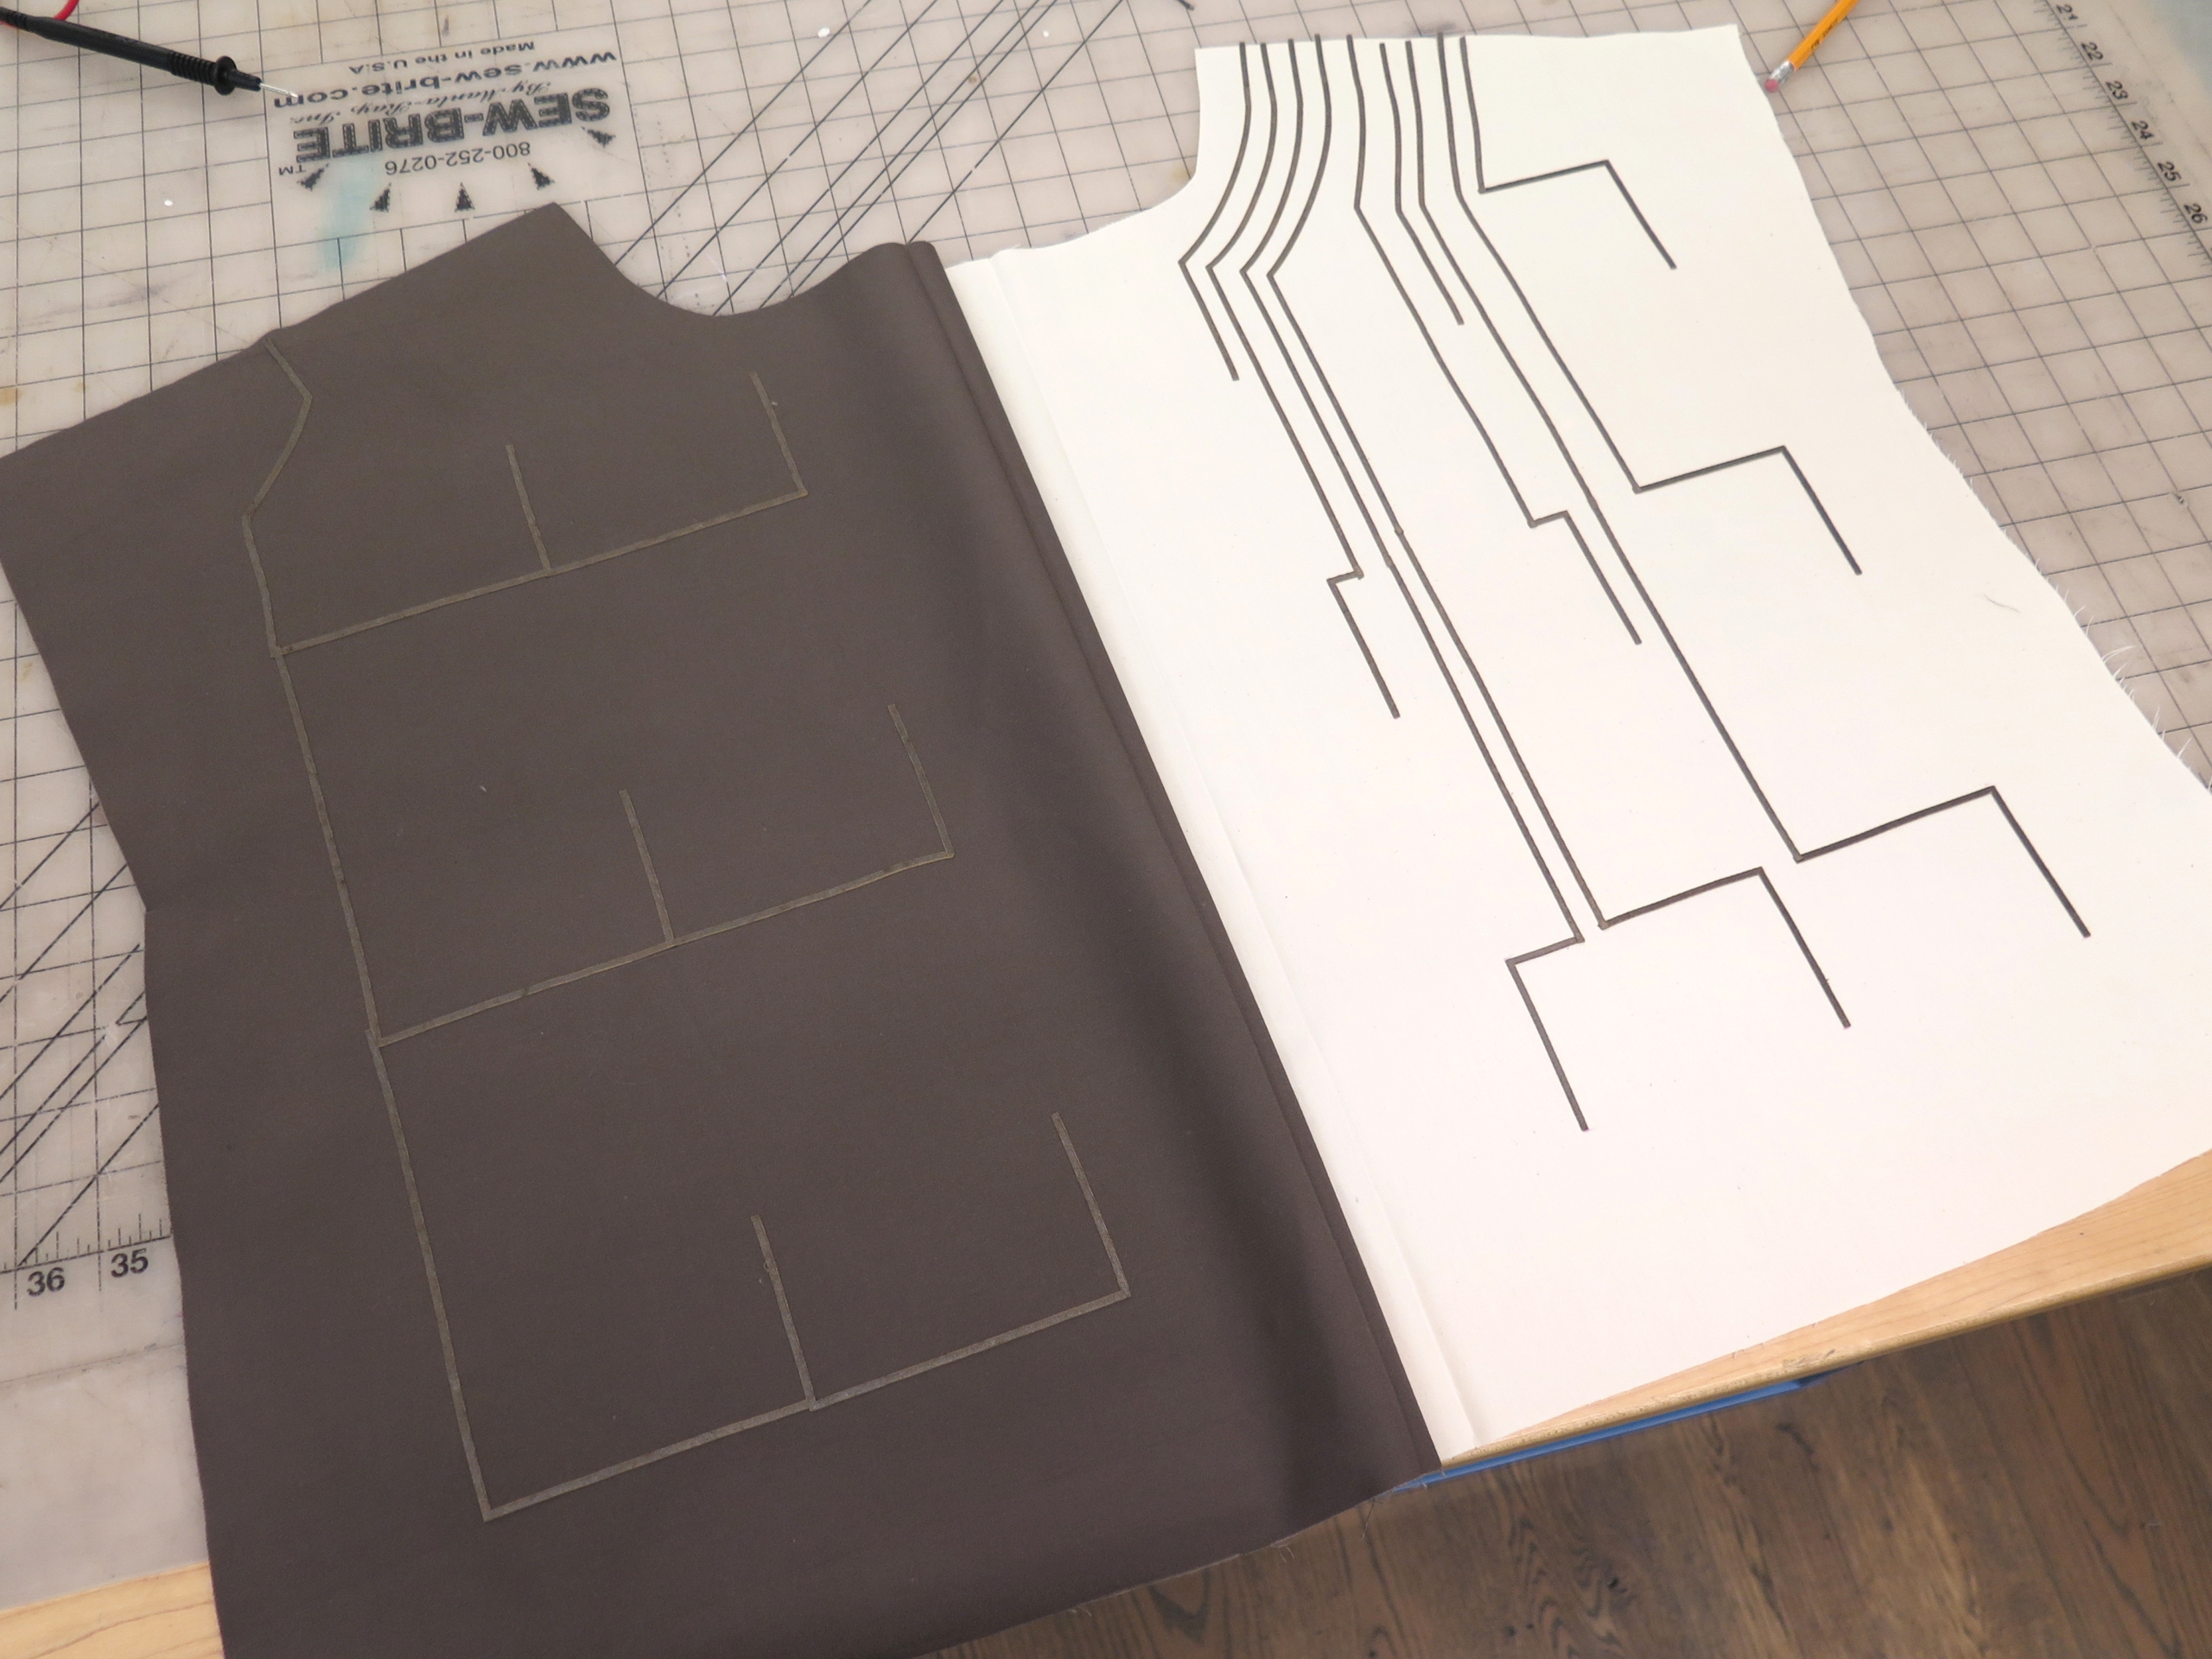
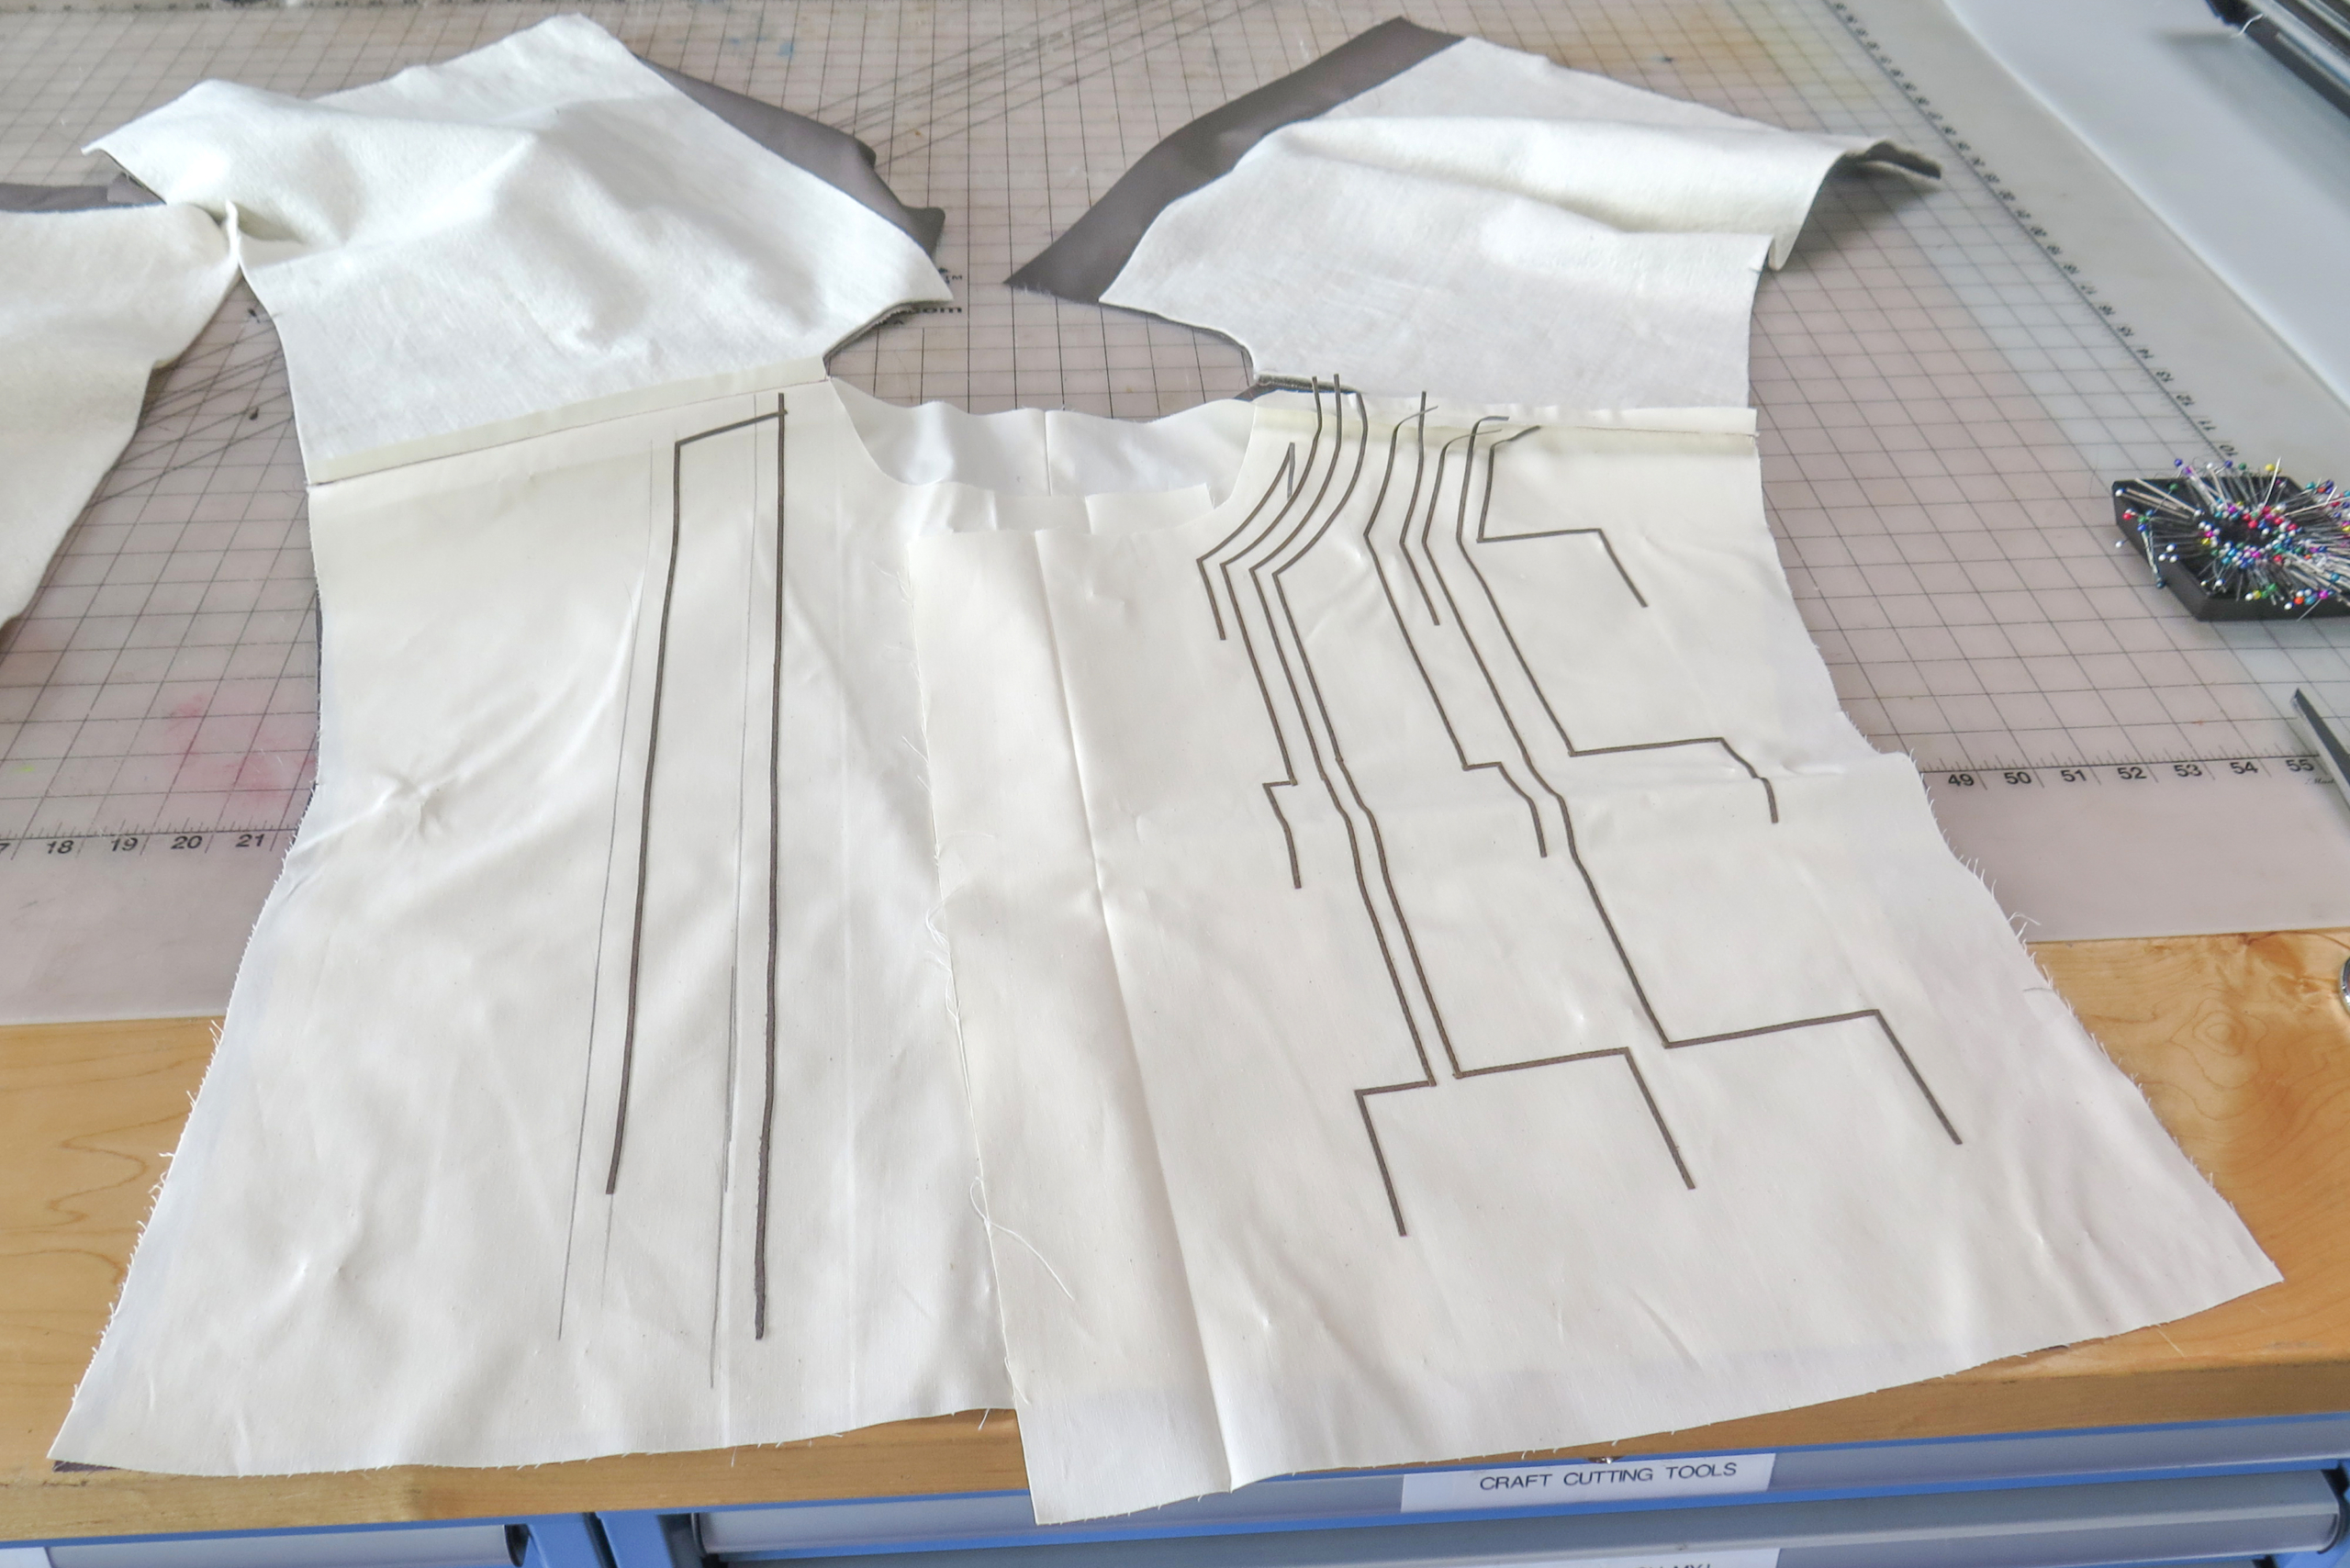
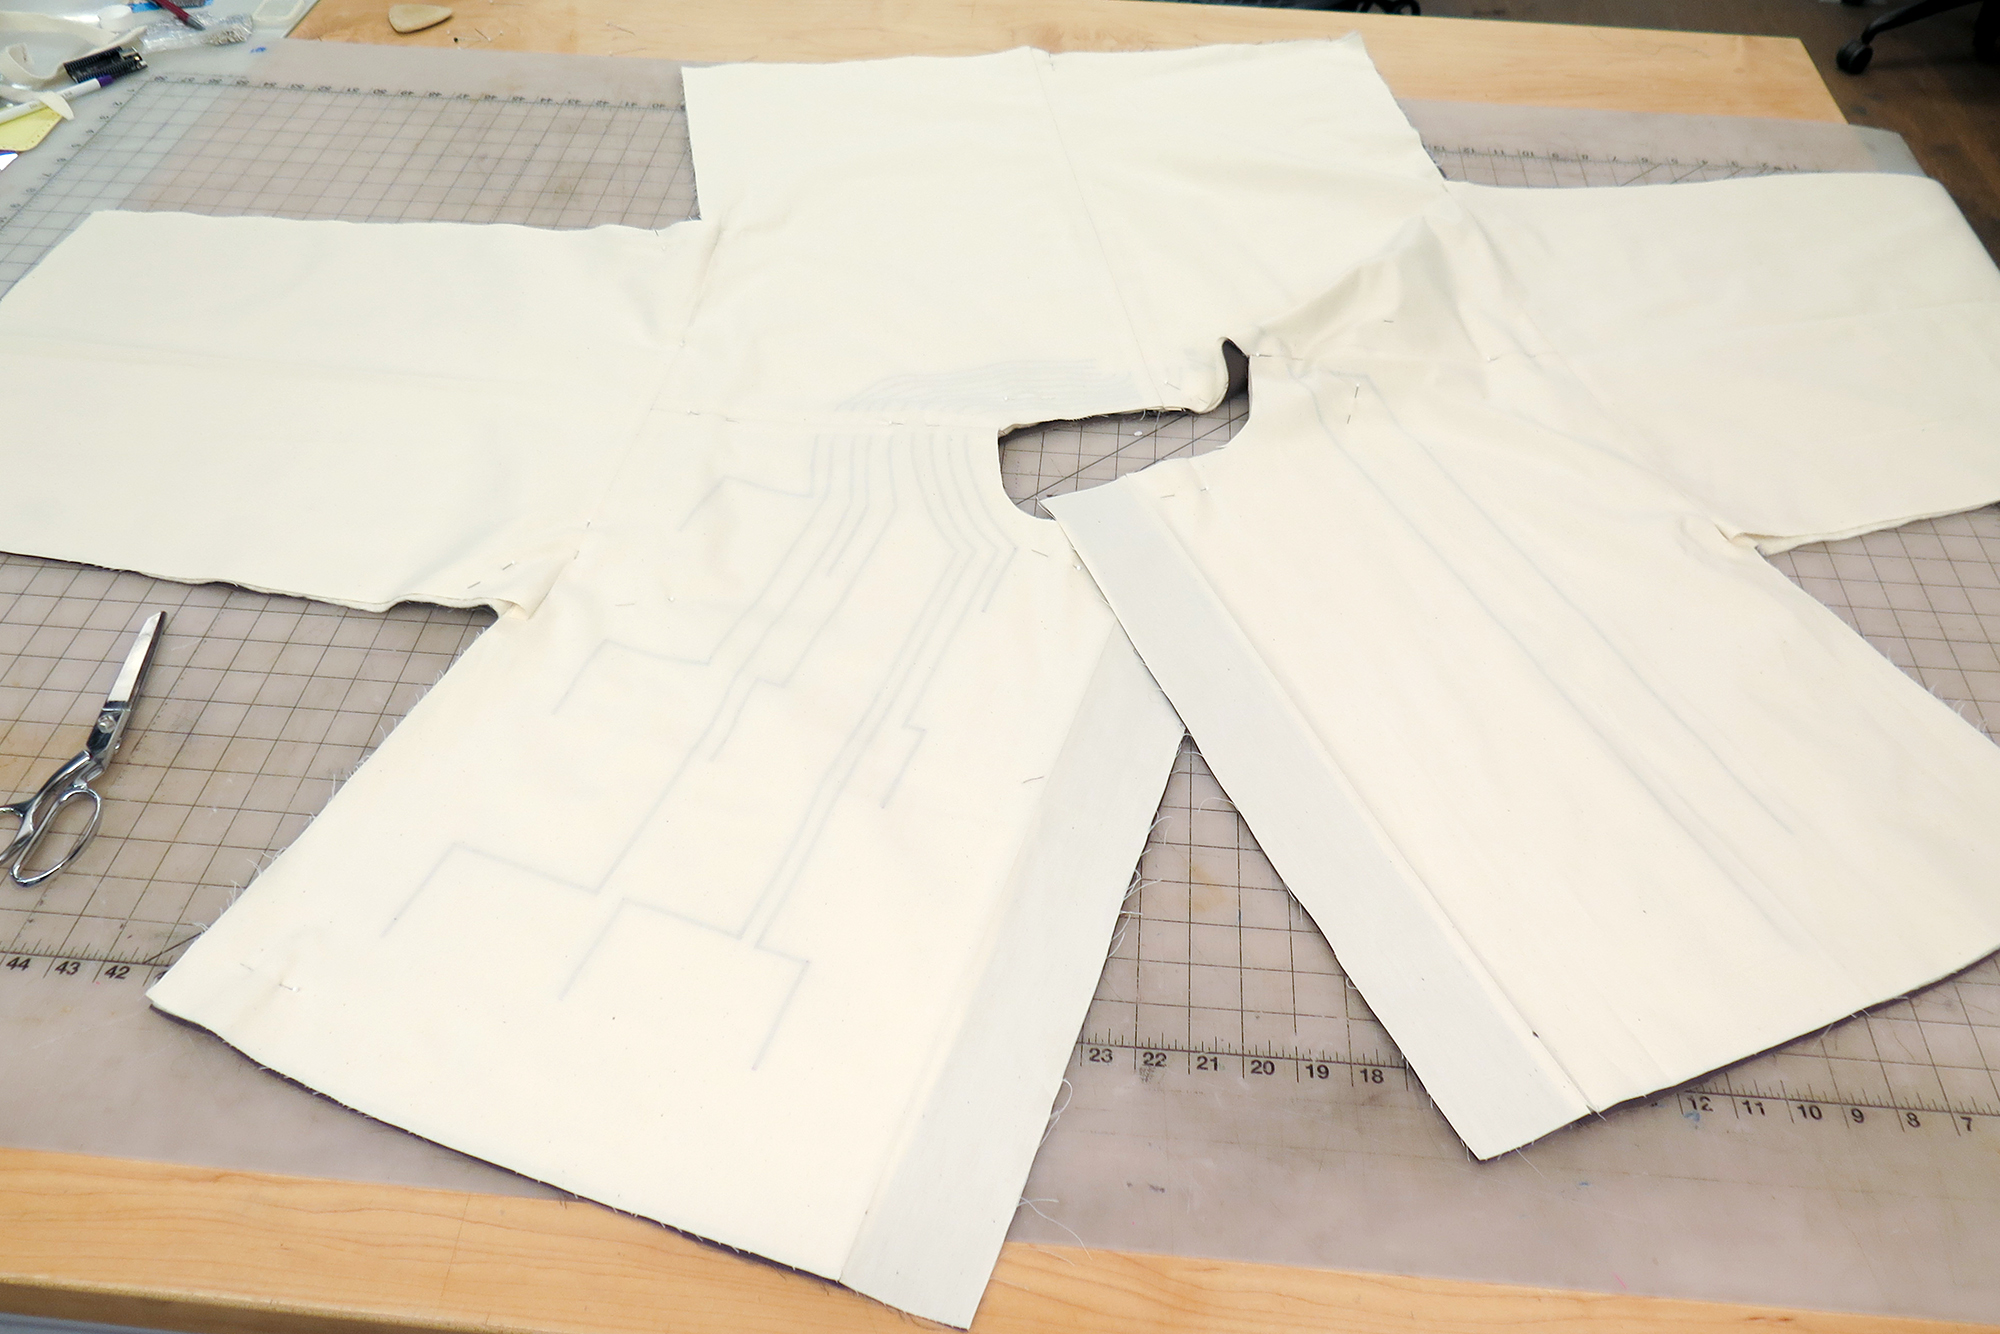
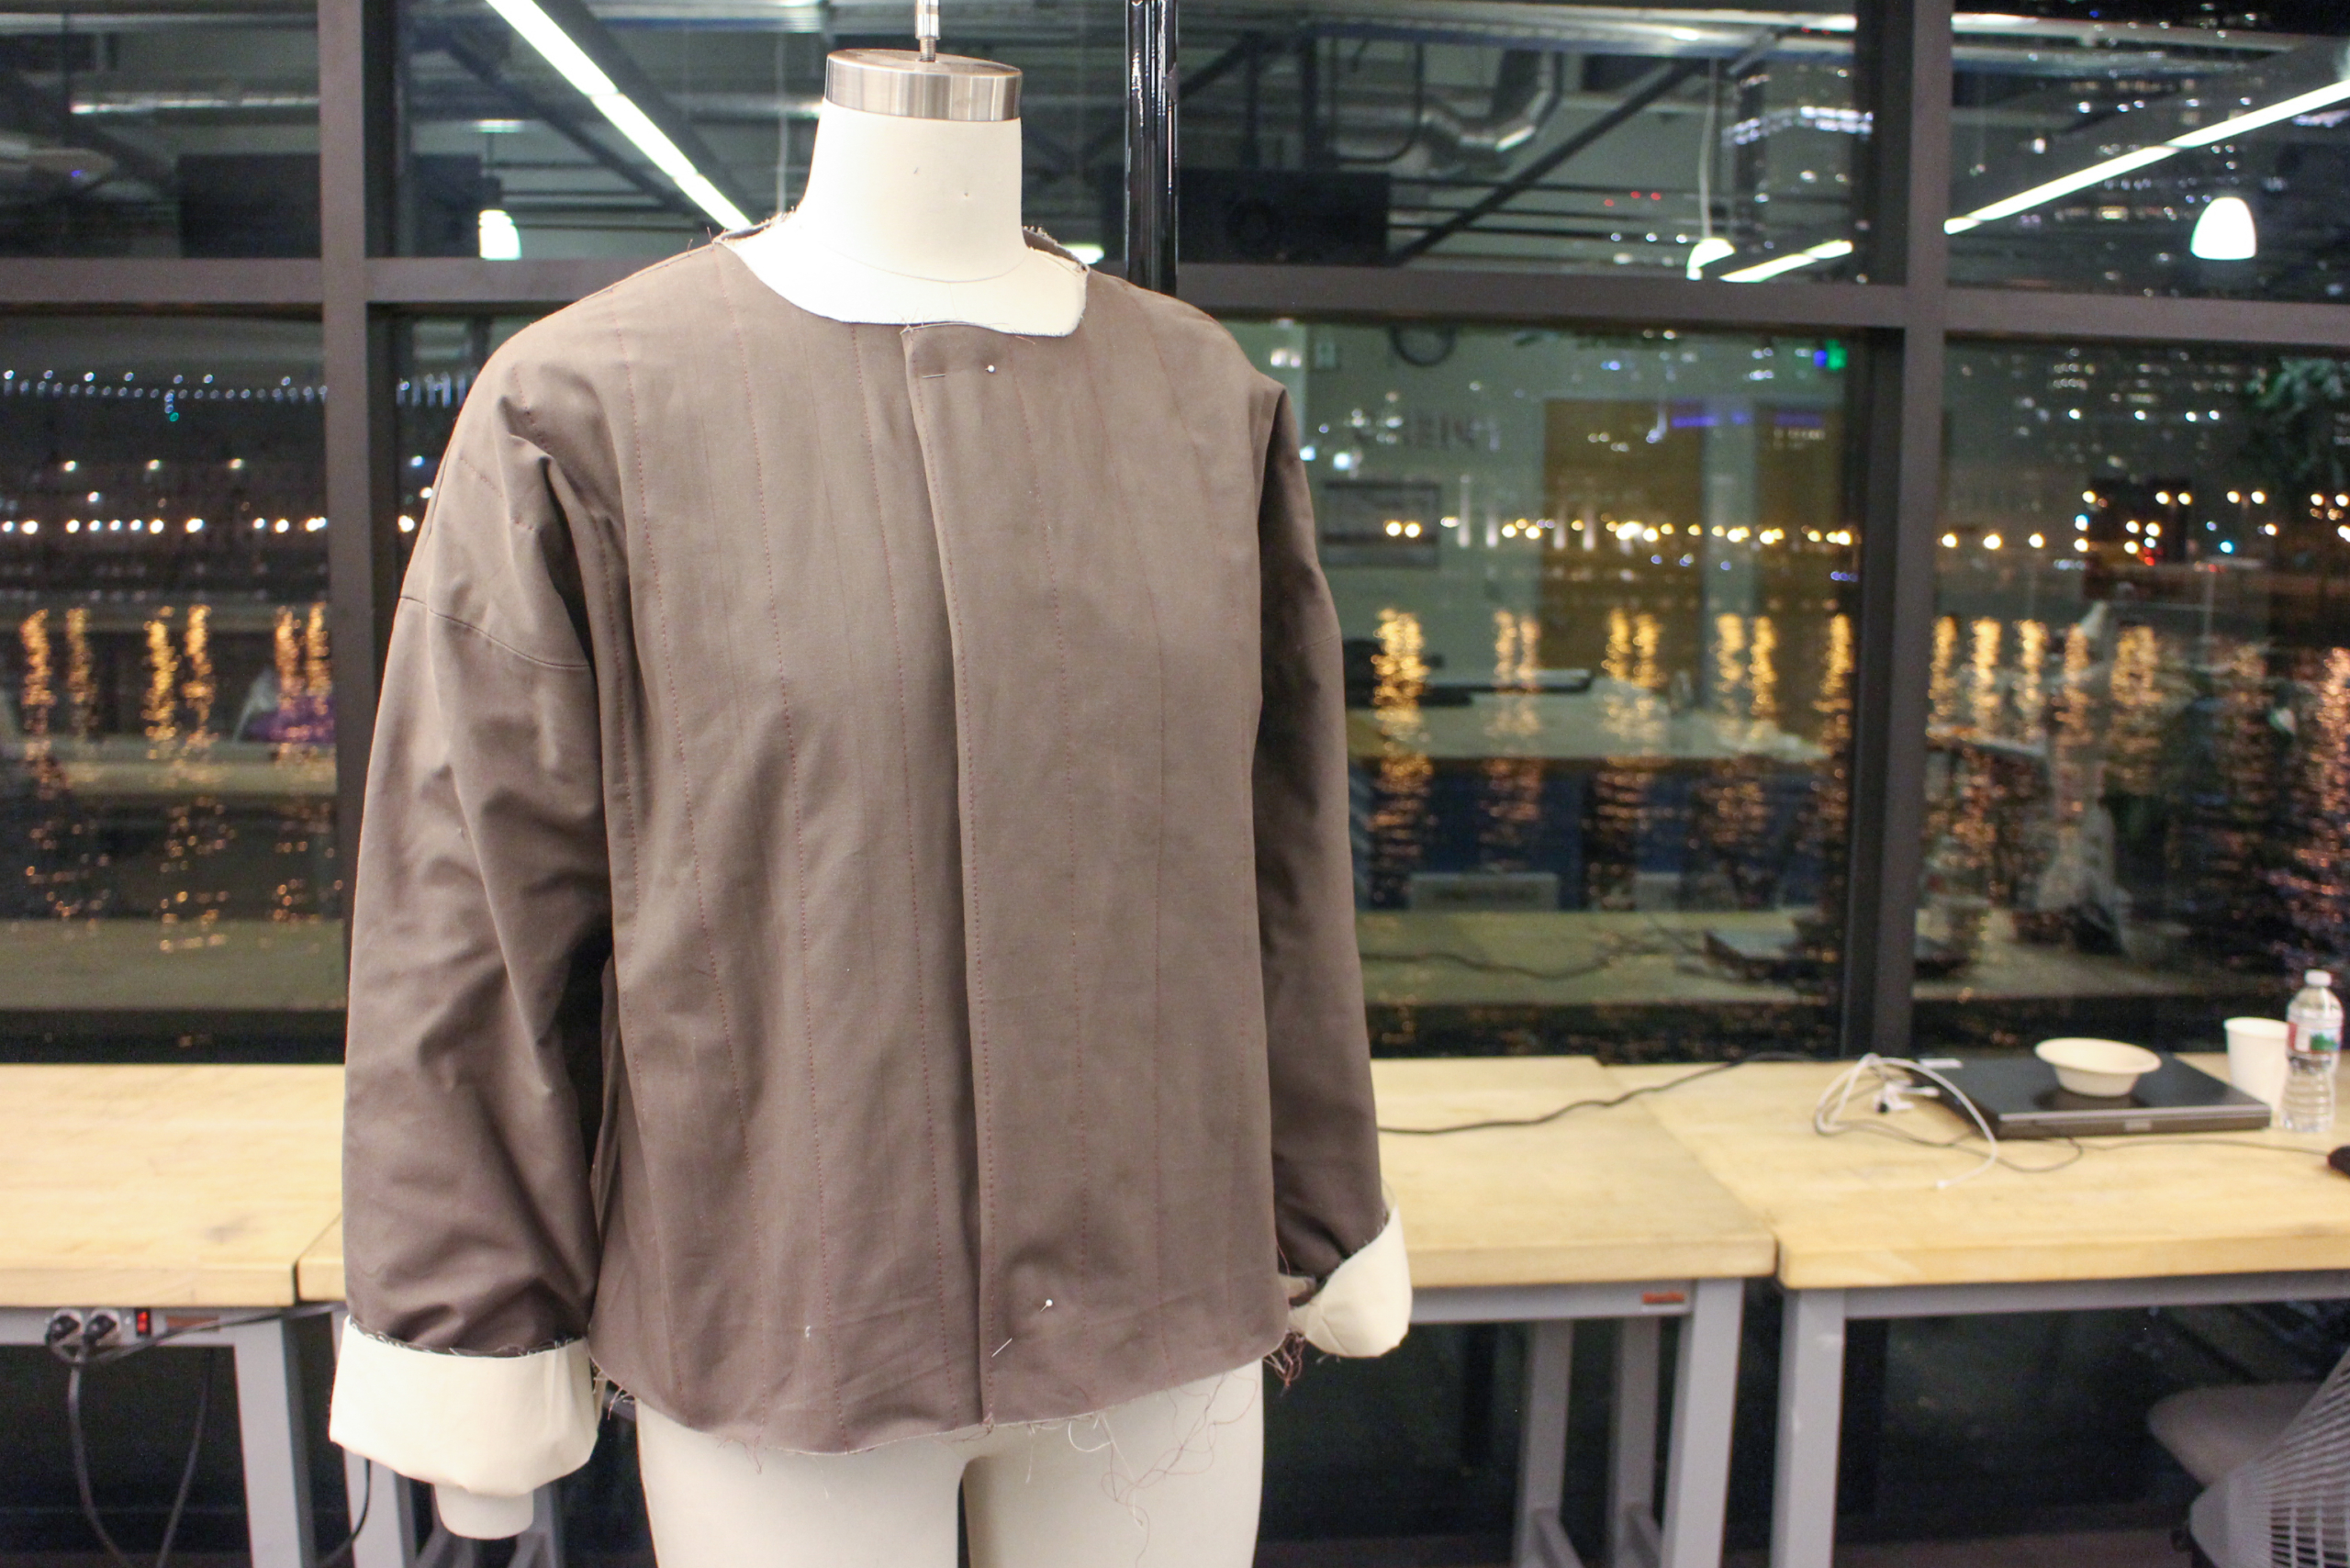
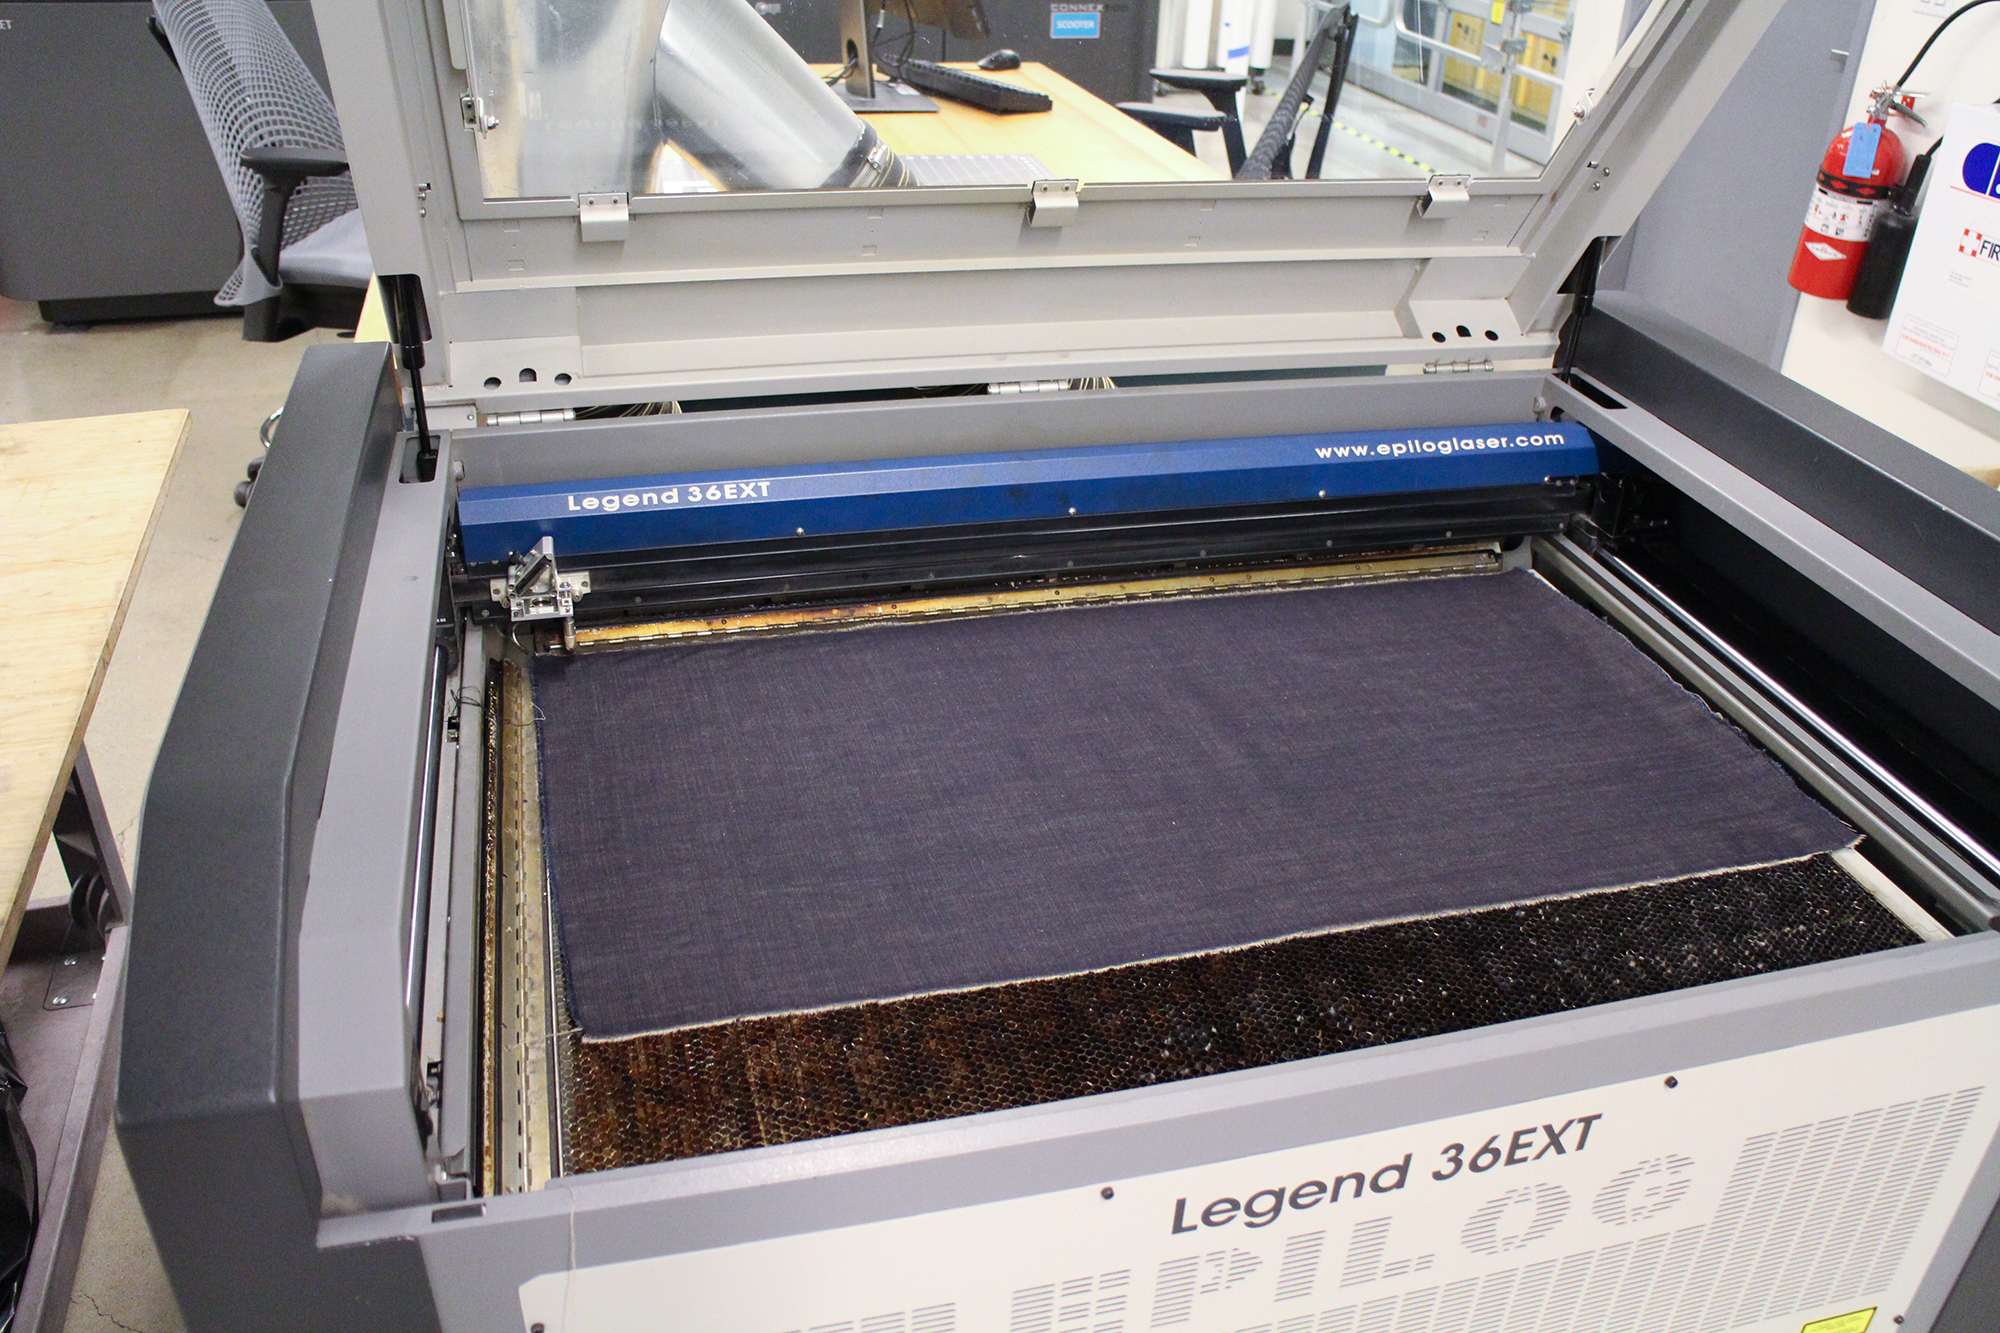
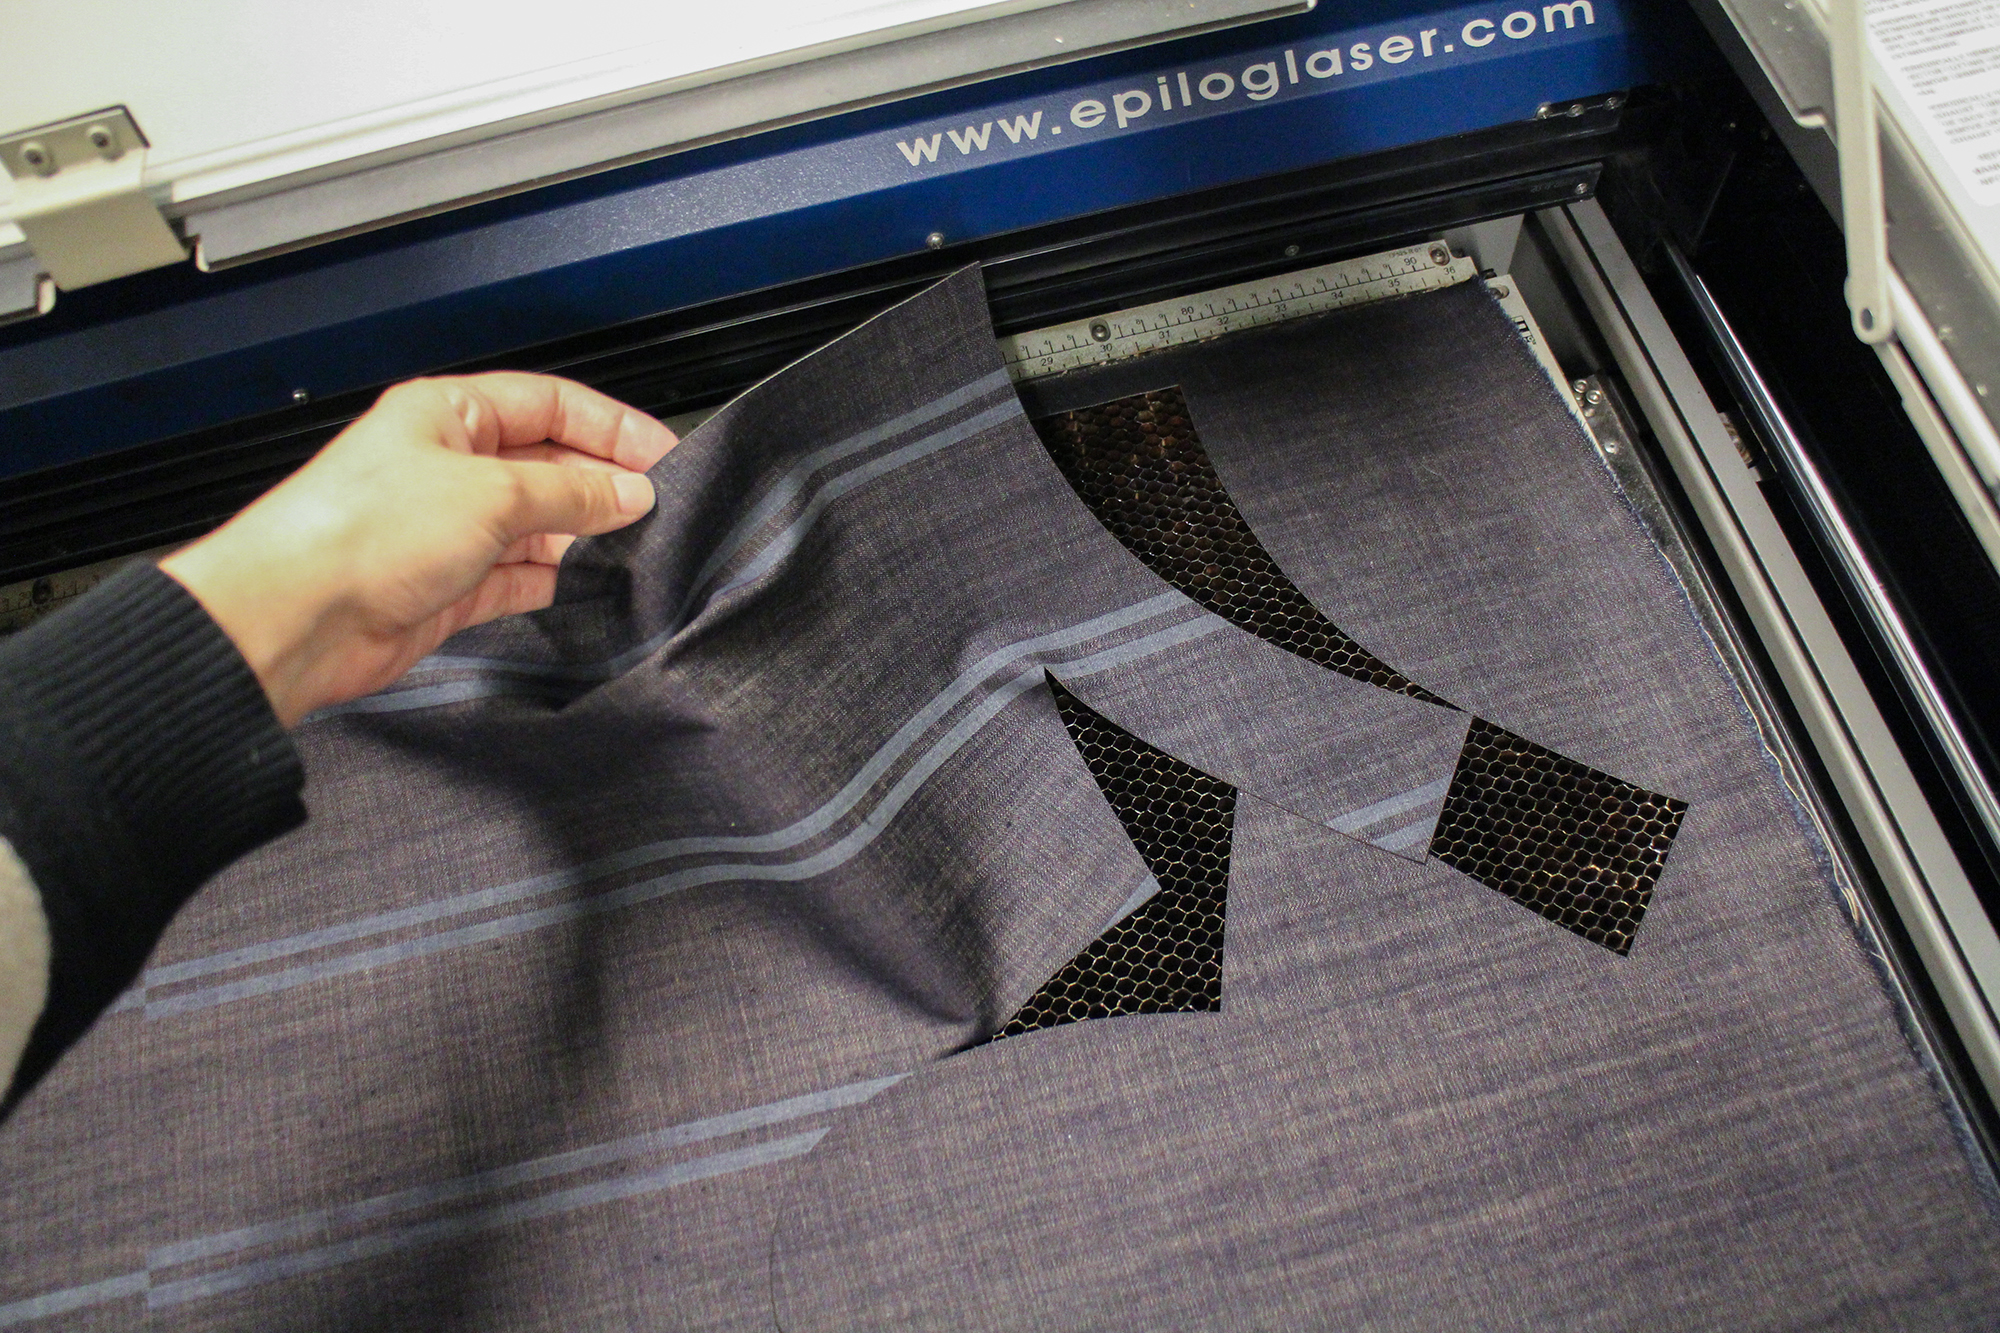
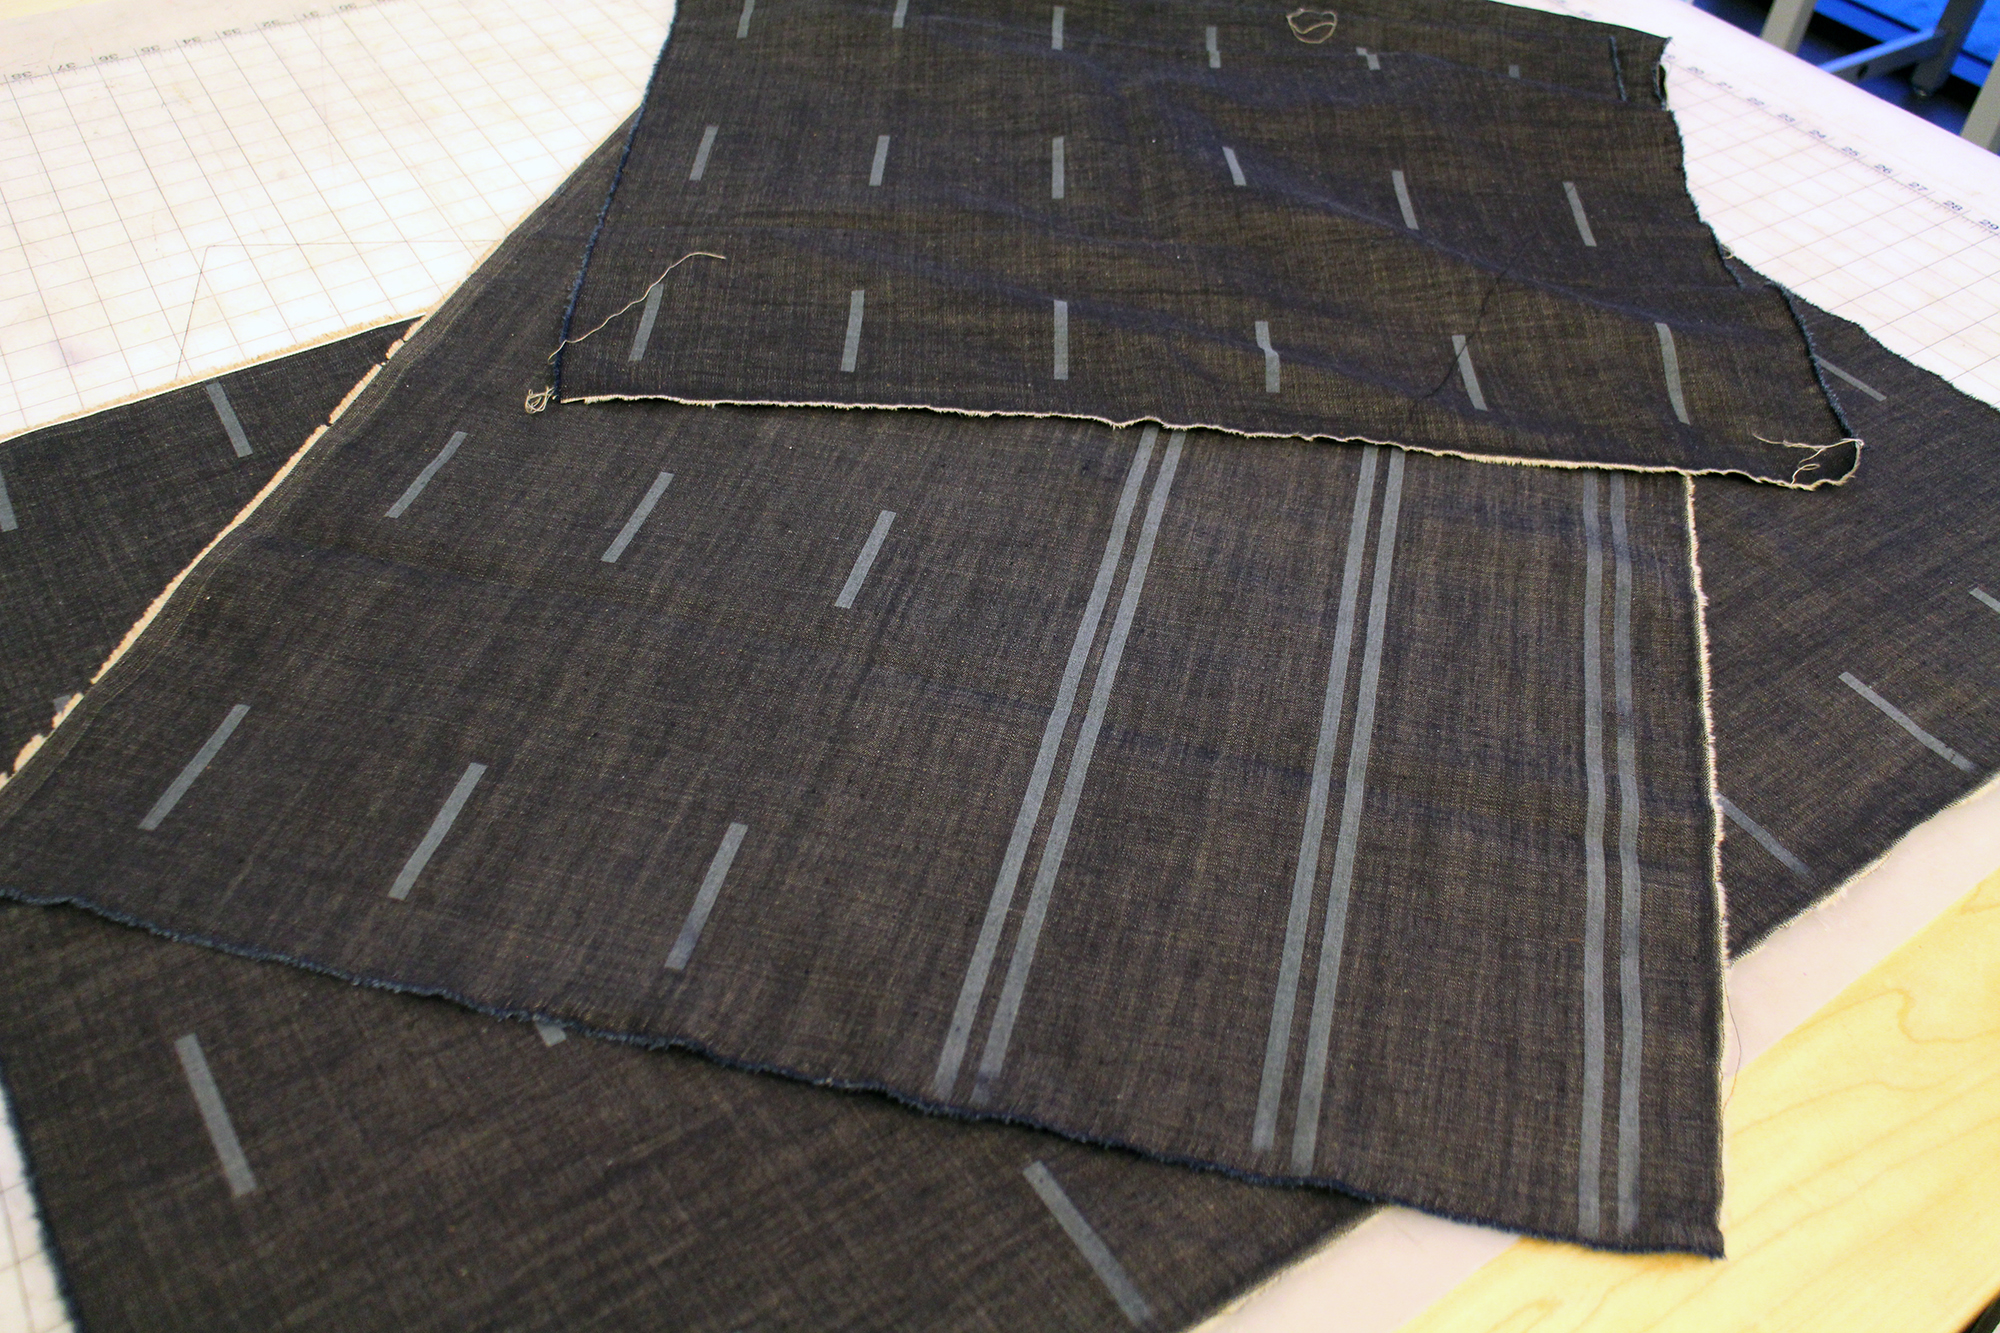
The final jacket is denim with laser cutter etched details. I was heavily influenced by Japanese sashiko mending. When I thought of what the jacket would look like as it collected stitches (memories), I thought of large sections of geometric and repeating stitch patterns, like you see with sashiko mending.
I made several, too many, flat patterns for the jacket. I had a difficult time deciding what it was to look like and getting a good shape. At first, I gave myself the constraint of making it a zero-waste pattern. The prototype is a zero-waste pattern, but the final is not. I will continue to push myself to create zero-waste designs. The respect I have for designers who only design zero-waste is boundless, I found it incredibly difficult on a couple levels. The final pattern was inspired by a vintage jacket I found in Goodwill with a high collar design attached to the front and that continued to the back. It was perfect for running circuit traces up the front and to the center back where the main circuit board would live. From there, I made the jacket flared and loose fitting with straight sleeves.
Circuit
Hardware:
+ C.H.I.P. single-board computer
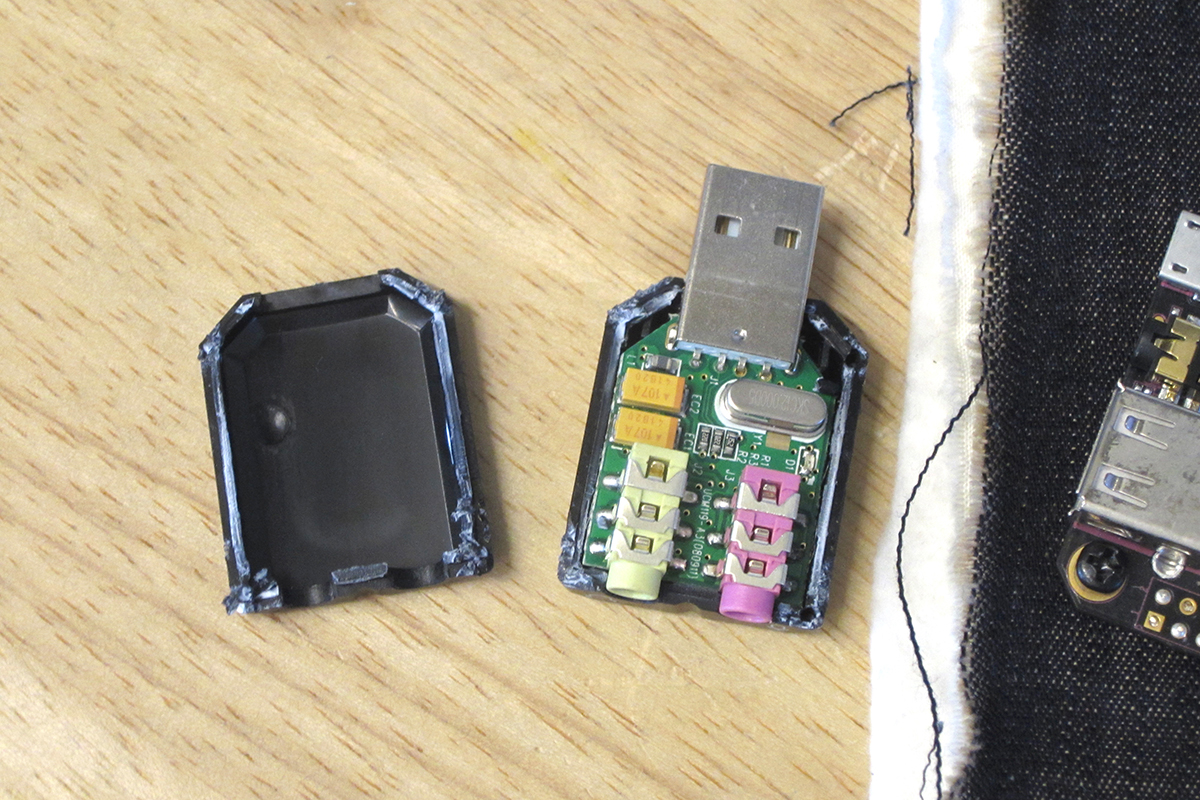
+ USB soundcard
+ MPR121 capacitive sensing breakout board, I used the Sparkfun and Adafruit boards. Sparkfun’s is discontinued.
+ MAX4466 electret mic amplifier
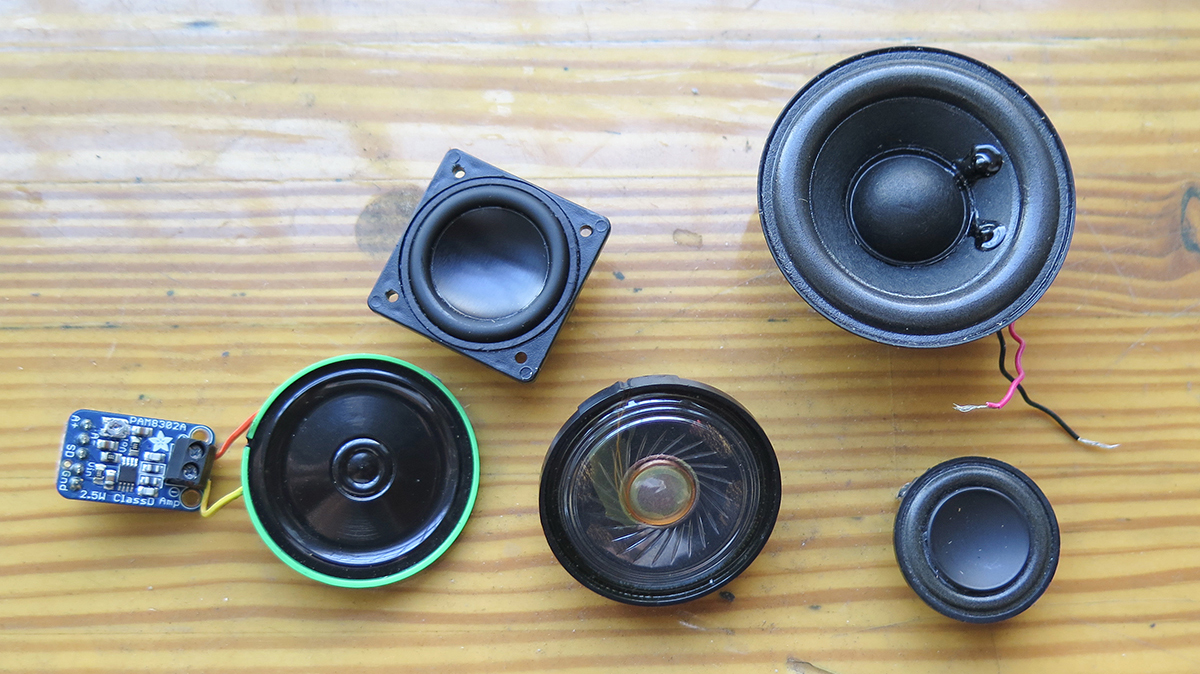
+ Speaker (less than 2W)
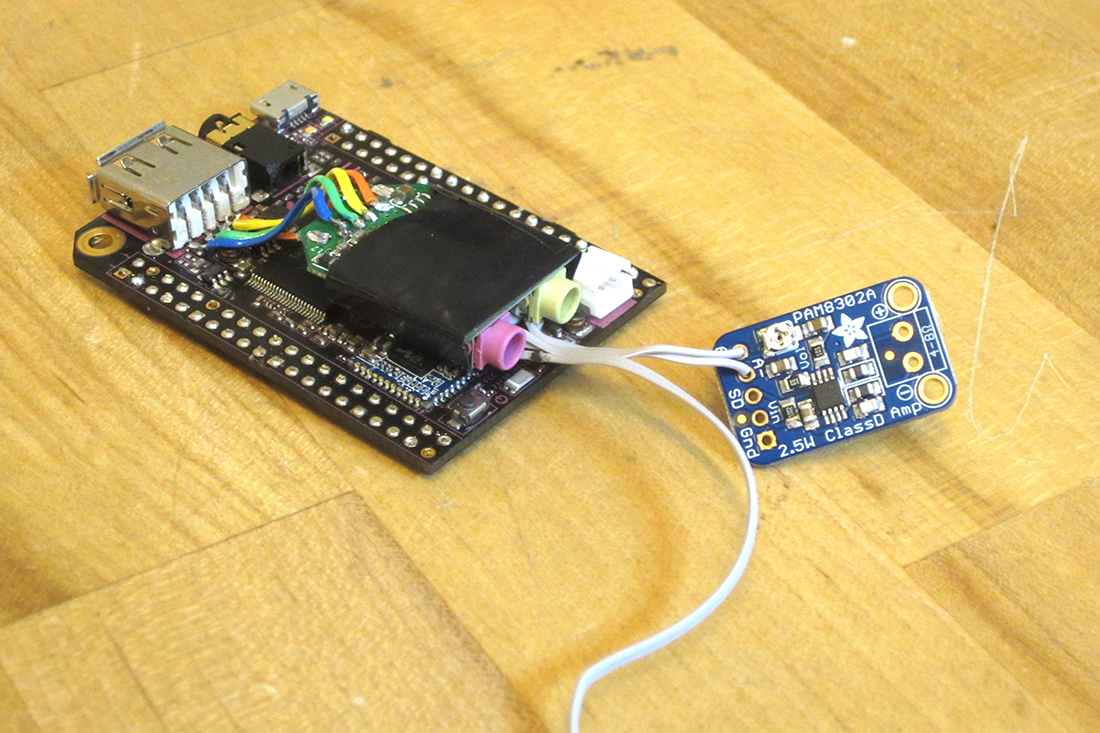
+ PAM8302A 2.5W amp
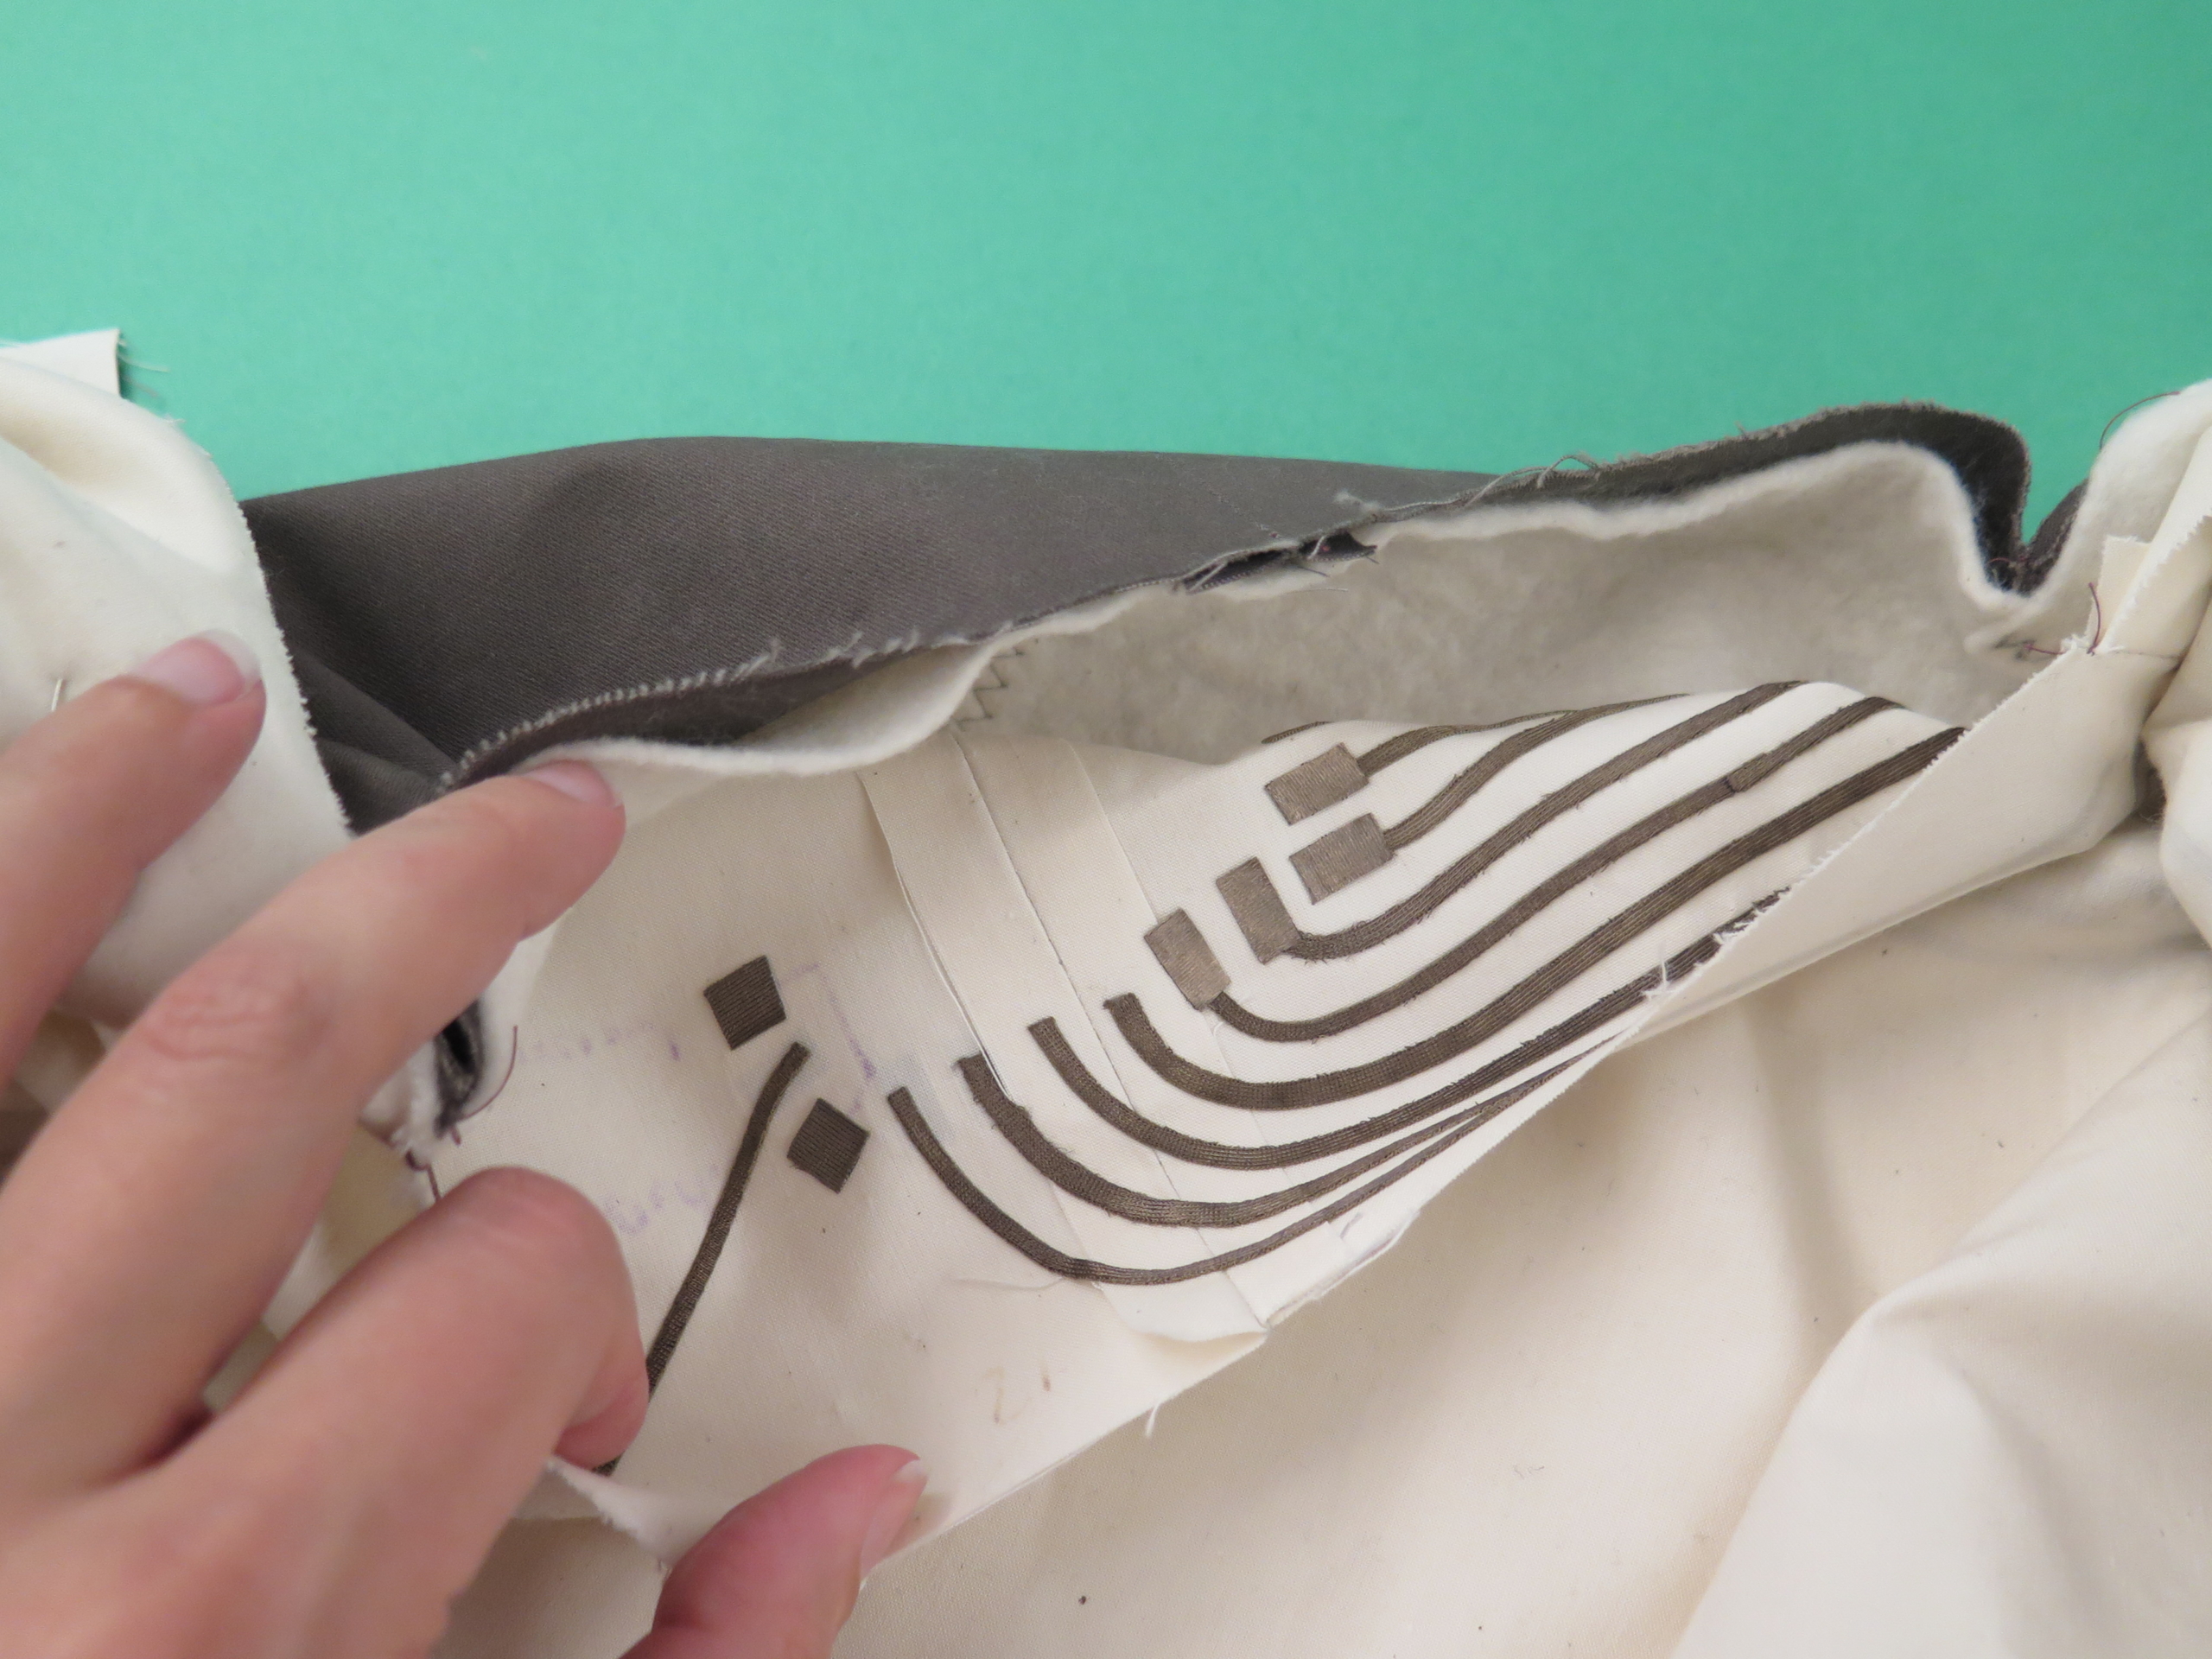
The conductive fabric I used is the Medtex knit fabric from LessEMF.com. I laser cut and hand cut the traces. Laser cutting was quick and could be useful for intricate vector designs, but ultimately unnecessary. The knit fabric curves around corners nicely and laser cutting ended up damaging the conductive properties of the fabric in the final which caused me to go through and add Karl Grimm Highflex copper conductive thread to almost all traces.
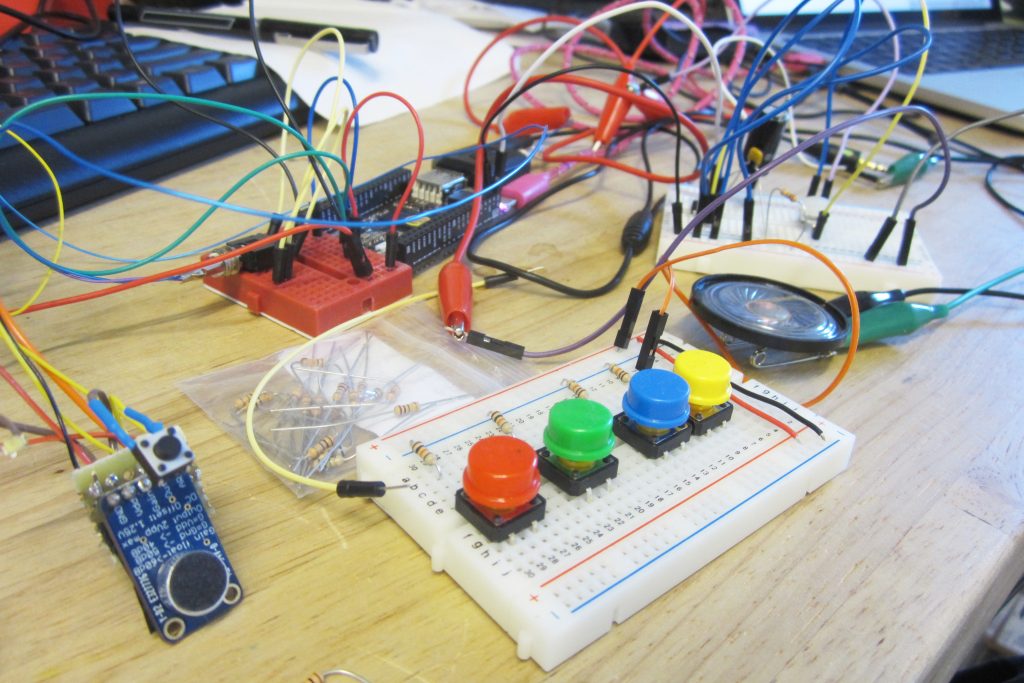
Breadboarded circuit.
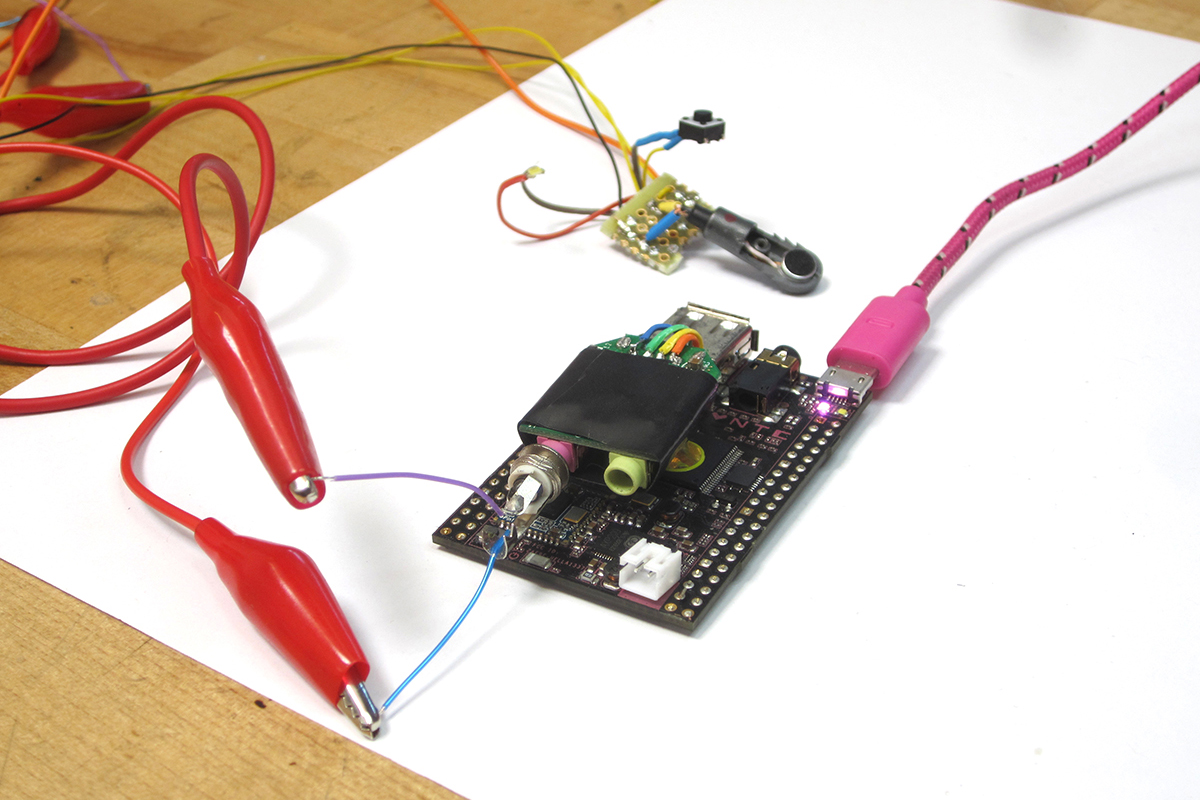
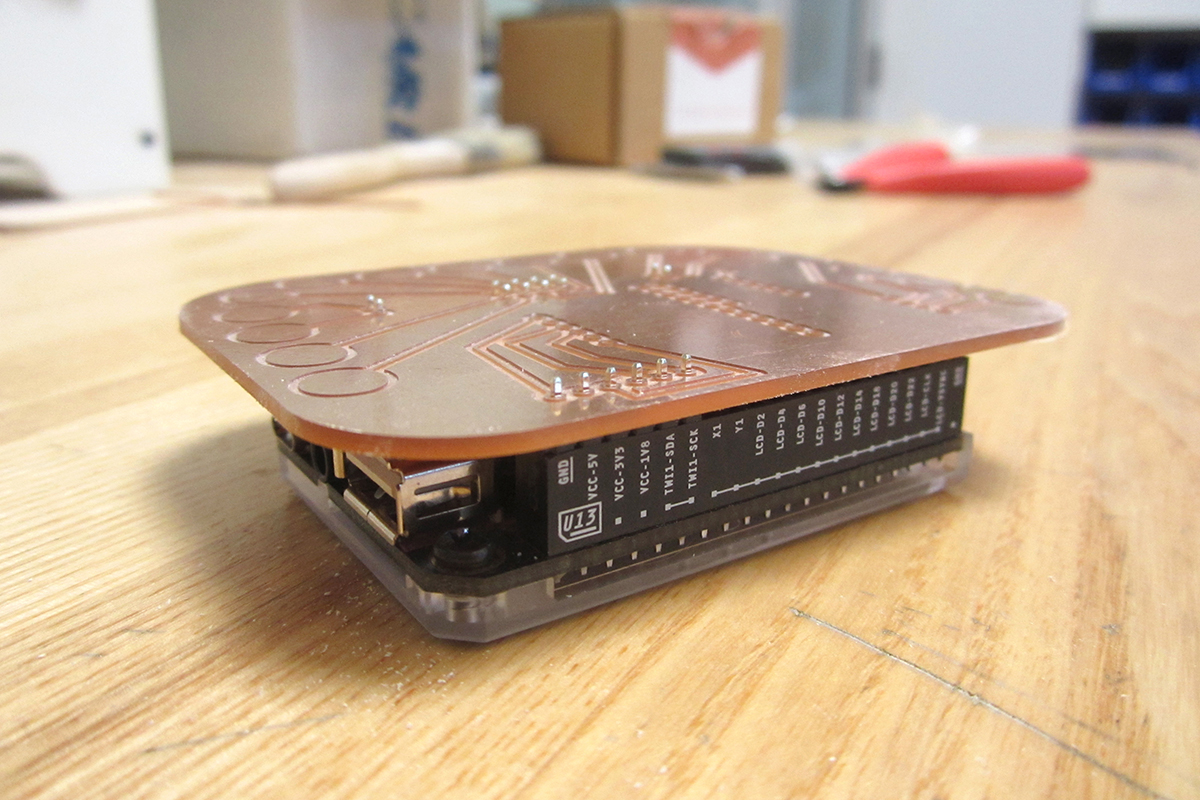
Prepping and testing CHIP with USB sound card, mic, amp and speaker.


Test swatch with conductive traces and pin in mic.
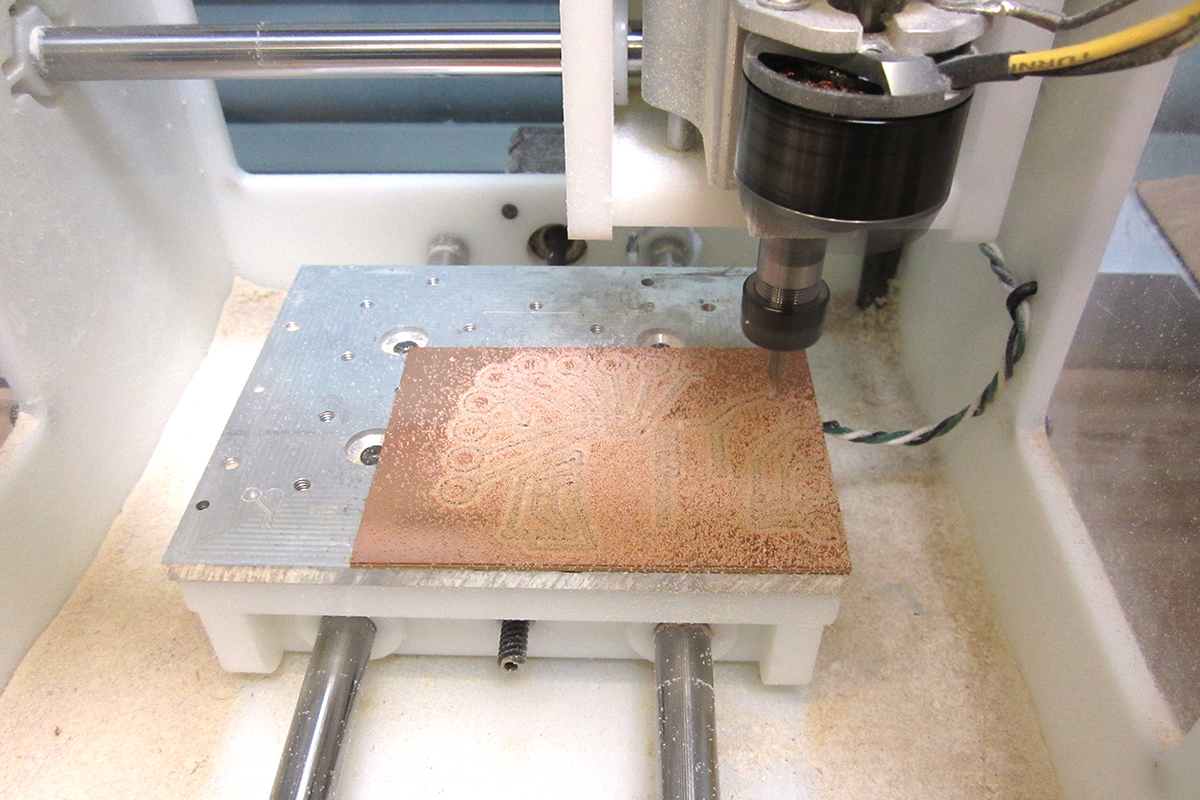
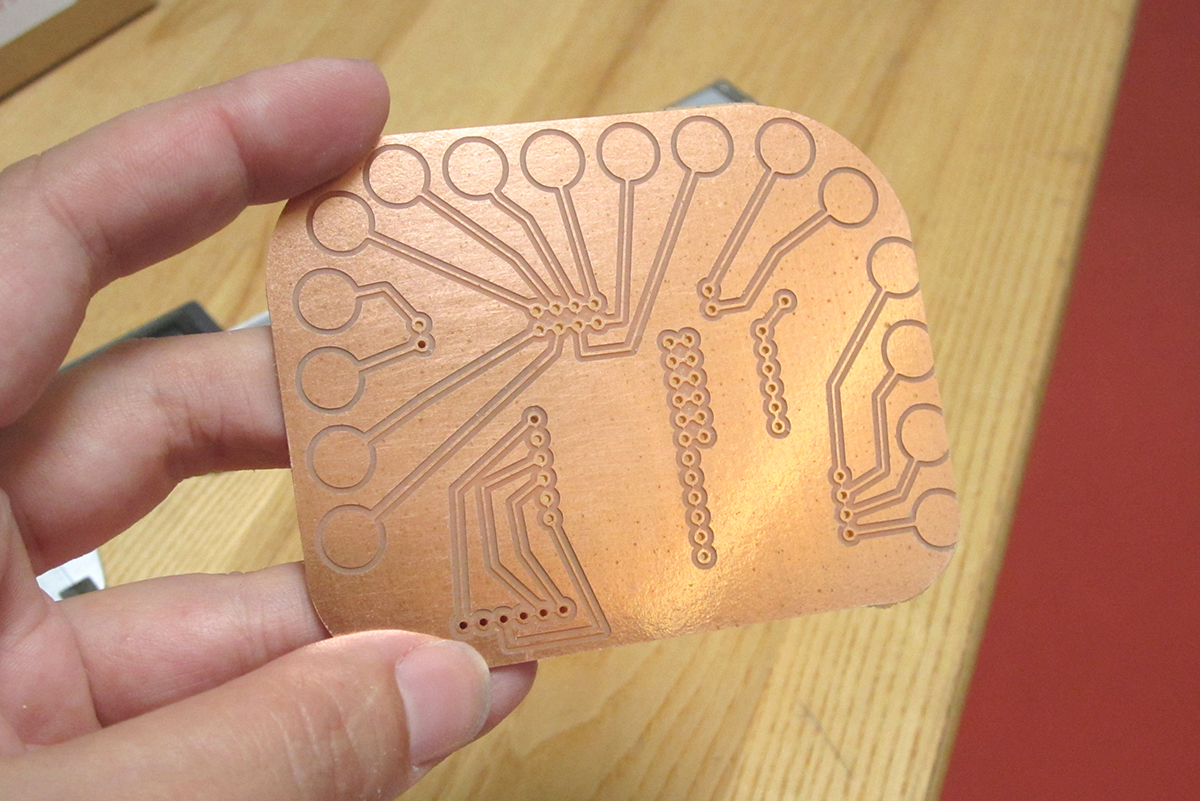
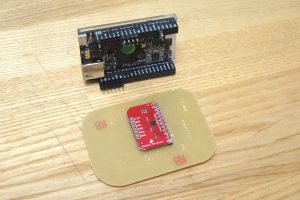
First go at milling PCBs for CHIP snap breakout board, pin-on mic and pin-on speakers.
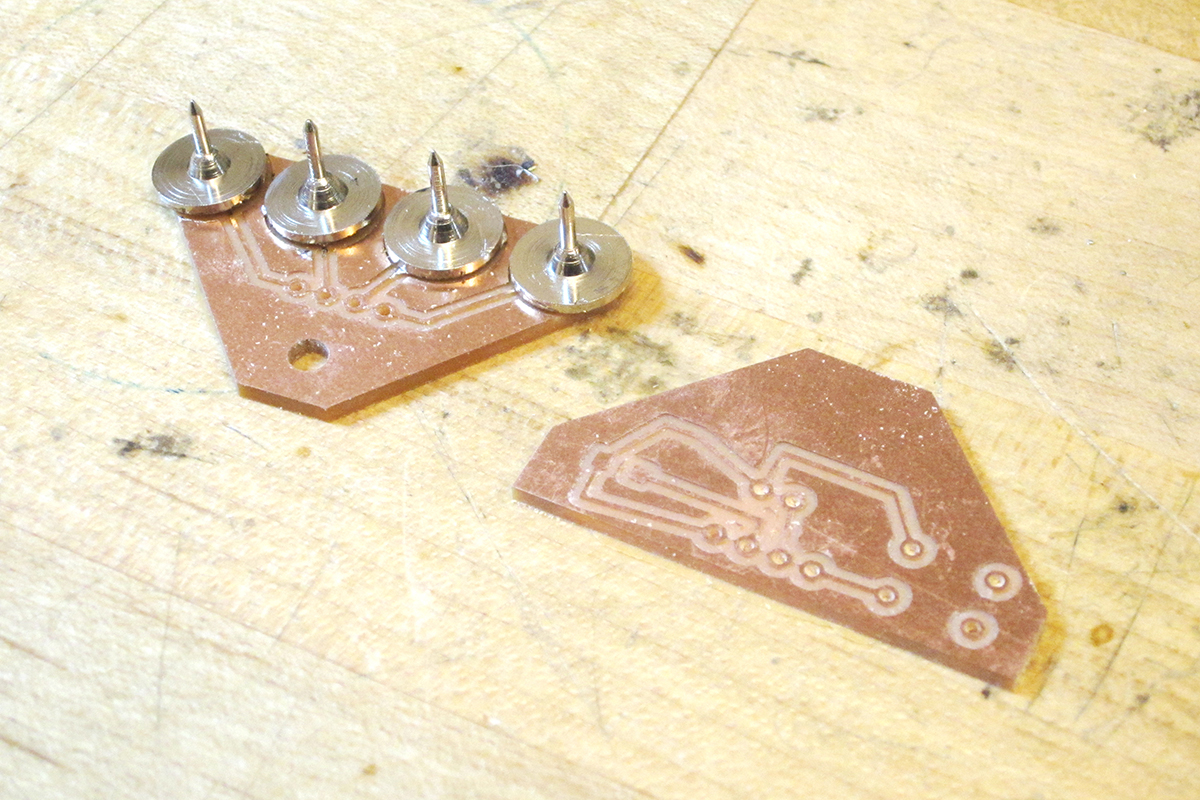
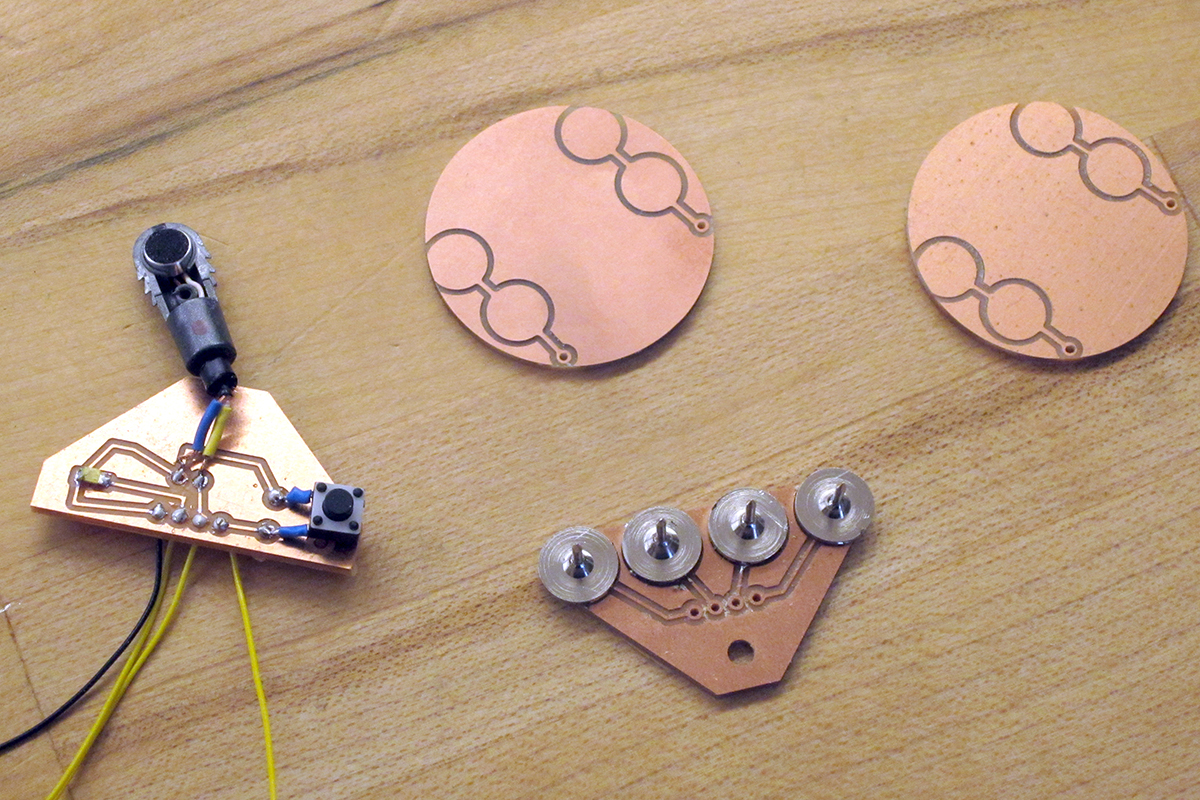

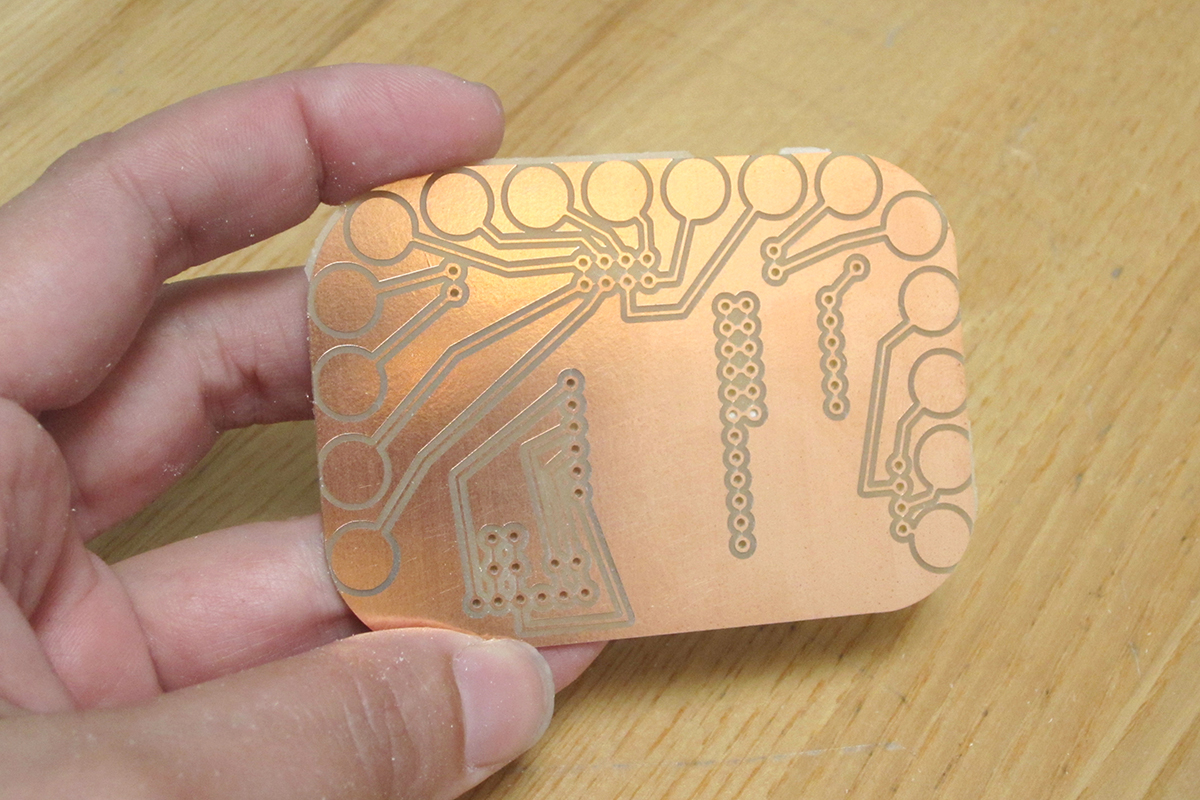
Second iteration of PCB milling. Smaller board, fixed some circuit design errors.
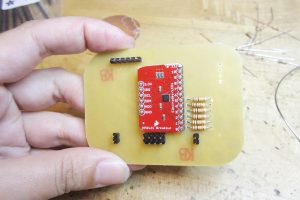
Capacitive touch board and pull-down resistors added.
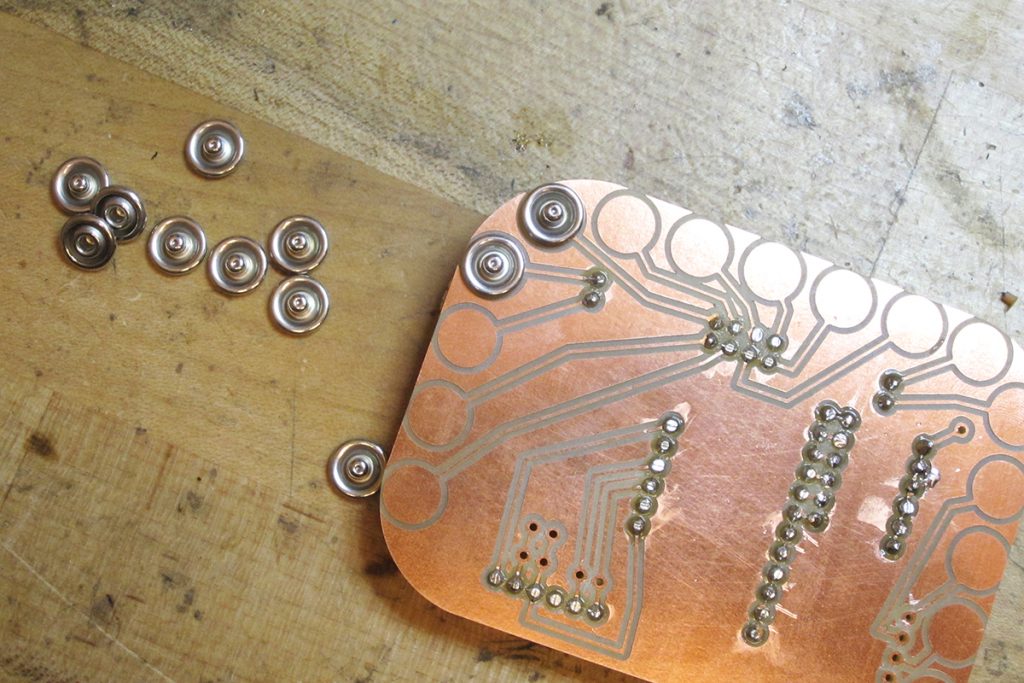
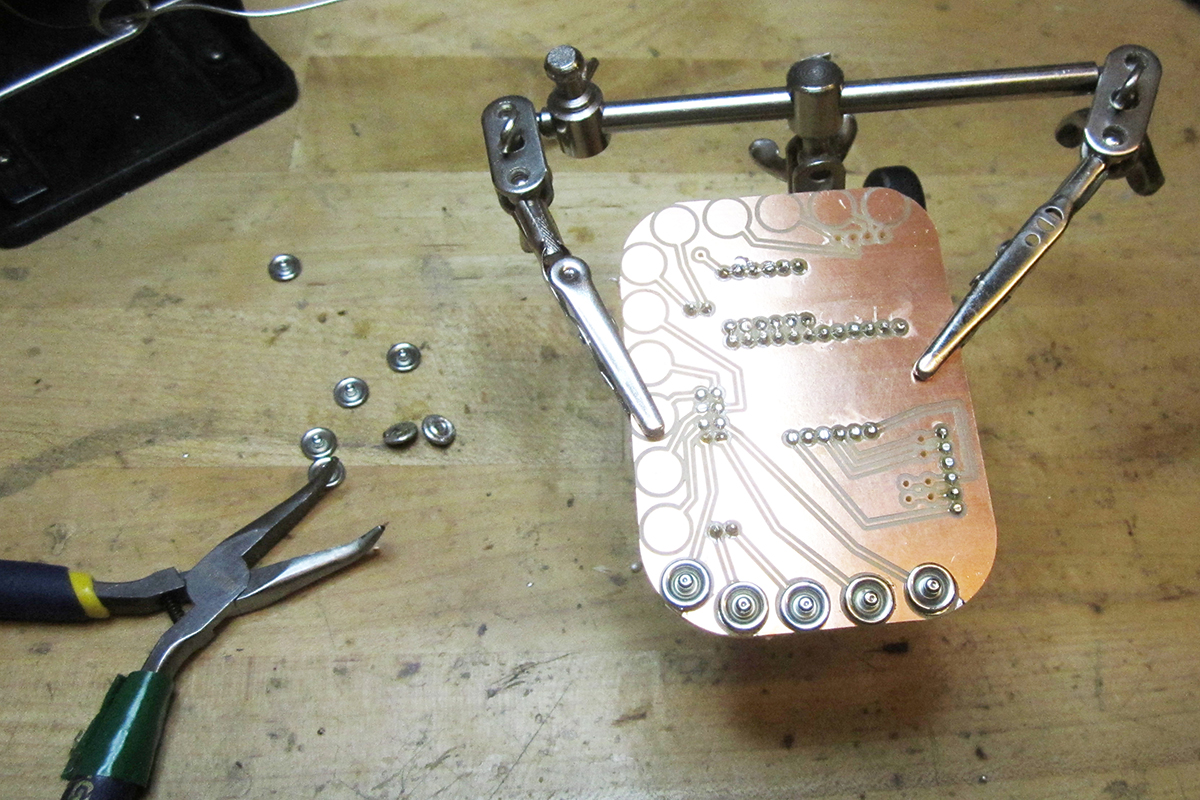
Snaps soldered onto breakout.

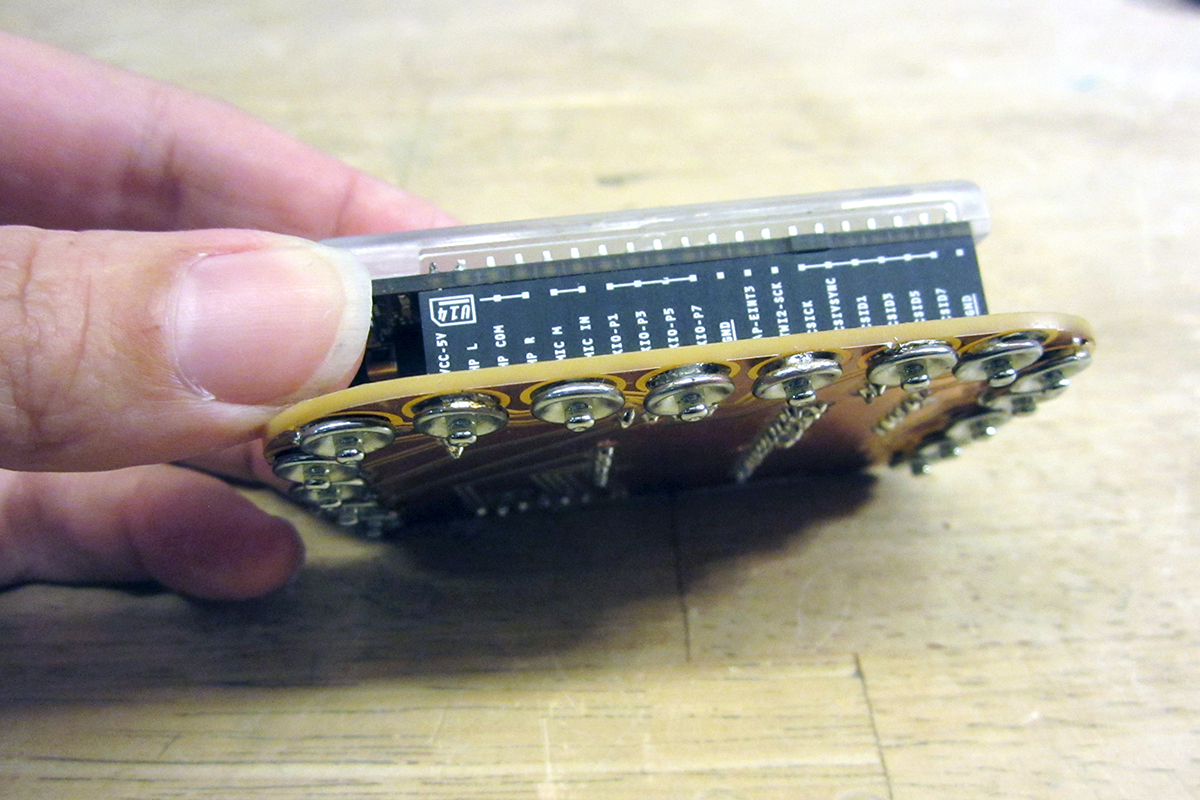
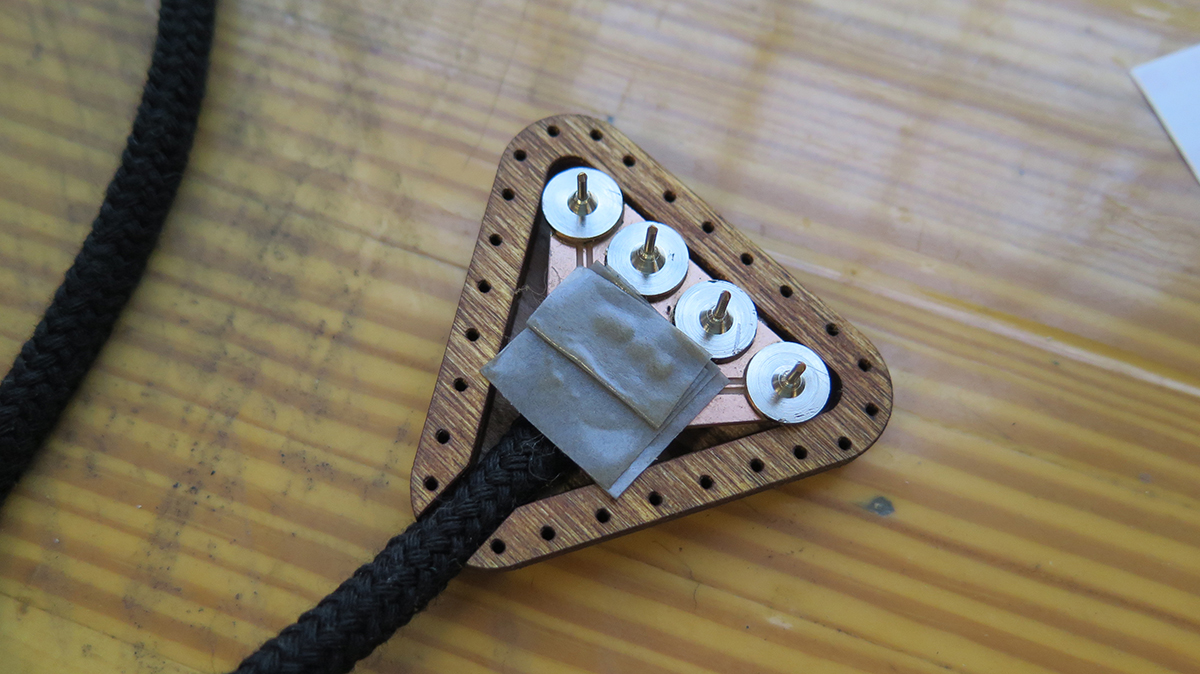
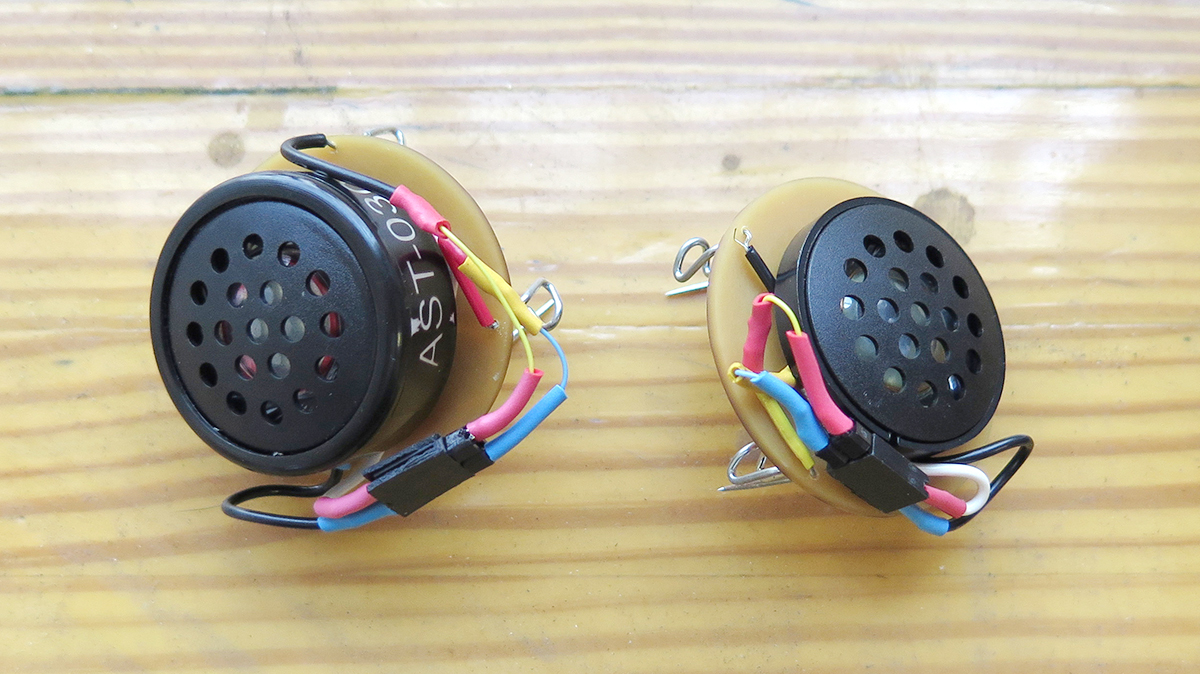
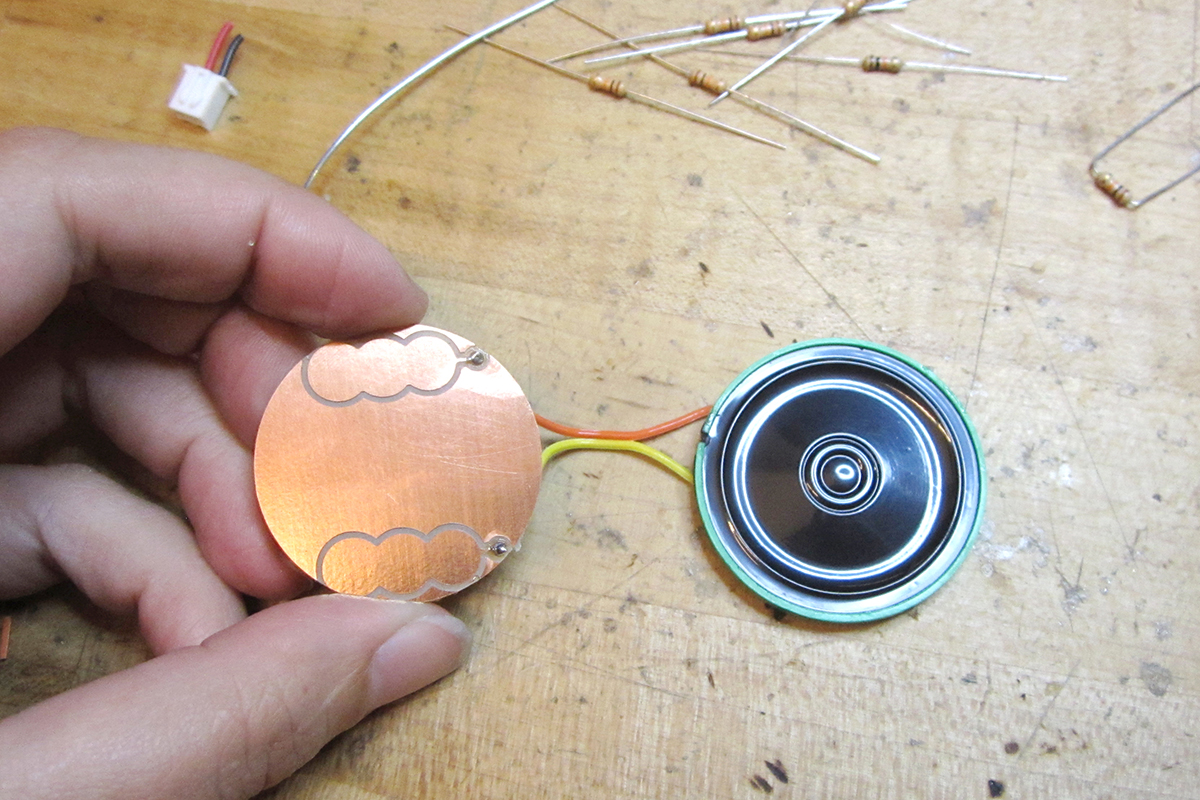
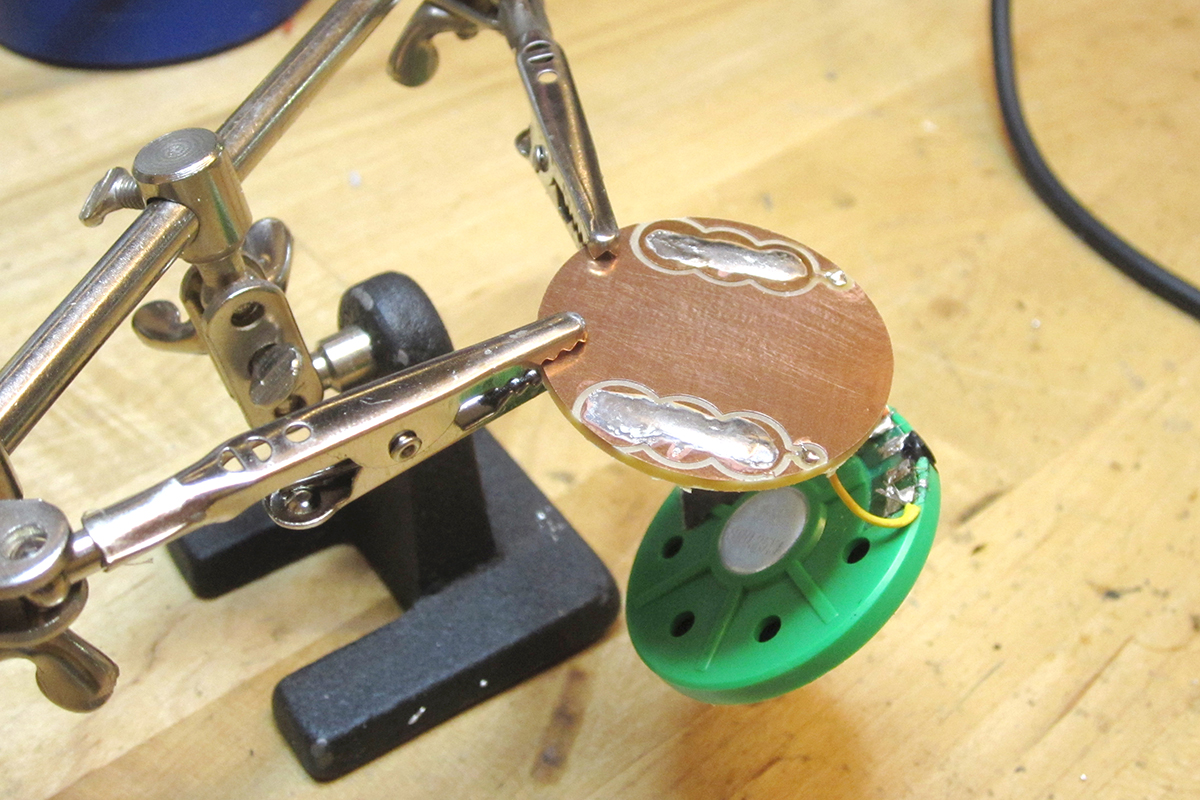
Speaker and pins soldered to milled board.

I primarily designed the circuit in Illustrator since I could use a vector of the jacket’s cut pattern and laser cutter etched pattern.
Fabric
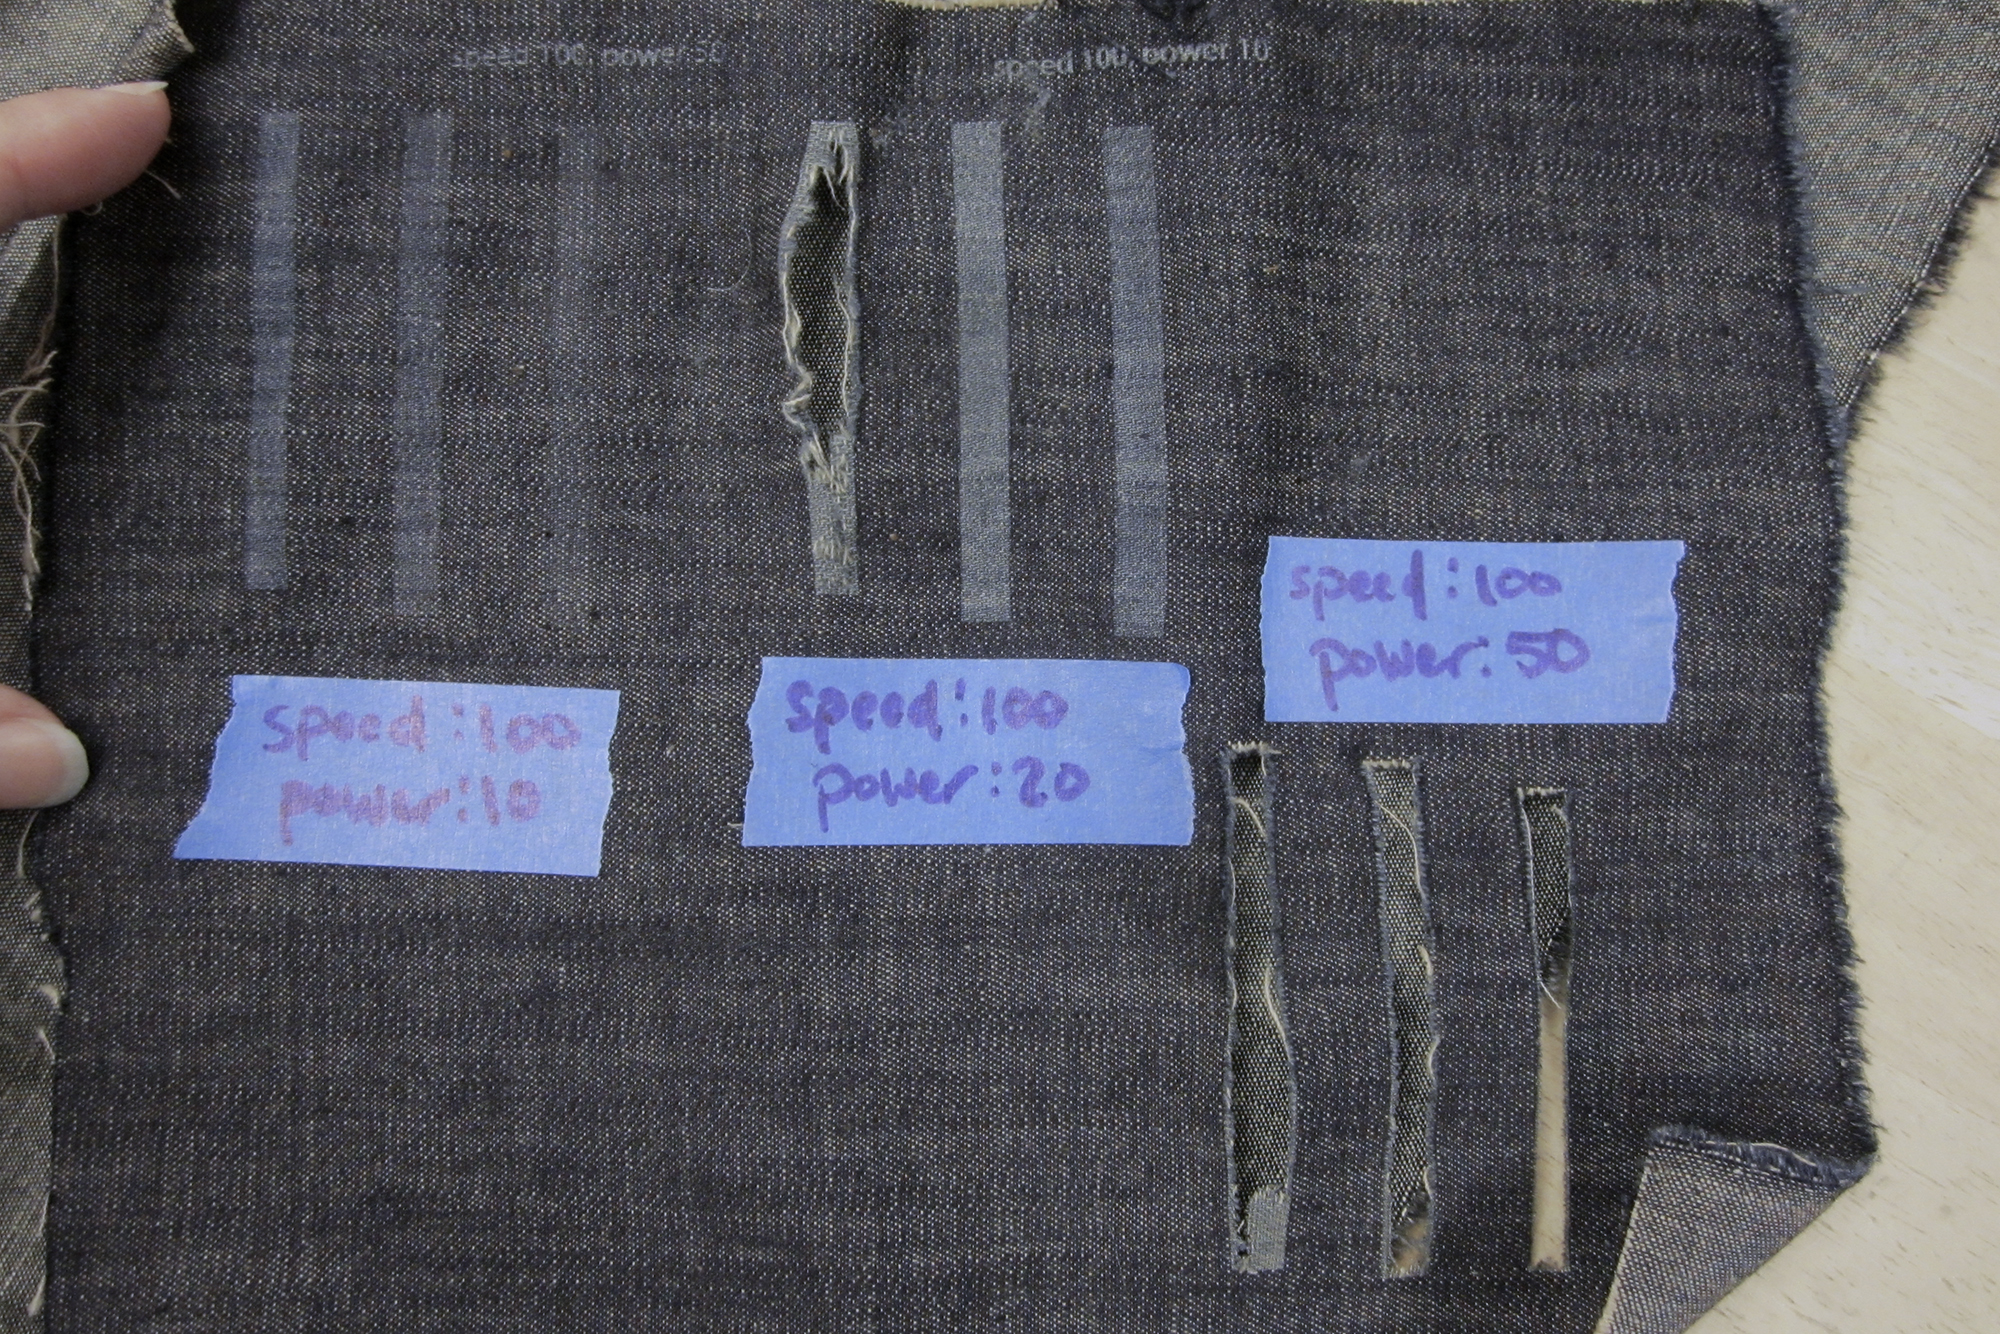
The fabric used is local to the Bay Area. Found by using the Fibershed Producer Directory. There is a local yarn/dying and fabric store called A Verb for Keeping Warm that I sourced all my fabric from. The denim I used is a medium weight chambray. The cotton fiber used is grown at the Sally Fox’s farm Viriditas Farm, then spun and woven in Japan. Laser etching does weaken the fabric from thinning it out, I found a good balance but do not recommend etching anything less than 6 oz.
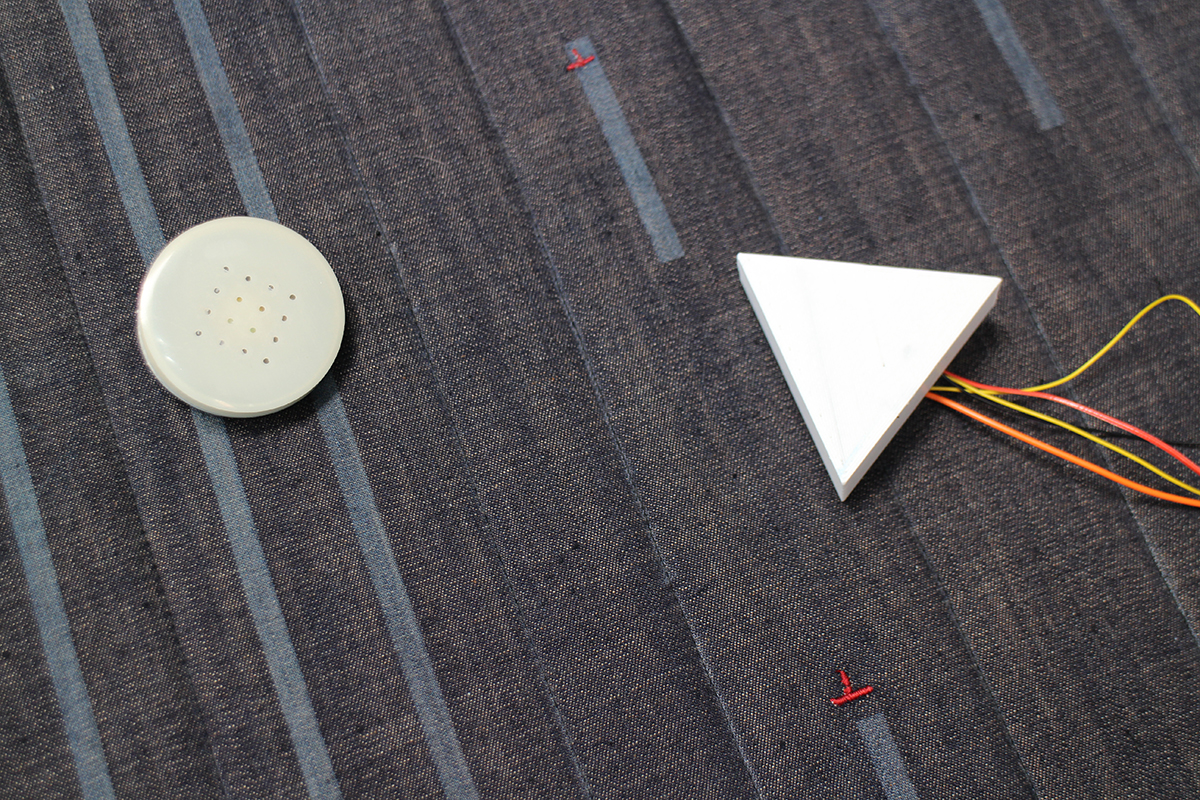
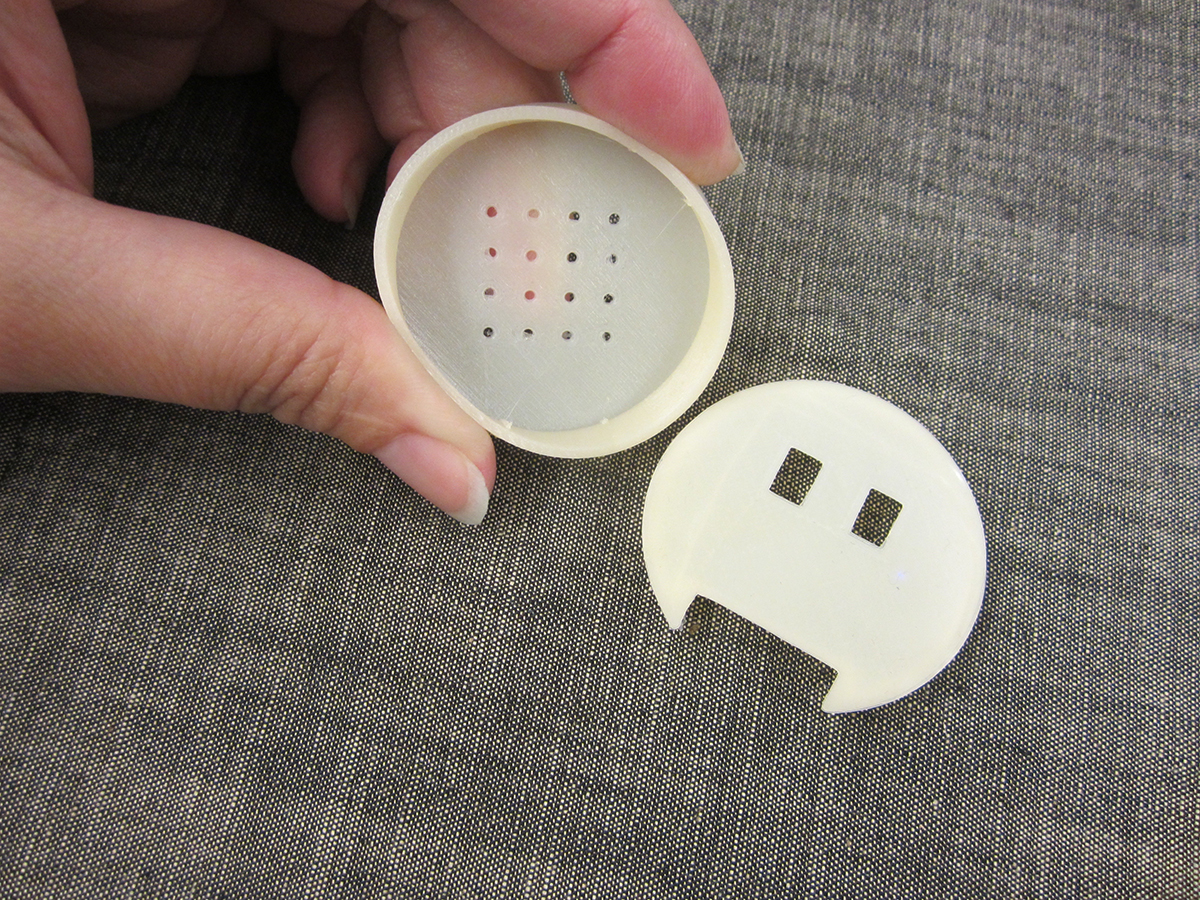
Speaker and Mic Design
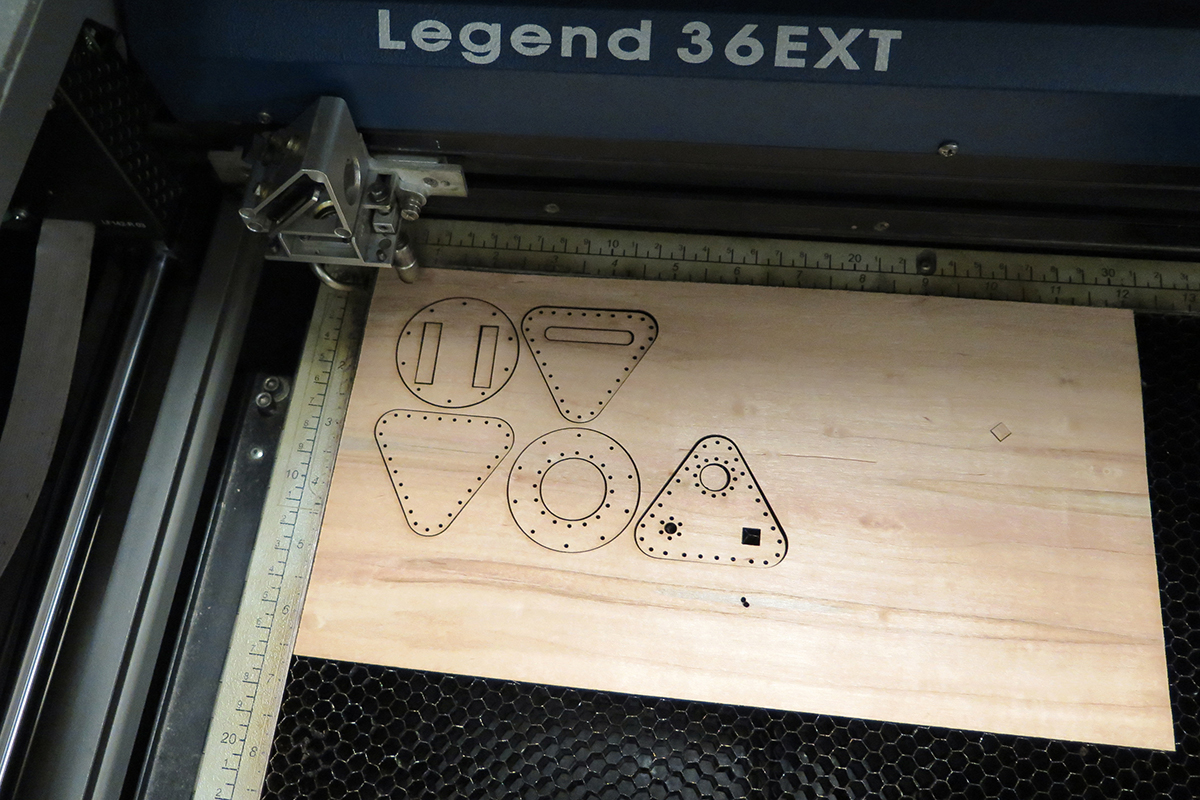
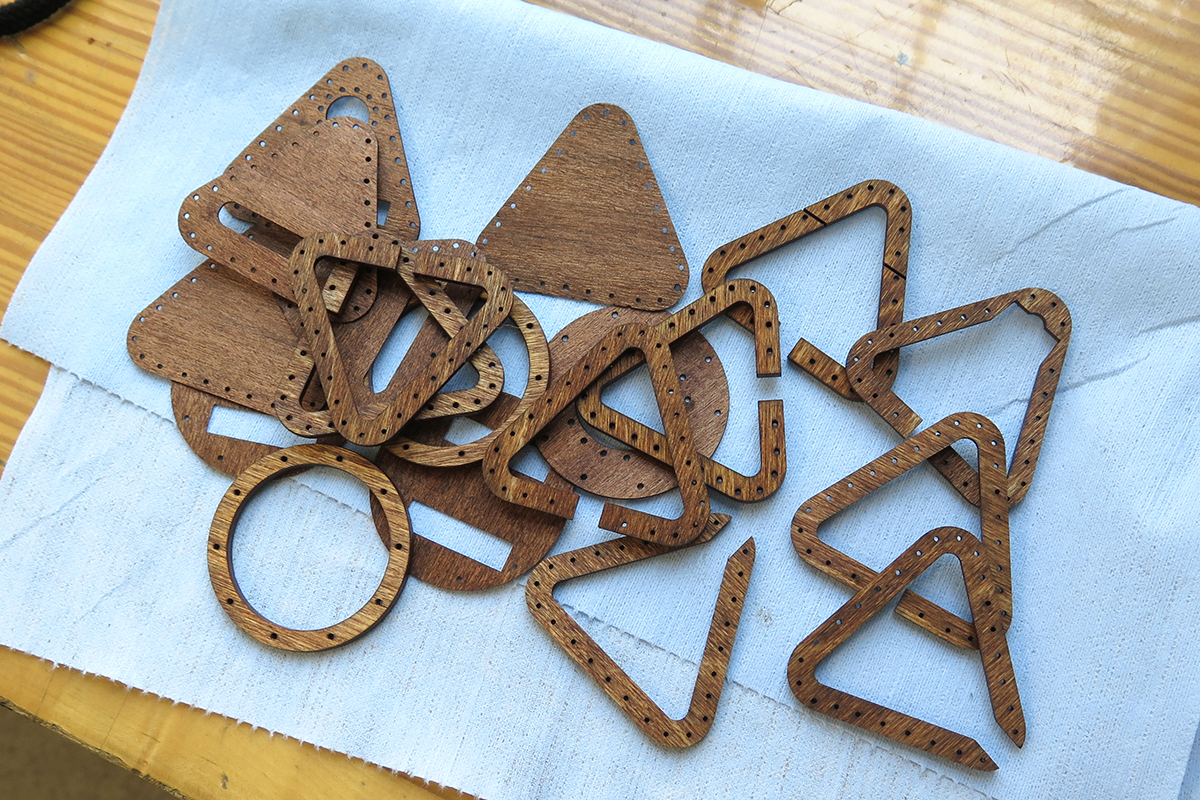
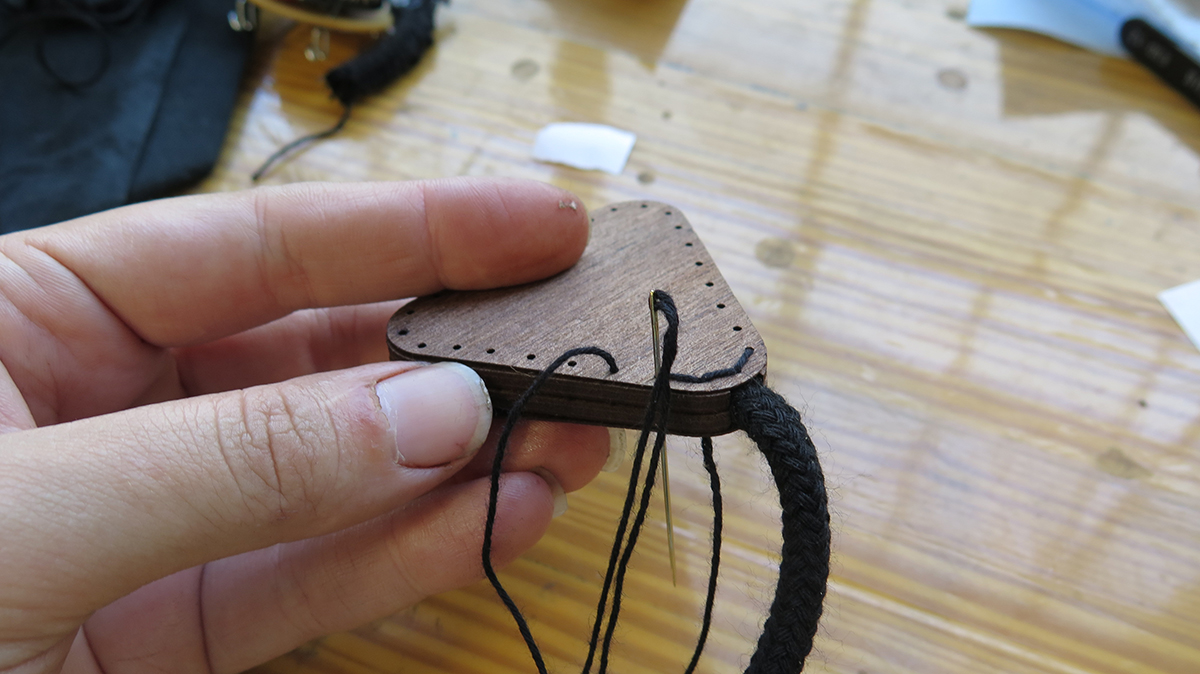
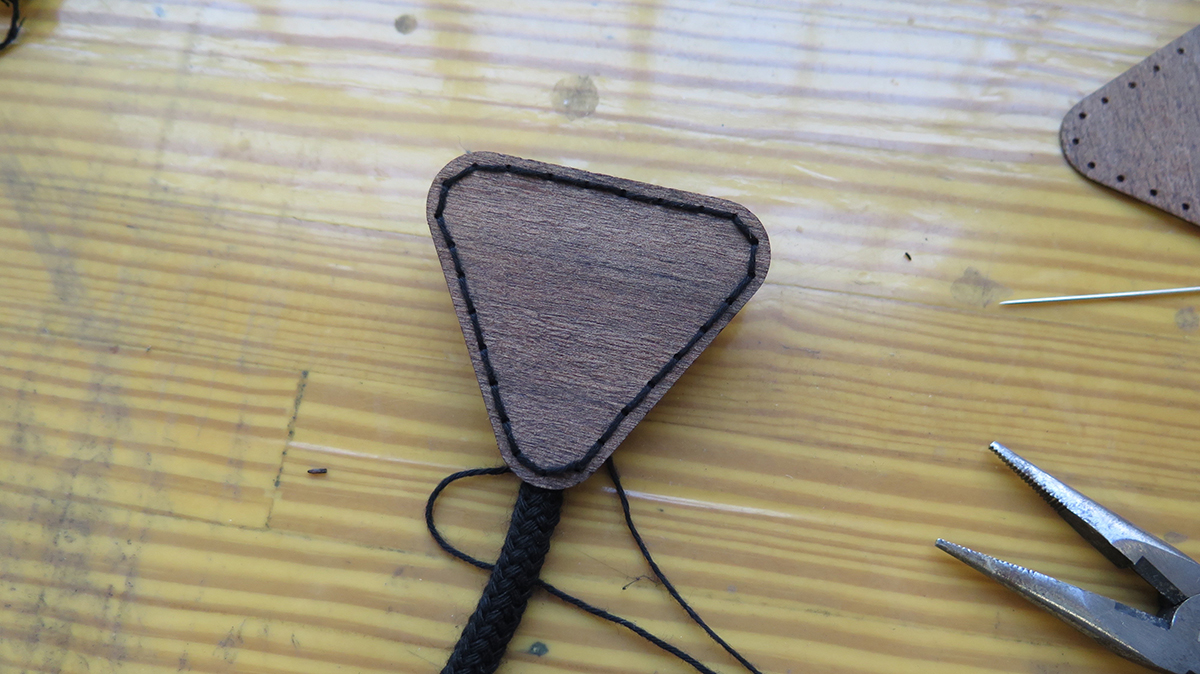
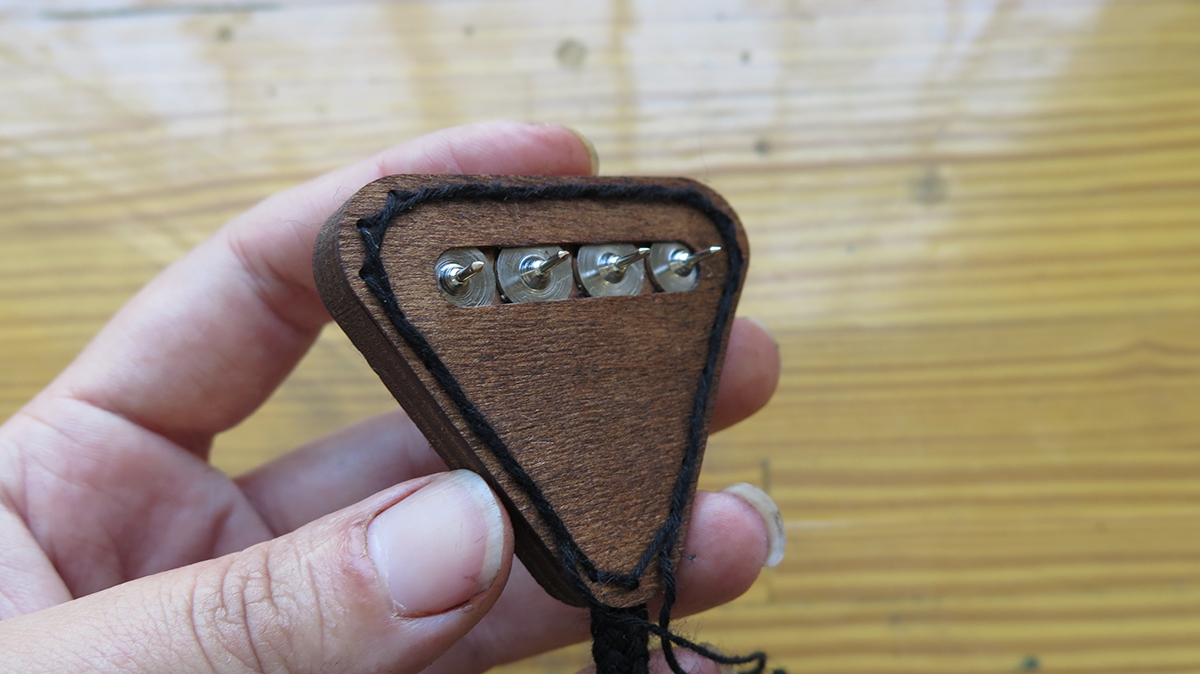
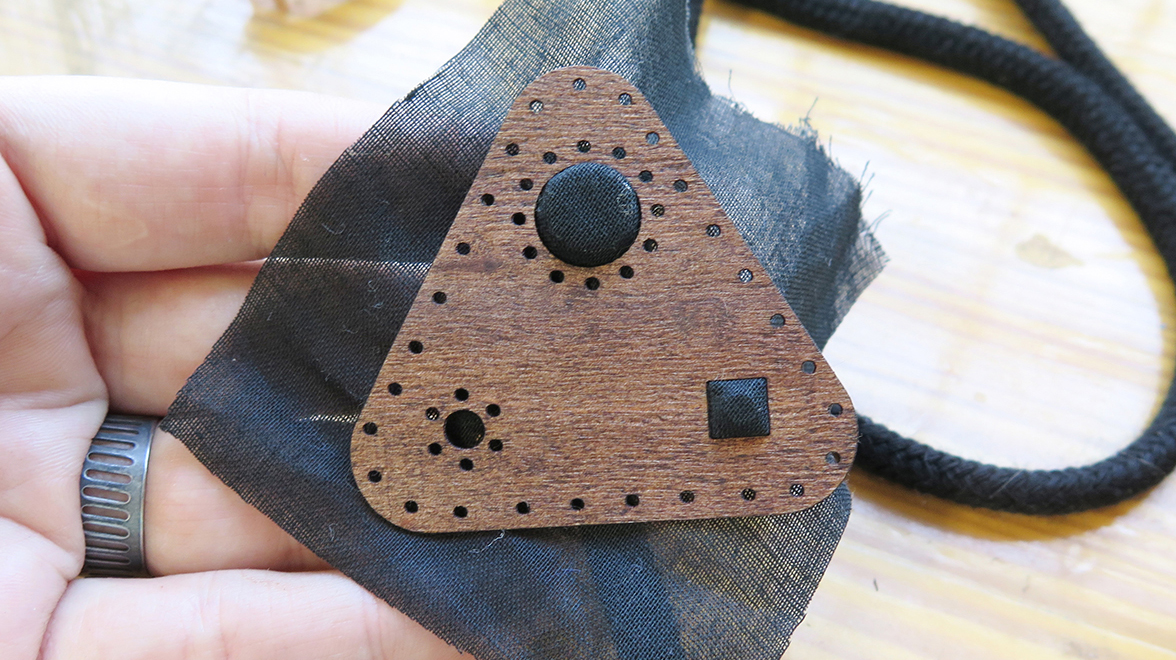
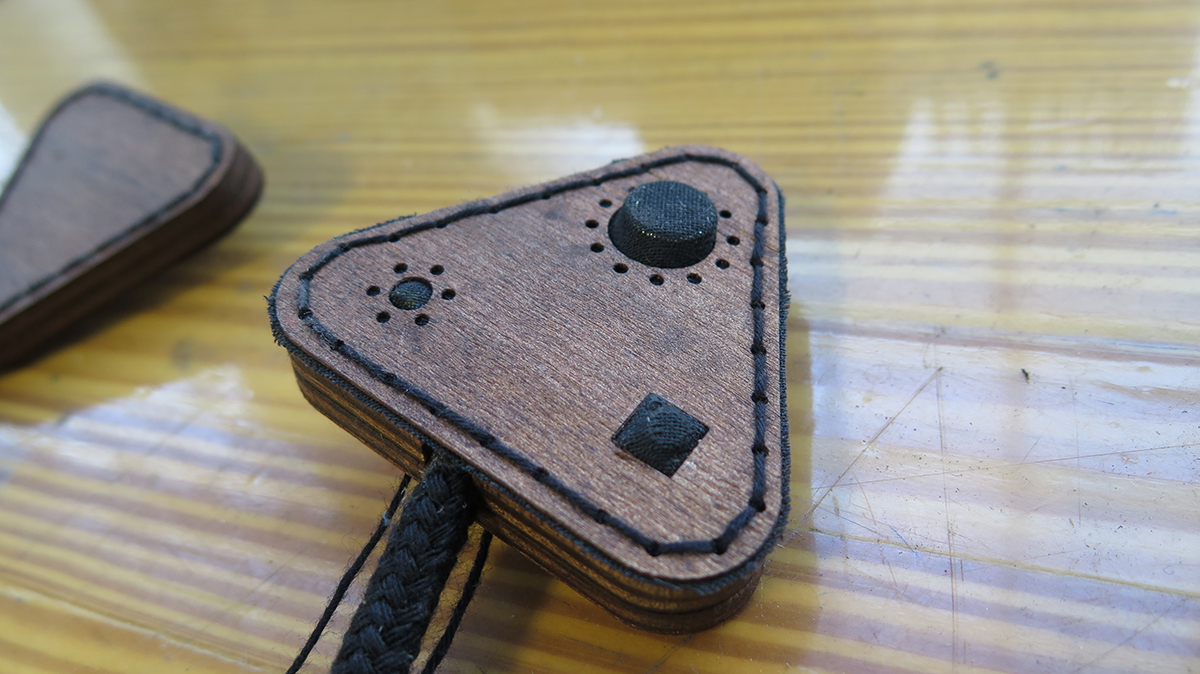
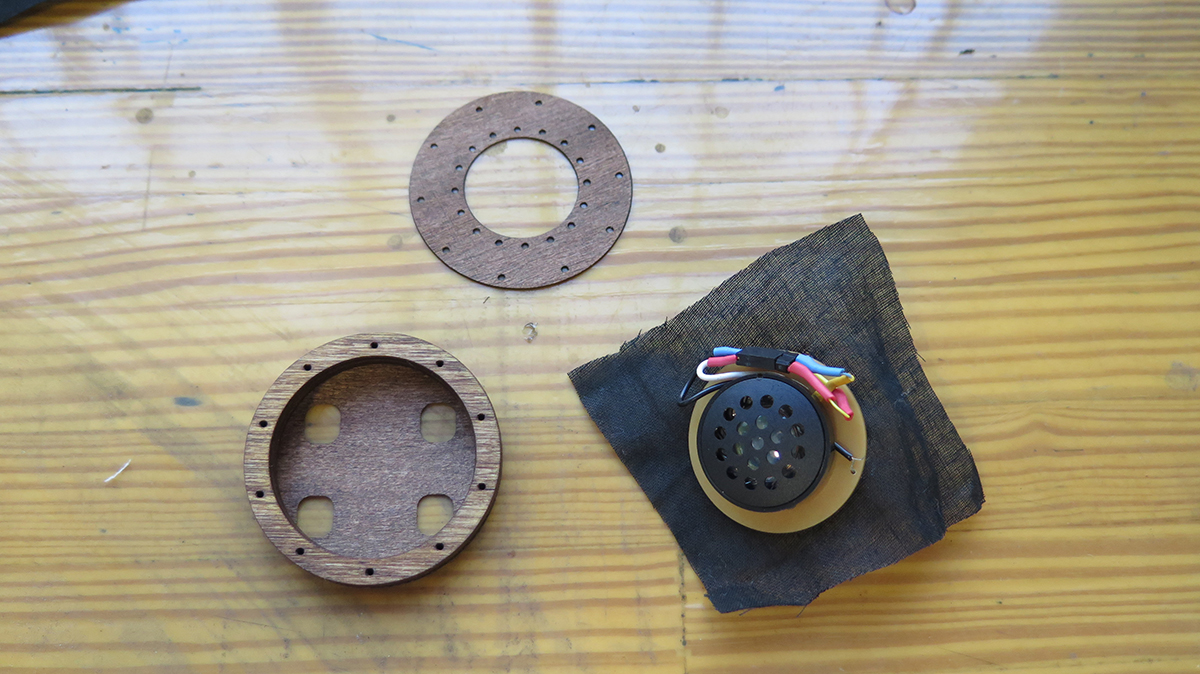
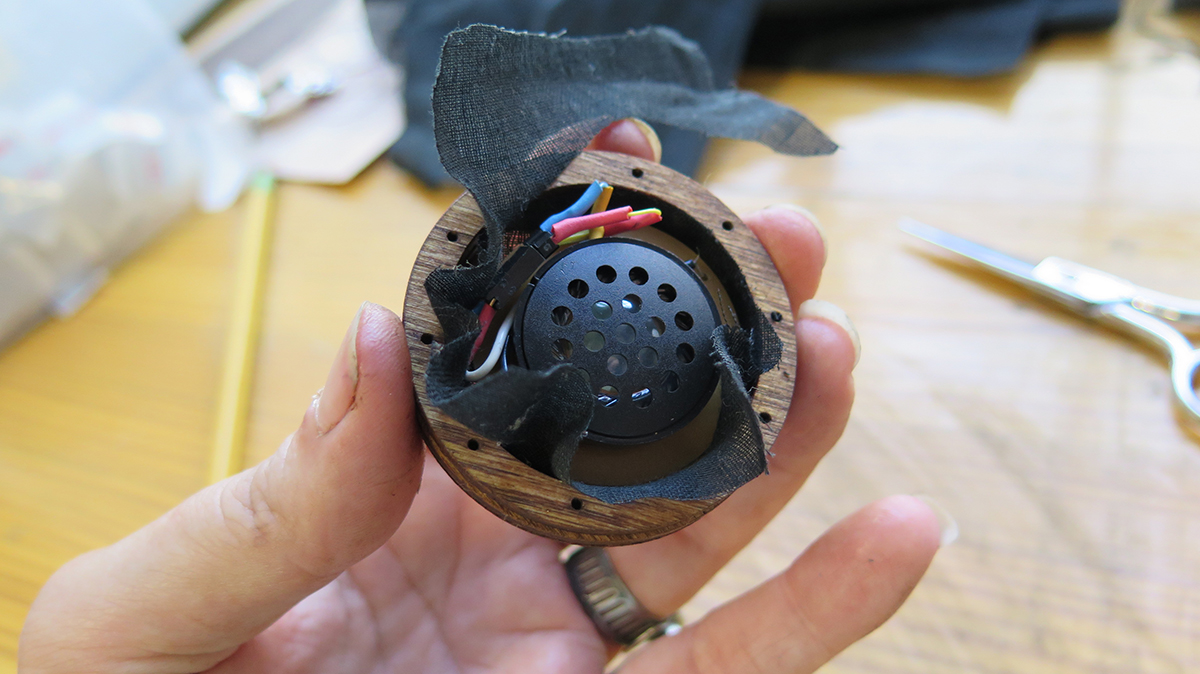
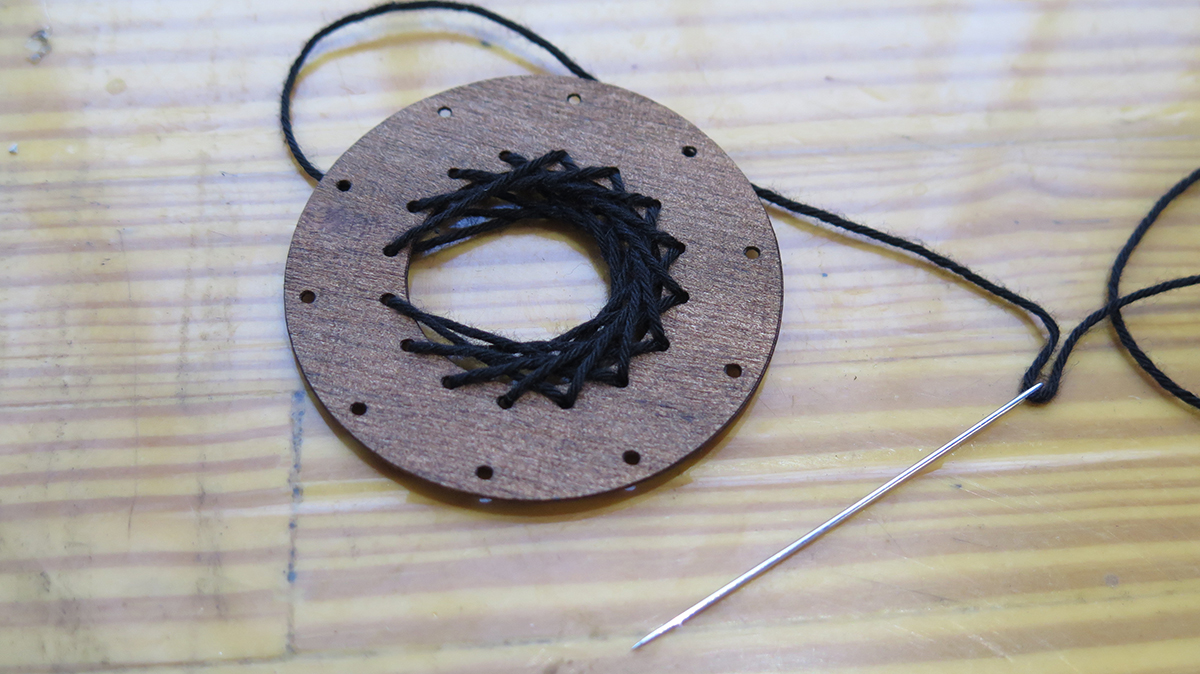
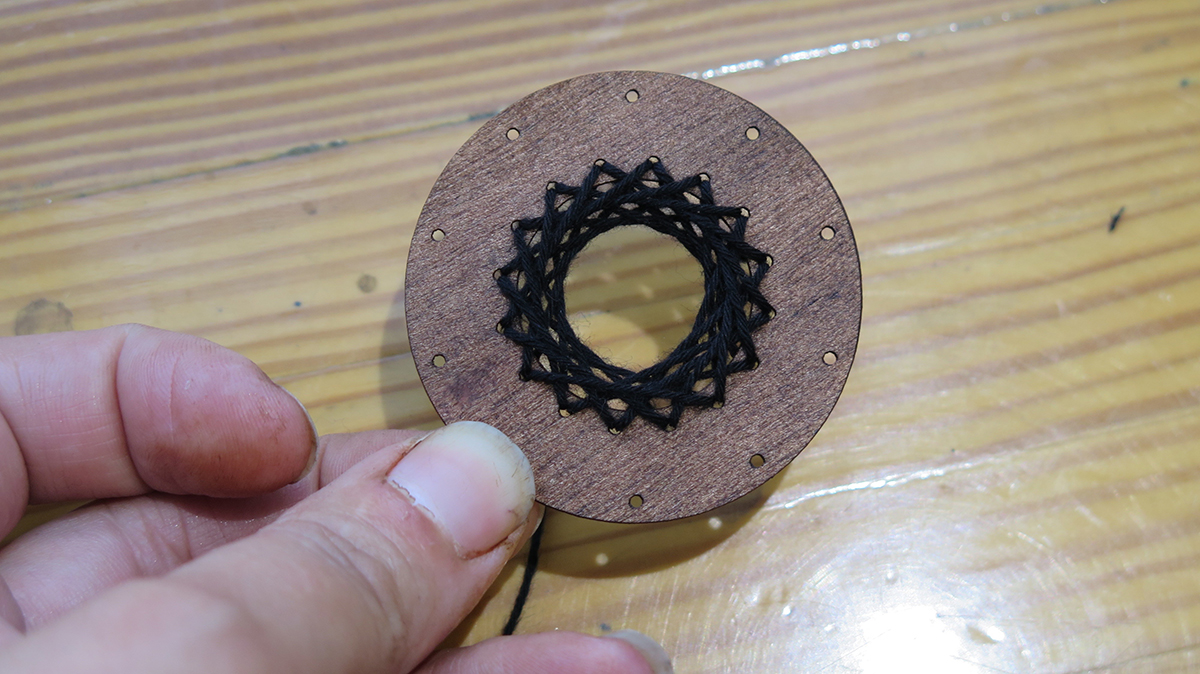
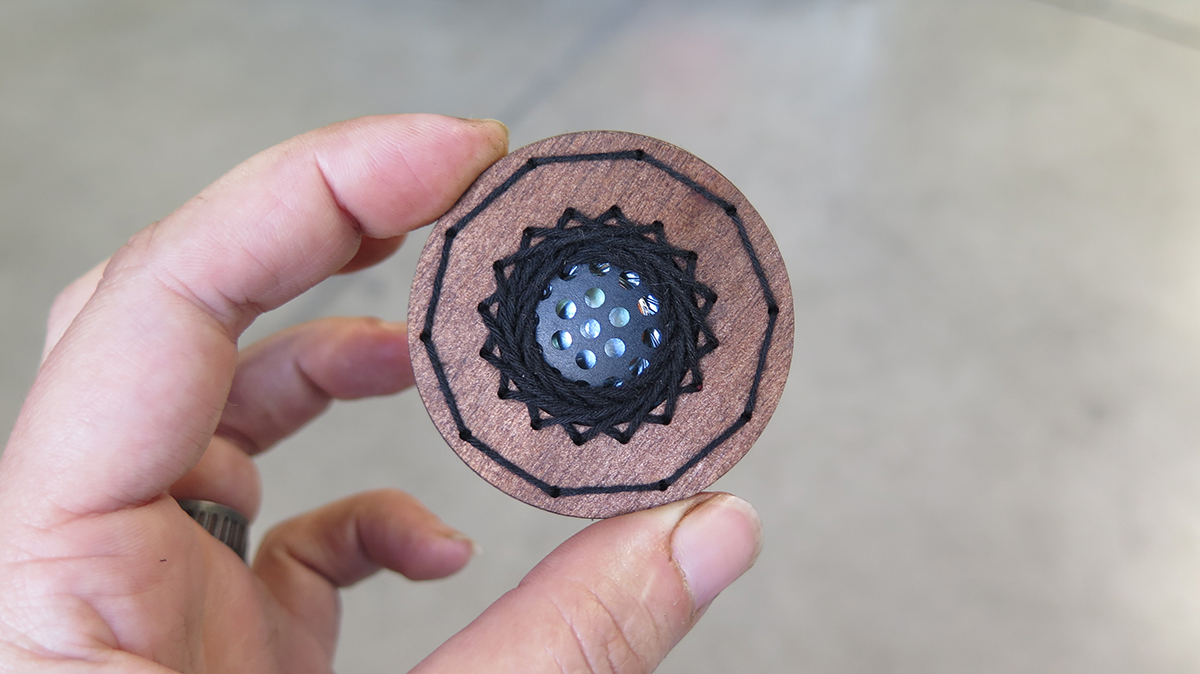
Originally, a speaker and mic enclosure was modeled in Fusion360 and printed using Willowflex, a compostable flexible filament. Once I lost access to a 3d printer I realized that another design would need to be explored. Plus, the builds to make this jacket are intended to be shared through Instructables and not everyone has a 3d printer. For a second and different design approach I looked at Hannah Perner-Wilson’s sewn together laser cut pieces she created while an AiR at Pier 9. Using this same concept, I laser cut wood layers, stacked and sewed them. For the speaker sewing pattern I came across a beautiful design you can see below and used it for the front as decorative and to help capture the speaker without completely covering up the speaker grill.

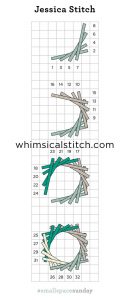
Jessica stitch tutorial found on whimsicalstitch.com. Used for speaker front.
Laser cut wood design.