Wearable electronics are circuits that are built around and for the body. Wearable electronic projects often include soft circuit and e-textile elements and materials. In this two day intensive, you will build a soft circuit and think about how electronics can interact with the body as well as get an intro to Arduino and the Flora microcontroller. Beginners are welcome!
Important! Before the workshop, please download and install the Arduino IDE and add support for Adafruit boards. Follow Adafruit’s excellent tutorial on how to do both of these things.
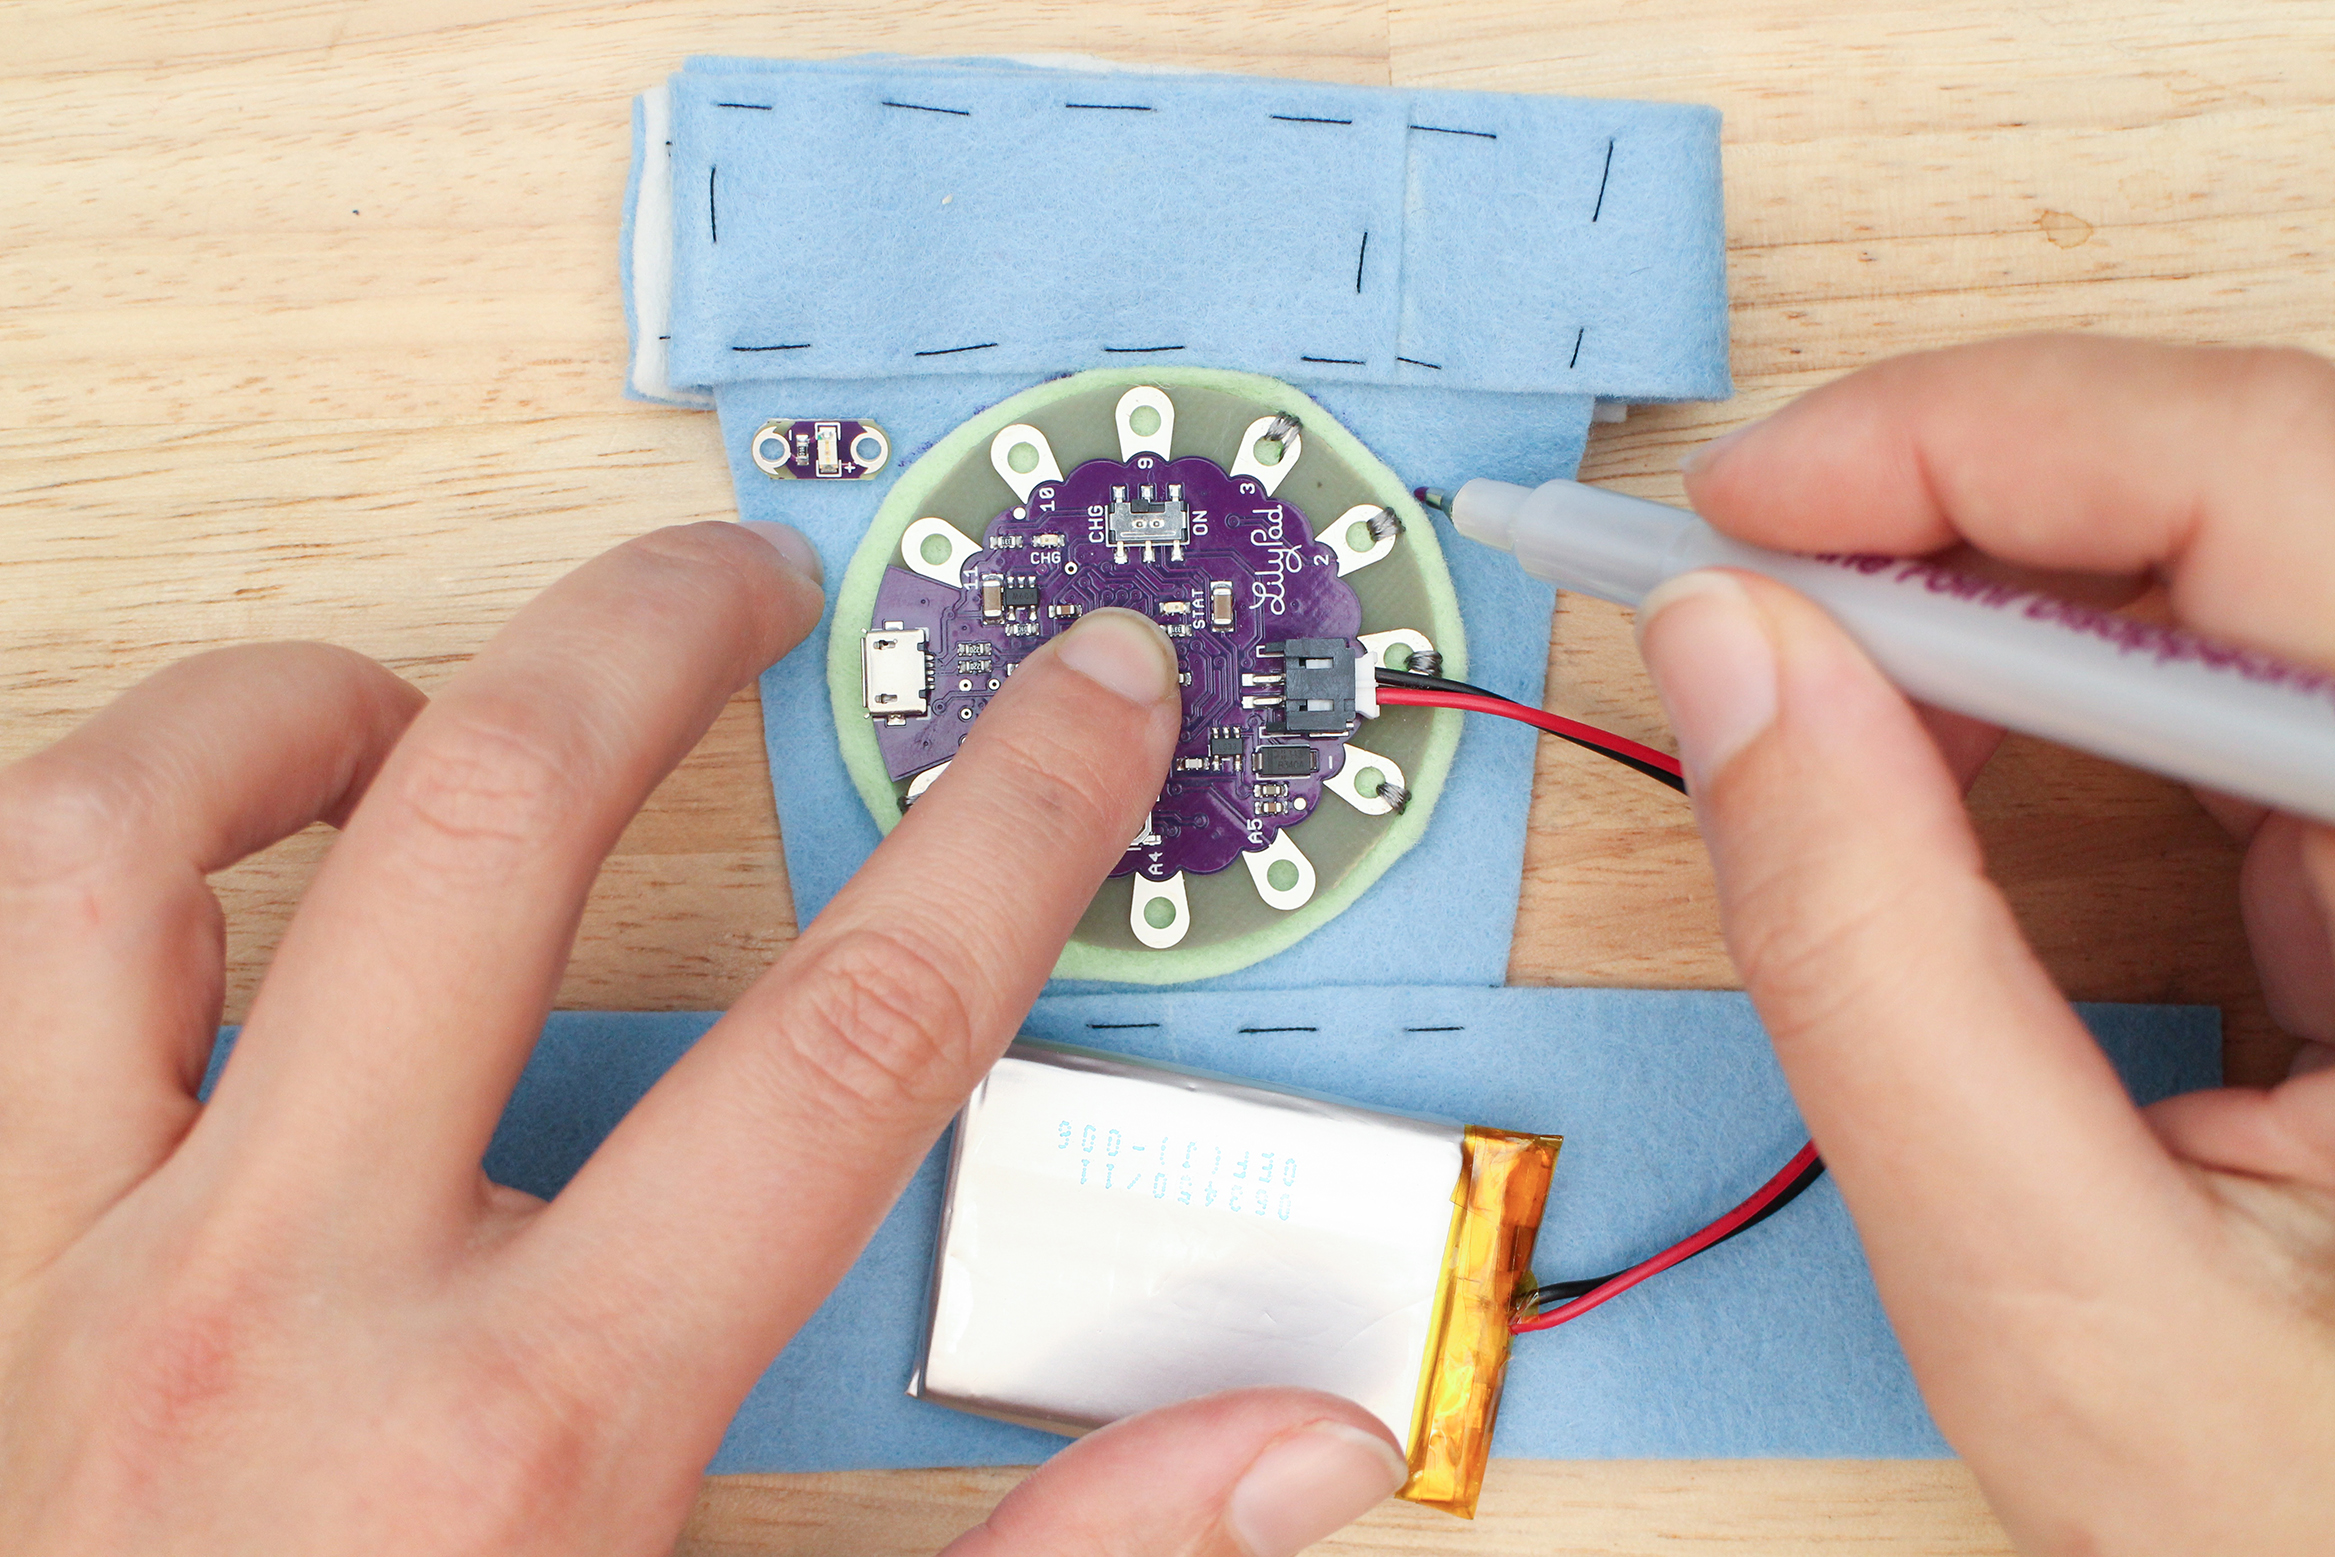
During the first day, you will learn about conductive and resistive fabrics, threads and how to use them to build a handmade sensor and switch. These components will be connected to Adafruit’s Flora board where you will use and manipulate example code to actuate light and sound. Afterward, you will have time to reflect and start to brainstorm about what purpose this circuit could have in relation to the body. You will learn how to use the Silhouette CNC cutter to create iron-on conductive fabric circuit traces that will be used in the next class.
T-shirts will be available to use to build the circuit on to during day 2 of the workshop. Bringing your own garment or accessory is also encouraged. We will discuss what makes a good candidate to build your circuit on to during day 1.
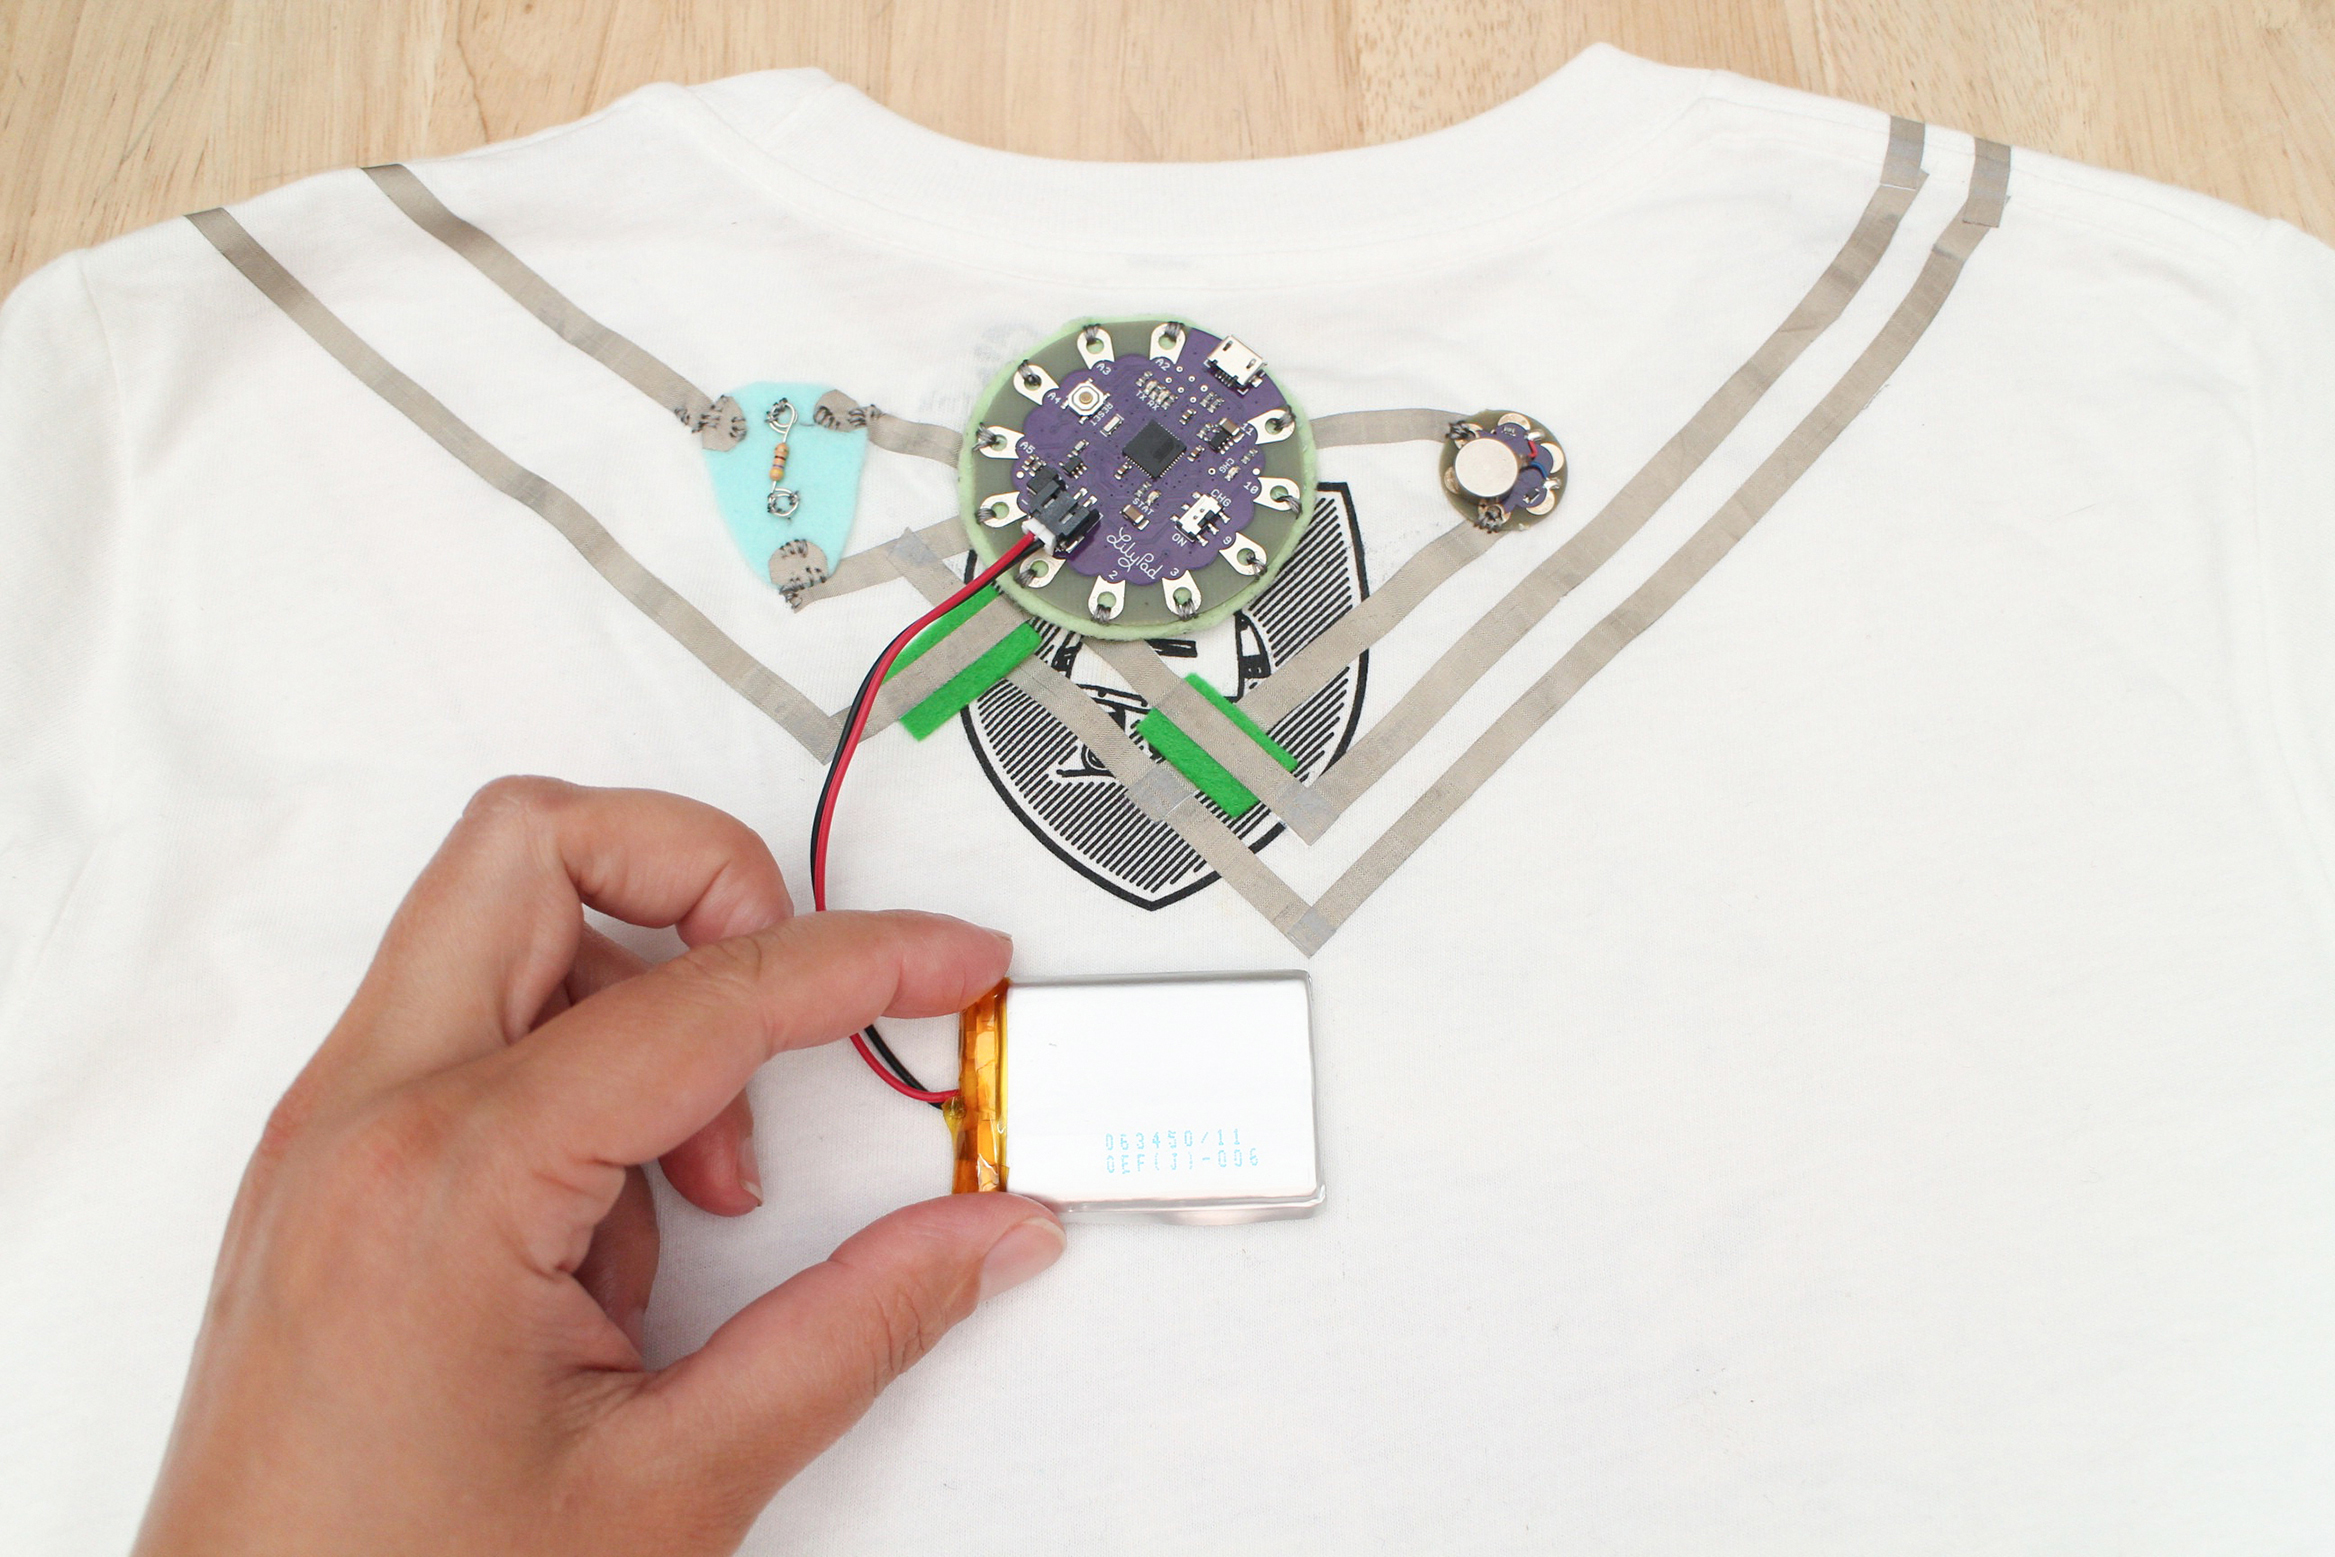
The second day you will take your alligator clipped circuit and put it on the body! Prototyping methods for wearable electronics will be discussed but mainly self-discovered through hands-on building and experimentation. You will then choose a place on the body to build your circuit for. Each person is encouraged to build their own circuit, but everyone will prototype and build in groups to support, brainstorm and lend a hand when help is needed to pin a sensor to a hard to reach place.
There will also be swatches of techniques (insulation, strain relief) and samples of conductive materials (wool, trims, etc.) brought in and left in the Hybrid Lab temporarily for students to explore on their own time outside of the workshop.
Tools and Materials Used in Workshop Specific to Wearable Electronics
- Conductive thread
- Iron-on conductive fabric
- Resistive fabric
- Flora microcontroller
- Handmade flex sensor
- Handmade soft switch
- Snaps as electrical and mechanical switches
- Straight pins
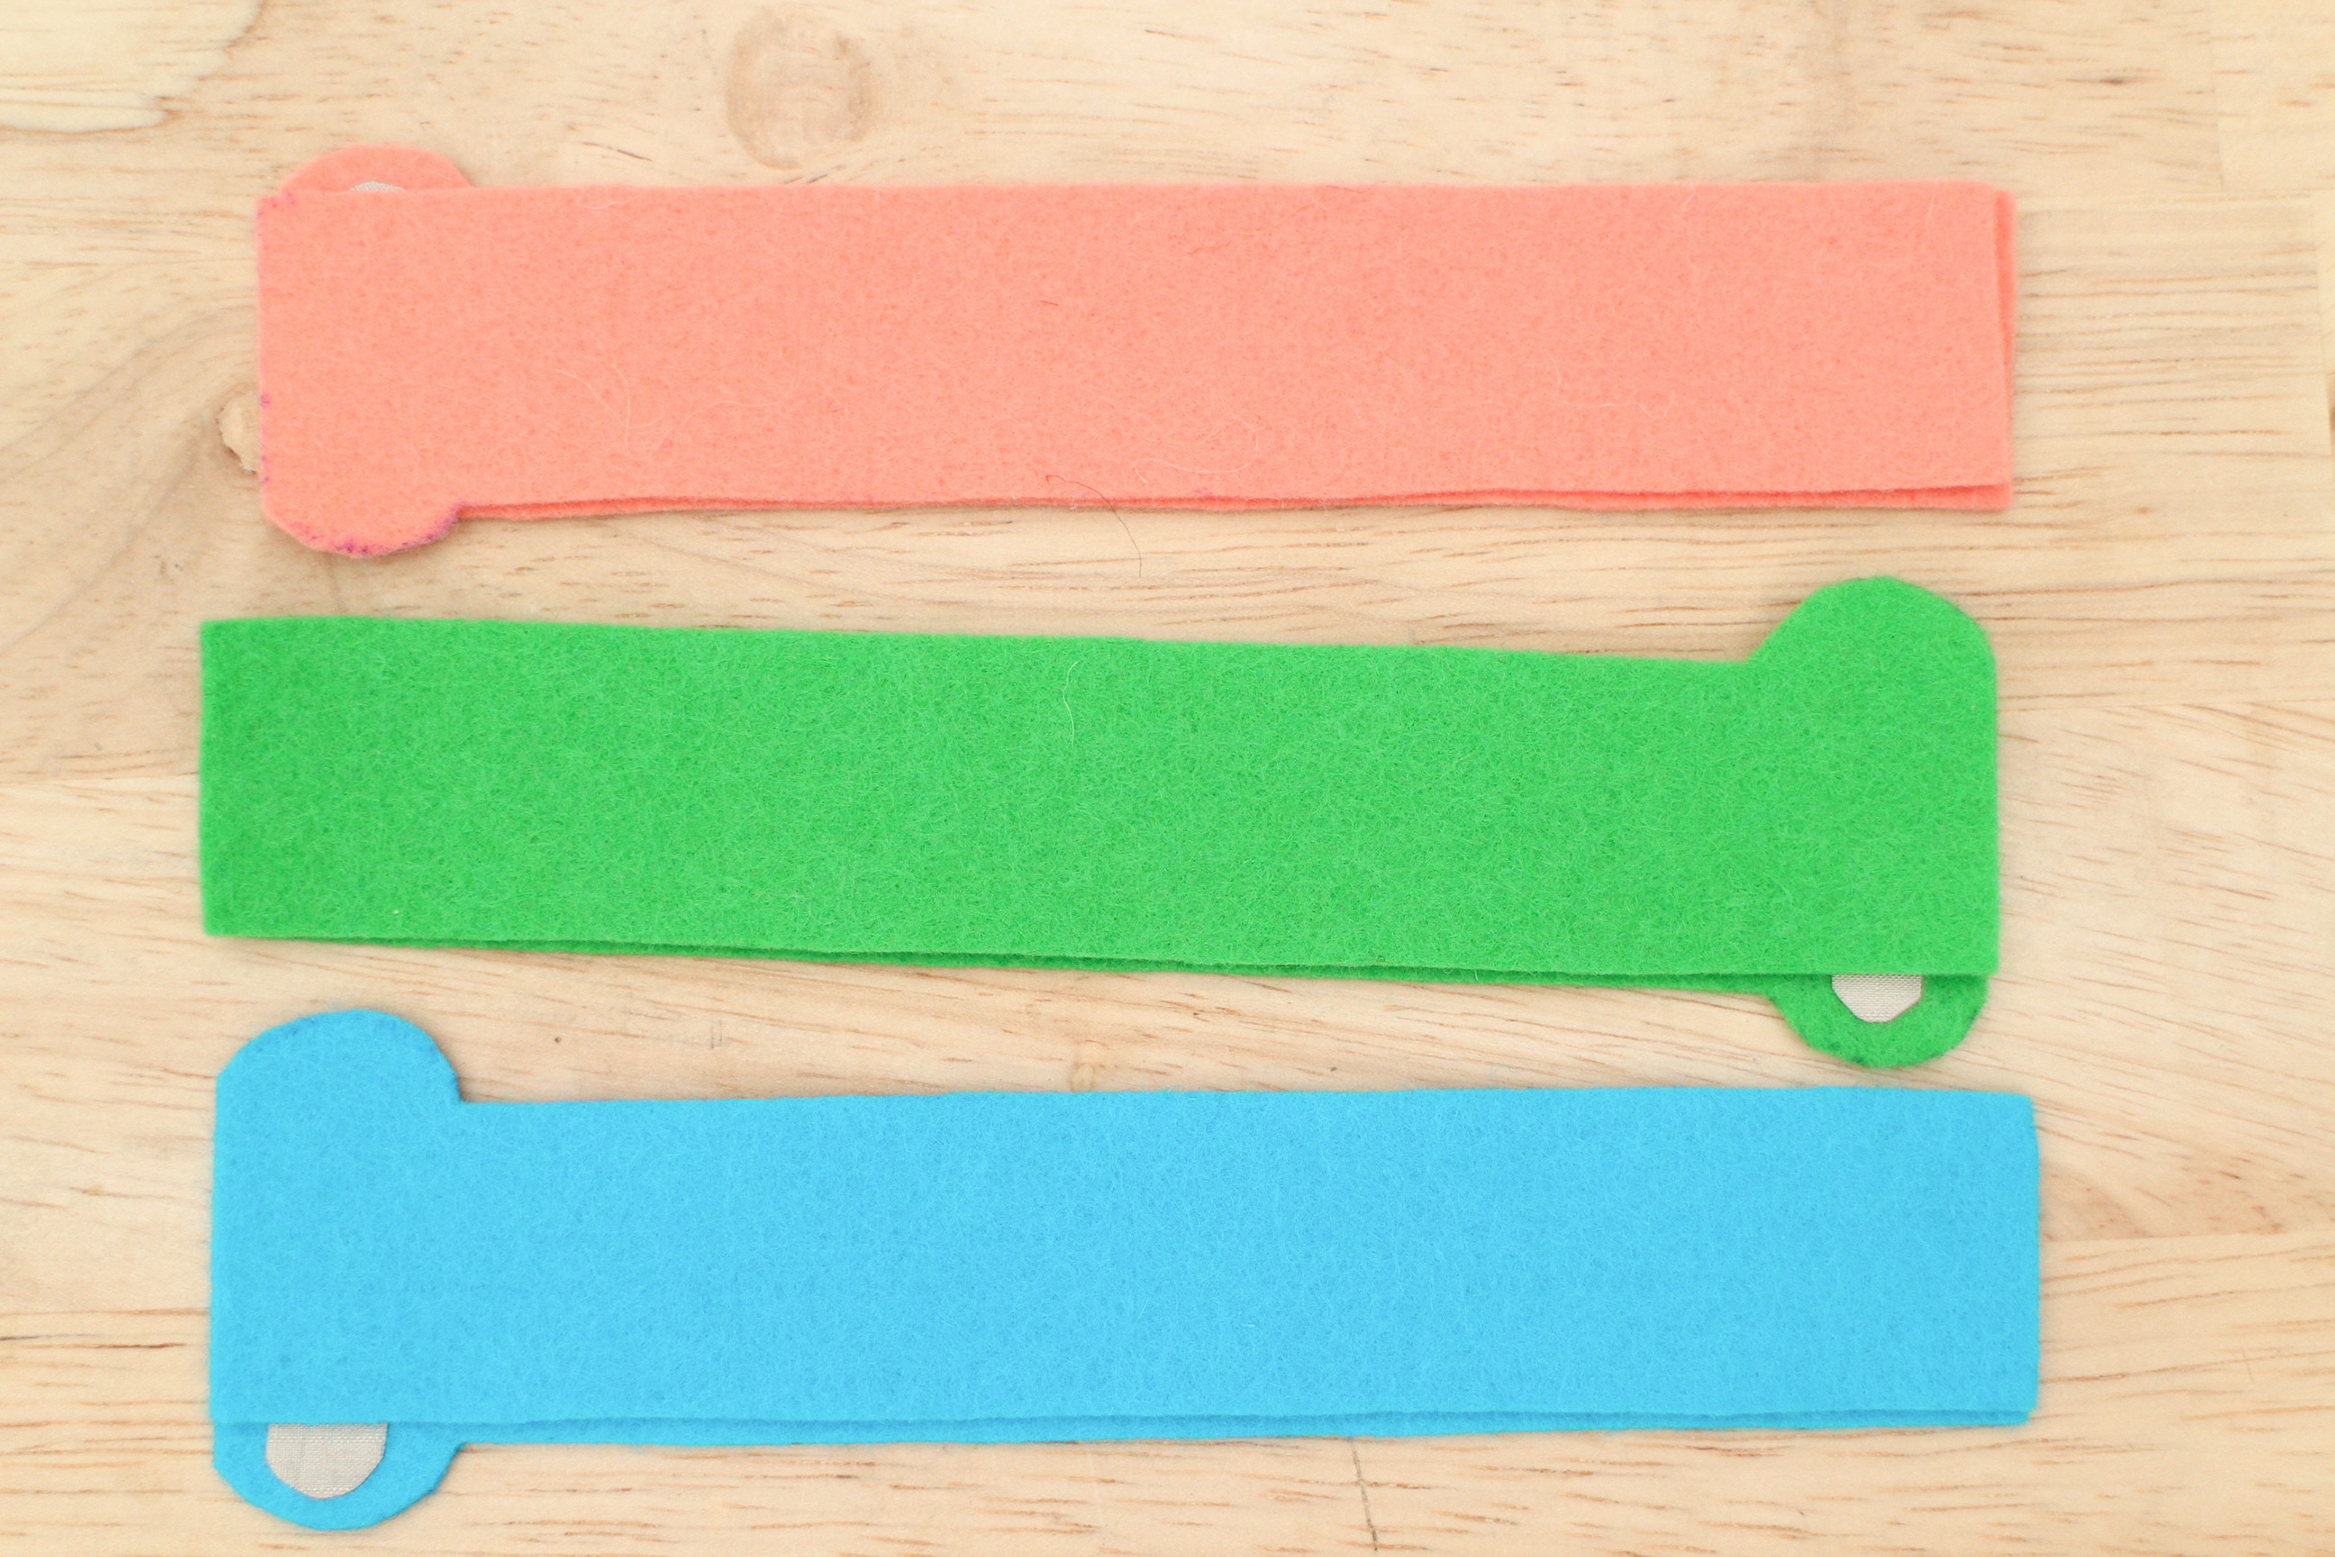
- Velcro
- Tailor’s chalk
- Silhouette Cameo used to cut iron-on conductive fabric
Learning objectives:
// What are conductive threads and fabrics and how can one use them in wearable projects?
// Wearable electronic prototyping best practices.
// Intro to Hybrid Lab tools that you can use to build wearable electronic and e-textile projects.
// How to connect and build basic circuits using handmade soft sensors, wearable components, and Adafruit’s Flora microcontroller.
// What terms such as “wearables”, “wearable tech”, “wearable electronics”, “soft circuitry”, “e-textile” mean and common concepts and topics that are explored in the wearable electronic and e-textile field.

Day 1
Discussion + Presentation: 30 mins
– What do the terms “wearables”, “wearable tech”, “wearable electronics”, “soft circuitry”, “e-textile” mean?
– What are common topics and themes explored by this field?
Let’s Build Soft Components!: 2 h 15 mins
Soft circuitry is often found in wearable electronic projects. Learn about conductive threads and fabrics and how to use them to build soft, flexible, and wearable electronic projects.
Show and Tell: 15 mins
– Review of components our circuit will use: switches, flex sensor, LEDs, speaker, power, conductors.
Build: 1 hour 45 mins
– Switch step-by-step build: 20 mins
– Connect to Flora using pull-down resistor to light LED and play note: 20 mins
– Flex sensor step-by-step build: 30 mins
– Connect to Flora using voltage divider circuit to dim and brighten LED and change pitch of note: 30 mins
Wrap-up: 15 mins
Next class, we will put this circuit on the body! Think of where you would want to place your sensor, switch and what output you would like to control: light or sound. When conceptualizing your project, LEDs are a great placeholder for more complicated components and actions. It’s encouraged to imagine what the LED could represent. For example, turning on a motor, opening a door, beaming a signal to a satellite, anything! Get weird! If you would like to explore the potential of controlling another kind of output that is accessible in the lab, feel free to discuss with me in prep for the next class.


Day 2
Discussion + Demo: 30 mins
– Intro to prototyping wearable electronics practices (velcro, straight pins, strain relief)
Ideate + Experiment: 2 h
Prototype on Body: 30 mins
– Experiment with pins and velcro placing the switch and sensor on different parts of the body to activate them.
– Record findings and decide where your circuit will live.
– Share out, where and what are you building?: 15 mins
Build Circuit on Body: 1 h 30 mins
– Draw out circuit
– Cut traces, plan for conductive thread
– Sew down components
– Demo of good connection and finishing vs. bad connection and finishing
– Test as you go!
Reflection: 30 mins
– Record how you would improve the circuit. What would be the next steps in this prototype?